Fall Gel Nails

Fall gel nails are the definitive seasonal transition trend, characterized by high-pigment, durable, and chip-resistant finishes that leverage deep autumnal color palettes like burgundy, forest green, and metallic copper. At Nailosmetic, we’ve analyzed the shift in manicure aesthetics to bring you the ultimate guide to seasonal longevity. While traditional polish often fails under the harsh shift of autumnal weather, professional-grade gel provides a protective layer that lasts up to three weeks. Why is everyone suddenly switching from bright summer neons to these moody, sophisticated tones? It isn’t just about the shift in temperature; it’s about the chemistry of high-shine, UV-cured polymers that maintain structural integrity despite the humidity drops of autumn. Discover the exact shades, application techniques, and expert care routines that are currently defining the industry standard—all while maintaining the pristine health of your natural nail bed.
Why Are Fall Gel Nails Trending Over Traditional Manicures?
As the seasons shift, the transition from sheer summer brightness to the sultry, opaque tones of autumn requires a manicure that can keep pace with both your aesthetic goals and the changing weather. The growing preference for fall gel nails over traditional lacquer stems from a fundamental divergence in chemical composition. Traditional nail polishes rely on solvent evaporation, which often leaves the finish susceptible to chipping when exposed to the dry, crisp air of the season. In contrast, gel systems utilize sophisticated photo-initiators and oligomers that undergo a transformative polymerization process under UV or LED light. This reaction creates a cross linked polymer network that is significantly more robust than standard air-dried formulas.
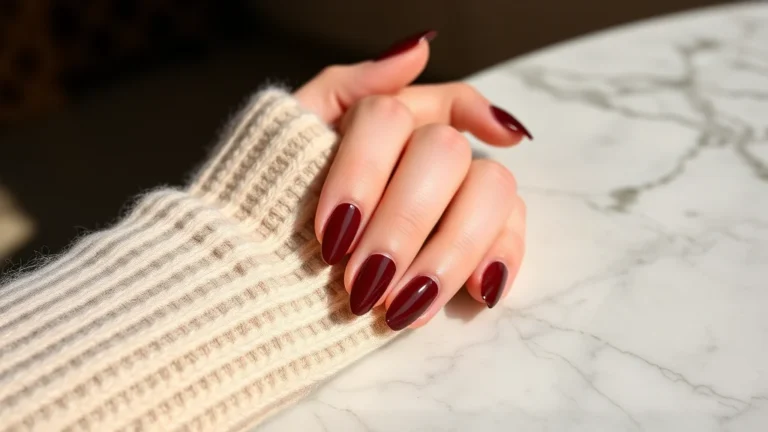
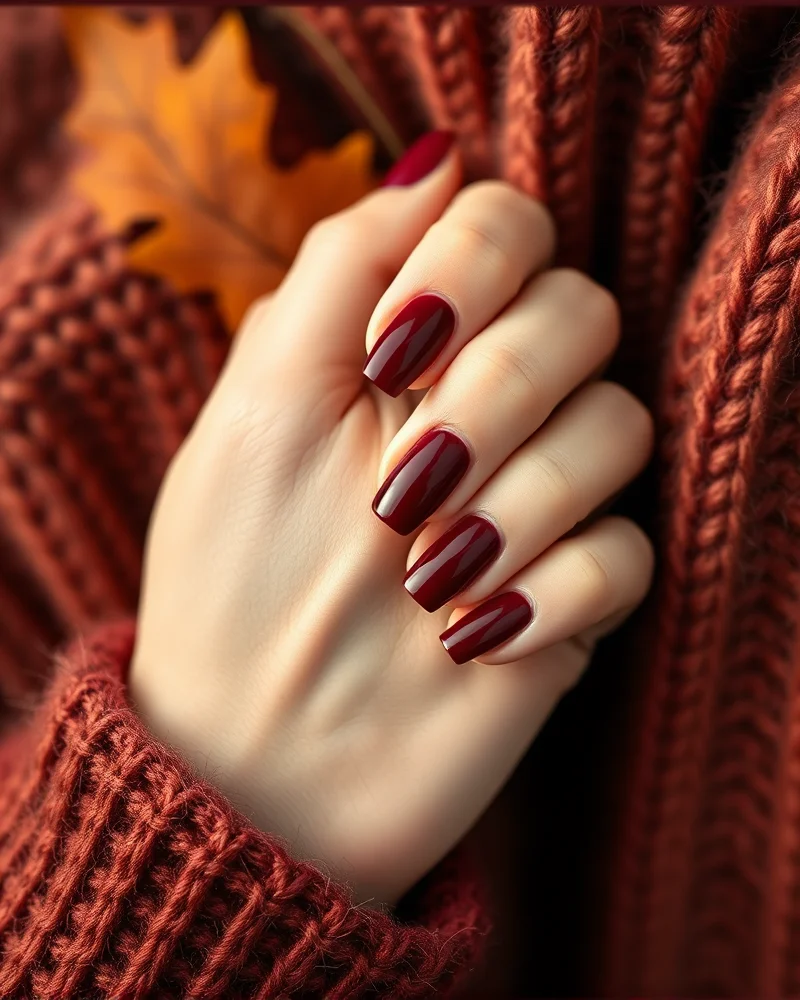
From a technical standpoint, the oligomers within professional gel formulas act as the structural building blocks that provide unmatched durability. As we enter the colder months, your hands face increased stress from frequent hand washing, lower humidity levels, and the friction of heavy knit sweaters. Gel polish offers a fortified barrier that withstands these environmental stressors, maintaining a high-gloss finish for weeks. This is particularly advantageous for the rich, high-pigment fall palette, which includes deep oxblood reds, forest greens, and moody espresso browns. Unlike traditional polishes, which can become streaky or sheer when formulated with heavy, dark pigments, gel technology allows for a high concentration of color particles that deliver a flawless, opaque application with every coat.
The durability factor acts as the primary selling point for the autumn season. Because gel nails do not rely on the slow evaporation of solvents, they are cured instantly, eliminating the risk of smudging or the dreaded dents that often occur when you are layering on thicker base coats. This longevity is essential when you transition into a busy autumn schedule, as it ensures your manicure remains pristine without the need for constant maintenance. Whether you are opting for a classic solid color or a complex nail art design, the chemical integrity of gel ensures that the pigment remains vibrant and chip resistant throughout the entire season. By choosing gel, you are investing in a system that balances aesthetic depth with the structural resilience required for the cooling climate.
What Are the Top 5 Must-Try Fall Gel Nail Colors for 2024?
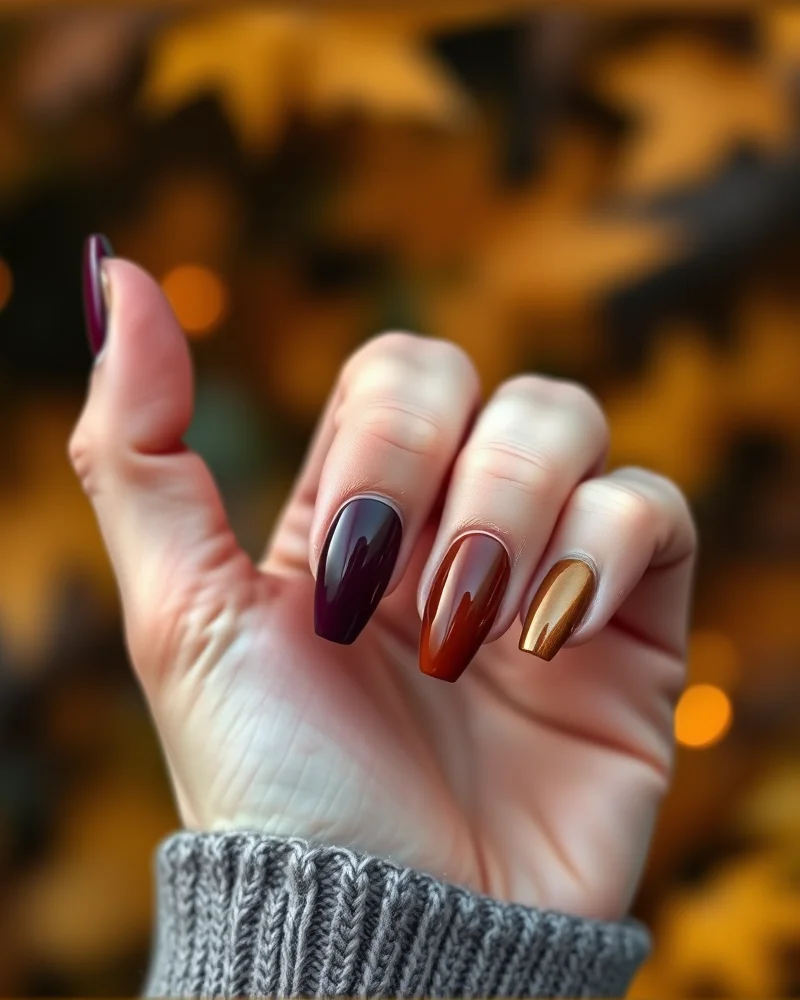
As the temperatures drop and the autumn leaves begin their transformation, our beauty routines naturally follow suit. Transitioning your manicure to deep, moody gel polish hues is the ultimate way to embrace the seasonal shift. The 2024 fall palette is defined by richness, saturation, and a grounding sophistication that complements the cooling undertones of autumn skin. When selecting your next gel manicure, consider how these colors interact with your natural skin tone to create a harmonious and high-end aesthetic.
- Deep Plum: This regal shade is the pinnacle of autumn elegance. Plum works exceptionally well because it offers a balance of red and blue undertones, making it a universal choice for both warm and cool complexions. It provides a luxurious alternative to standard black, adding depth and a touch of mystery to your nails.
- Midnight Emerald: Dark green has officially surpassed standard navy as the essential dark neutral of the season. Midnight emerald draws its strength from nature, grounding your look with an earthy yet opulent vibe. It looks striking against lighter skin tones by providing a high-contrast pop, while it brings out the golden undertones in medium to deep skin.
- Burnt Sienna: This is the quintessential fall color. By blending spicy orange with rustic red clay, burnt sienna adds warmth to your manicure. It is a fantastic choice for those with golden or olive skin tones, as the saturation harmonizes beautifully with the natural radiance of the skin during the transition from summer to autumn.
- Espresso Brown: The 90s aesthetic remains a dominant force in fashion, and espresso brown is its nail equivalent. This shade is much softer than stark black polish but offers the same professional, clean look. It serves as a perfect neutral that pairs well with any outfit, providing a chic and understated finish.
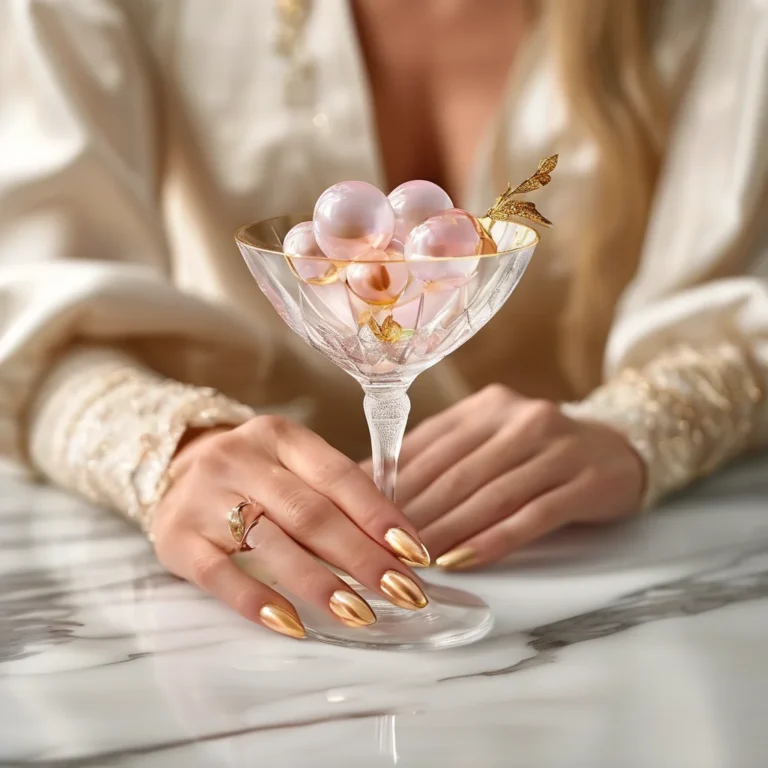
- Metallic Chrome: To elevate your look, incorporate a metallic chrome finish. Whether applied as a full-coverage gel or as a reflective nail art accent, chrome reflects the ambient light of the shorter days. It adds a futuristic contrast to the matte textures of cozy sweaters and wool coats, making your manicure the centerpiece of your fall style.
Pro tip: Always opt for a high-shine gel top coat to ensure these saturated pigments look glass-like and salon-fresh for the duration of your wear.
How to Properly Prep Your Nails for Long-Lasting Fall Gel Application?
Achieving a salon quality manicure that survives the cooling autumn temperatures requires more than just high quality polish. It begins with the fundamental health of your natural nail plate. Without proper preparation, even the most durable gel formula will lift or chip prematurely. Follow this technical guide to ensure your fall manicure remains flawless for weeks.
- Precision Cuticle Care: Start by softening your cuticles with a gentle remover. Use a stainless steel cuticle pusher to carefully nudge back the proximal nail fold. Removing invisible non living tissue, known as the cuticle, from the nail plate is vital. If this membrane remains, it acts as a barrier that prevents the gel base coat from bonding properly. Gently trim any hangnails, but avoid overcutting to maintain the integrity of your skin barrier.
- Surface Etching and Cleansing: Use a fine grit buffer, typically 180 or 240 grit, to lightly remove the shine from your natural nail. This creates a microscopic texture that allows the gel to grip effectively. Avoid aggressive filing, as thin or damaged nails will lead to weak adhesion. Once buffed, remove all dust using a lint free wipe saturated with 90 percent isopropyl alcohol.
- Dehydration and Priming: This is the secret to longevity. Apply a dedicated nail dehydrator to strip away excess oils and moisture. Once dry, apply a thin layer of acid free primer. Unlike acid based versions, acid free primer acts as a double sided sticky tape between your nail keratin and the base gel. Allow this to air dry for thirty seconds until the nail looks slightly chalky. Avoid touching your nails after this step, as natural skin oils will immediately compromise the bond.
- Final Base Application: Apply your base coat in a thin, controlled layer, capping the free edge to seal the manicure. Before you dive into complex nail art designs, ensure your base is cured for the full manufacturer recommended duration. A properly prepped canvas is the foundation of any sophisticated fall look, ensuring that your rich shades of oxblood, espresso, or forest green remain pristine throughout the entire season.
What Is the Secret to a Professional-Grade Gel Finish at Home?
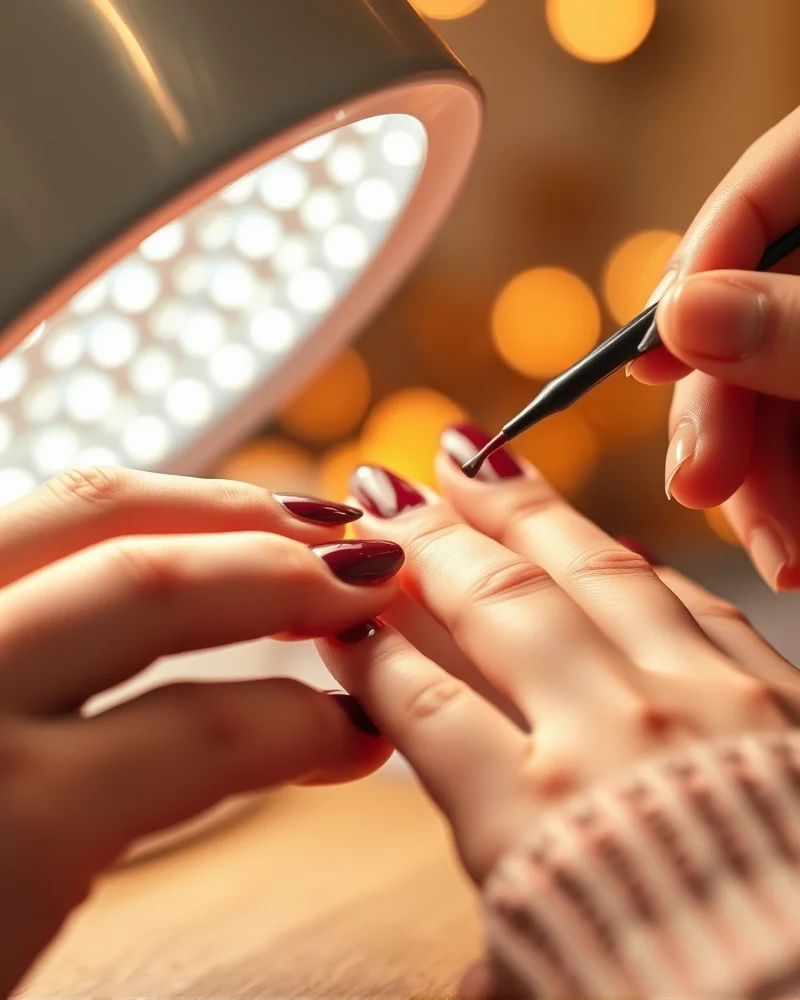
Achieving a salon-quality finish at home is not merely about having the right polish; it is a science that relies heavily on precision and chemistry. The secret starts with your UV or LED lamp. Many beginners make the mistake of using low-wattage devices that fail to fully crosslink the polymers in the gel. For professional-grade results, you should prioritize a lamp with at least 48 watts. This ensures sufficient intensity to reach deep into the pigment. Speaking of pigments, remember that darker fall shades like espresso brown, forest green, and deep plum contain higher densities of colorants. Because these pigments can block light, you must increase your curing time by an additional thirty seconds compared to lighter nude or pastel shades to avoid a tacky, under-cured base that inevitably leads to lifting.
The most critical technique for longevity is the application of thin, controlled layers. Applying thick, goopy coats prevents the light from penetrating through to the natural nail surface, which is the leading cause of peeling. Instead, wipe your brush against the neck of the bottle until it is nearly dry before applying a translucent layer. You should aim for three whisper-thin coats rather than one heavy one. This method allows the gel to harden completely, creating a durable bond that withstands the wear and tear of daily life.
Perhaps the most frequent pitfall for home enthusiasts is flooding the cuticles. When polish touches the skin, it creates a point of weakness where moisture and air can enter, leading to early chipping. To prevent this, leave a tiny, microscopic gap between the gel and your cuticle line. If you do happen to get polish on your skin, clean it up immediately with a lint-free wipe dipped in isopropyl alcohol before you place your hand under the lamp. By perfecting this boundary and respecting the curing requirements of dense autumn pigments, you ensure your manicure remains flawless and chip-free for weeks on end.
Are Dark Gel Polishes Harder to Cure Correctly?
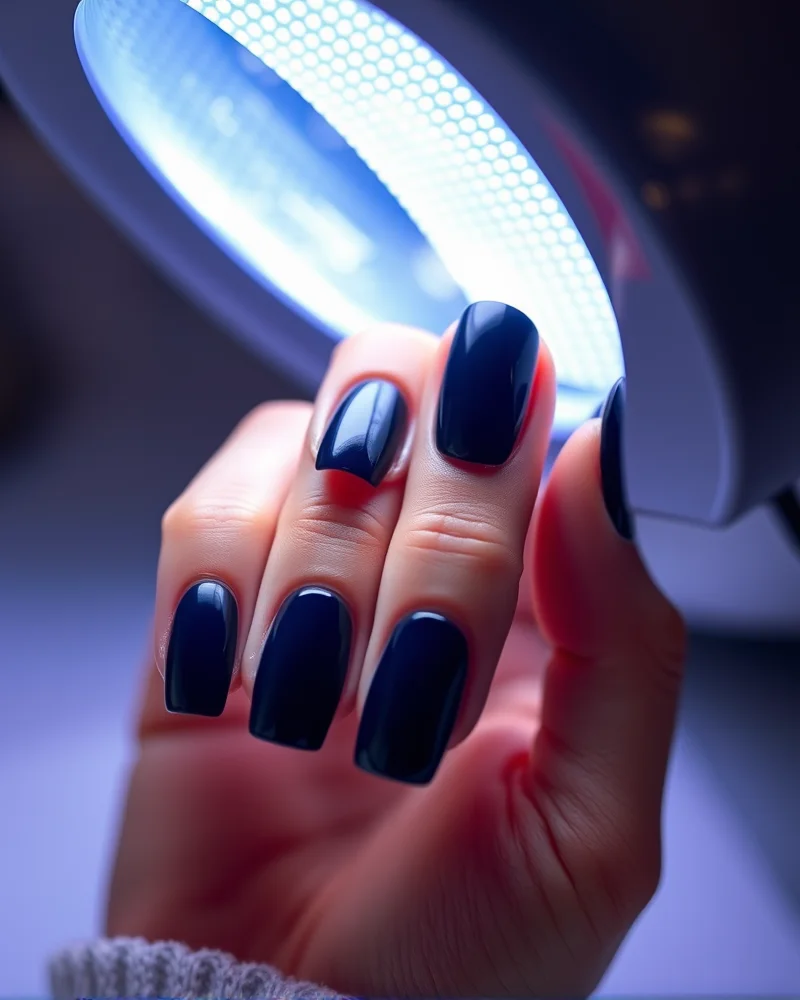
Are Dark Gel Polishes Harder to Cure Correctly?
As we transition into the moody aesthetic of autumn, many nail enthusiasts gravitate toward deep, dramatic shades like obsidian black, navy blue, and rich burgundy. While these fall gel colors look stunning, they present a unique challenge when it comes to the polymerization process. The answer to whether they are harder to cure correctly is a definitive yes. The science behind this lies in the high concentration of pigments required to achieve that signature opaque look.
When you apply a highly pigmented gel polish, you are essentially introducing a dense barrier that is designed to absorb or block light. In the world of chemistry, photoinitiators inside your gel formula need a specific intensity of UV or LED light to trigger the hardening process. With darker pigments like espresso brown or midnight purple, these particles act like a shield, making it significantly more difficult for the light to penetrate all the way through the layer to the base of the nail. If the light cannot fully reach the bottom of the gel application, the result is an under-cured manicure that may lead to service breakdown, lifting, or in some cases, skin sensitivity.
To ensure your fall manicure remains durable and safe, keep the following professional tips in mind:
- Utilize Thin Layers: Never try to achieve full opacity in a single coat. Apply two or three very thin layers of dark gel polish instead of one thick coat. This allows the UV rays to penetrate the thinner film more efficiently.
- Check Your Lamp Wattage: Ensure your nail lamp is compatible with the specific brand of gel you are using. A lamp with insufficient power will struggle to penetrate deep pigments.
- Extend Your Cure Time: Because dark pigments absorb light energy, it is often beneficial to add an extra 30 seconds to your standard cure time. Many professional nail technicians recommend a full 60 to 90 seconds for darker shades to ensure complete polymerization.
- Precision Placement: Make sure your hand is positioned directly under the light bulbs in your LED lamp. Avoiding gaps in coverage prevents raw gel from remaining on the nail bed, which is crucial for preventing allergic reactions.
By respecting the chemistry of these high-opacity formulas, you can enjoy your deep, seasonal manicure without the risk of peeling or premature chips. Patience during the curing phase is the most important component of a professional-grade result.
Which Nail Shapes Best Complement Deep Autumn Tones?
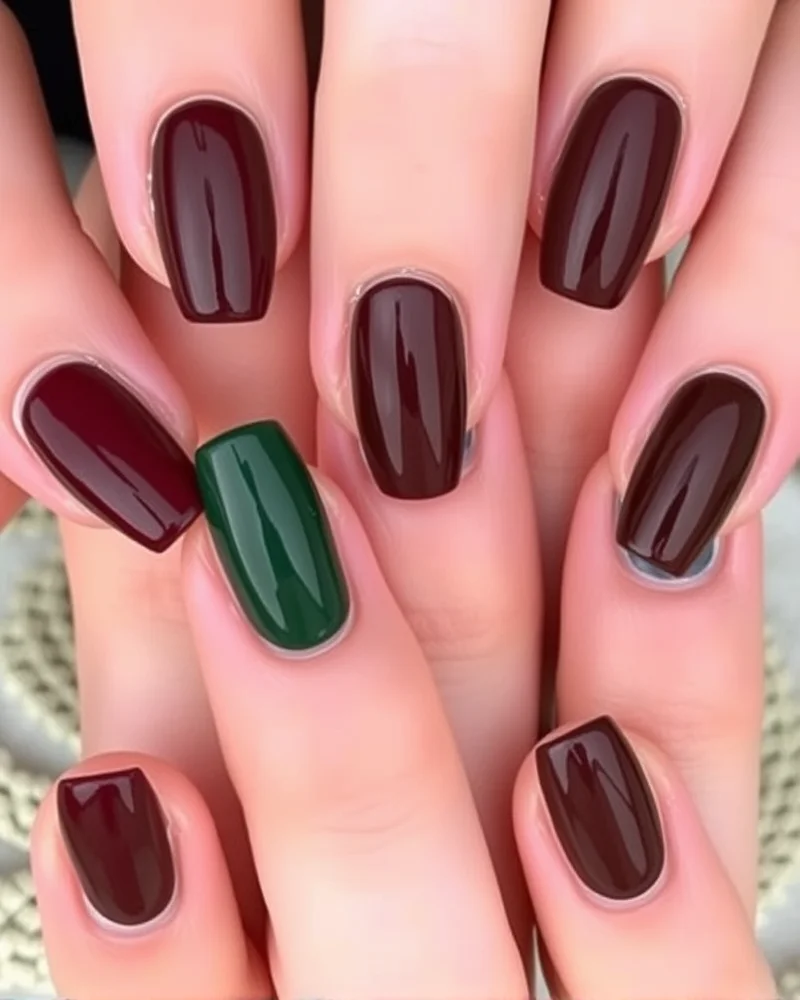
Choosing the right silhouette for your manicure is just as critical as selecting the perfect shade of oxblood or forest green. When working with moody, high-pigment autumn palettes, the nail shape acts as the frame for your color story. A well-chosen shape can enhance the richness of the polish, providing a sophisticated backdrop that aligns with current seasonal aesthetics. If you are looking for inspiration for minimal designs, check out our guide on fall themed nails simple designs to see how these shapes play with understated art.
| Nail Shape | Autumn Aesthetic Impact | Best For… |
|---|---|---|
| Almond | Creates a soft, feminine, and elongated appearance that makes fingers look slender. | Deep burgundy, espresso, and plum tones that need a touch of elegance. |
| Coffin (Ballerina) | Offers a bold, architectural edge that commands attention with dramatic colors. | High-gloss black, navy, or metallic finishes where surface area matters. |
| Short Square | Provides a clean, modern, and practical look that grounds dark, moody pigments. | Dark forest greens or charcoal grays for a chic, understated vibe. |
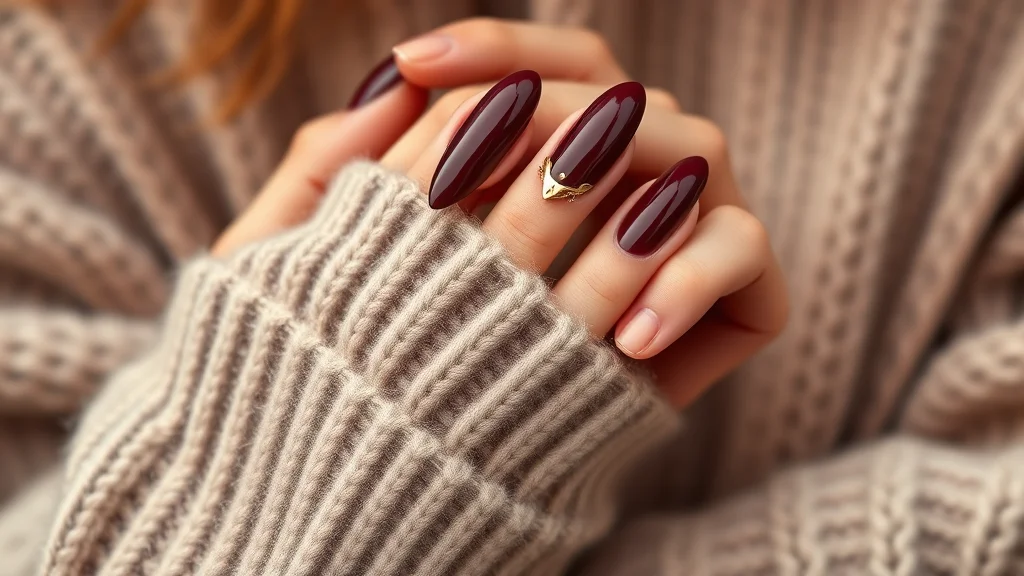
The almond shape is widely considered the gold standard for lengthening the hands. Because it mimics the natural curve of the nail bed, it creates a seamless transition that draws the eye upward. When you paint almond nails with deep, saturated autumn hues like blackberry or mahogany, the effect is incredibly polished and high-end. This shape effectively softens the intensity of darker colors, ensuring the manicure feels luxurious rather than harsh.
In contrast, the coffin or ballerina shape is designed for those who want to make a statement. Its flat tip and tapered sides provide a wider canvas for your gel polish, which is perfect for capturing the depth of multi-dimensional autumnal shades. Whether you opt for a matte finish or a classic shiny top coat, the coffin shape adds a sharp, professional flair to your look. For those who prefer a more utilitarian approach, the short square is an excellent choice. By squaring off the edges, you provide a sturdy foundation for dark gel colors, which helps in preventing chipping at the tips. This shape works beautifully with muted earth tones, lending a modern and minimalist feel that is perfectly suited for the cozy transition of the season.
How Does Seasonal Humidity Change Affect Gel Manicure Longevity?

As we transition into the autumn months, the scientific interplay between ambient air moisture and the structural integrity of your gel manicure becomes increasingly critical. During the summer, high humidity levels keep both the natural nail plate and the gel coating slightly more pliable. However, as the temperature drops and the air loses its moisture content, the environment becomes significantly drier. This seasonal shift forces a rapid dehydration of the nail bed, which can lead to a condition known as nail plate shrinkage. Because the gel polish is a rigid polymer, it does not shrink at the same rate as your biological nail. This discrepancy creates internal tension that manifests as lifting at the free edge or microscopic cracks along the stress points of the nail.
To combat this, maintaining the flexibility of your gel layer is paramount. When the air lacks humidity, the gel can become brittle, losing its capacity to absorb the minor shocks of daily life. To prevent these micro-cracks from compromising your manicure, you must prioritize structural hydration. We recommend integrating a high quality, jojoba based cuticle oil into your daily routine. Jojoba oil possesses a molecular structure similar to natural sebum, allowing it to penetrate both the nail plate and the surrounding skin, thereby maintaining a necessary baseline of moisture that keeps the gel coating supple and resistant to shattering.
Furthermore, consider these professional strategies to safeguard your fall manicure against the dry climate:
- Apply a thin layer of moisturizing hand cream before finalizing your manicure to ensure the skin and nail beds are plump and hydrated.
- Avoid prolonged exposure to hot, dry air from indoor heating systems, which accelerates the loss of moisture in your nails.
- Utilize a rubber base coat if you are prone to chipping. These specialized formulas are designed to be more flexible than traditional base coats, allowing the gel to move with the natural fluctuations of the nail plate as the environment dries out.
- Wear protective gloves when cleaning with harsh chemicals, as these agents strip away essential oils and speed up the embrittlement of the cured gel layer.
By understanding that your nails react to the same atmospheric changes as your skin, you can proactively adjust your maintenance ritual. By focusing on deep hydration and flexible bonding agents, your dark autumn shades will remain pristine and crack free regardless of the dipping temperatures outside.
Can You Layer Chrome and Metallic Effects Over Your Fall Base?
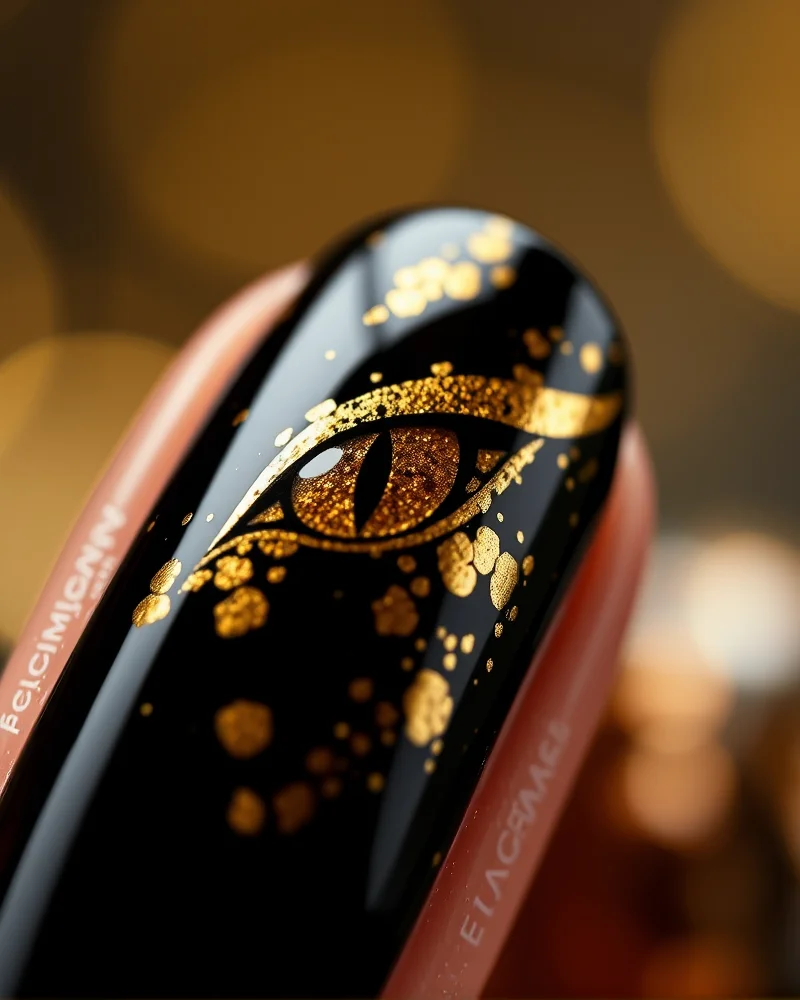
Elevating your fall manicure goes beyond selecting the perfect deep burgundy or forest green gel polish. The current trend in seasonal nail artistry involves adding dimension and texture to your base through sophisticated layering techniques. When working with high end gel systems, the order of operations and the choice of top coat are critical to achieving a professional, salon quality finish that lasts for weeks.
- Mastering Chrome Powder Application: To achieve that mirror like autumn sheen, apply your chrome pigment onto a non wipe top coat that has been cured for exactly thirty seconds. This ensures a slightly tacky surface that grips the metallic particles perfectly. Use a silicone applicator to buff the chrome into the nail surface, starting at the cuticle and moving toward the free edge. Once the finish is uniform, seal the edges with a thin layer of acid free primer before applying your final top coat to prevent premature chipping at the tips.
- Cat Eye Magnetic Gel Effects: For a mysterious velvet texture, apply a magnetic gel polish over a dark base color. Before curing, hover your neodymium magnet over the nail in a diagonal or s shaped motion to manipulate the metallic iron particles. For fall, try using a gold magnetic gel over a deep plum base to create a rich, multidimensional contrast. Always cure one finger at a time to lock the magnetic pattern in place before the particles settle back into a flat layout.
- Strategic Gold Leaf Accents: Gold leaf adds a touch of luxury to any fall nail design. Apply a very thin layer of builder gel or adhesive transfer gel to the cured base where you want the gold leaf to sit. Use tweezers to gently press small flakes onto the nail. The key to a smooth finish is to encapsulate the leaf under a layer of structure gel before applying your final top coat. This prevents the edges of the metallic flakes from snagging on hair or clothing.
- The Final Seal: Regardless of the effect chosen, always ensure your top coat fully encapsulates the design. For chrome finishes, a dedicated chrome sealer is recommended to prevent the pigment from dulling over time. For magnetic and leaf designs, a high gloss, non yellowing gel top coat provides the durability required to survive the changing seasonal conditions.
What Are the Signs of Gel Damage and How to Repair It?
While transitioning to the sophisticated aesthetic of fall nail colors 2026, it is vital to keep the structural integrity of your natural nail plate at the forefront of your beauty routine. Even with the most meticulous salon application, gel manicures can occasionally lead to issues if the removal process is rushed or if the nail prep involves overly aggressive filing. The most common sign of over filing is the appearance of white patches or thinning on the surface of the nail, which often feels flexible, bendy, or uncomfortably sensitive to heat and pressure. Chemical irritation, on the other hand, frequently manifests as redness or itching around the proximal nail fold, often indicating a sensitivity to the ingredients found in gel polishes or the curing process itself.
When these symptoms appear, the most effective course of action is to implement a dedicated recovery phase. Immediately pause all gel services to allow the keratin layers to regenerate without the stress of constant chemical exposure. A primary component of your restorative toolkit should be a high quality keratin hardener. Unlike standard clear polishes, professional grade keratin treatments bond with the existing protein structure of the nail to reinforce strength and prevent further peeling. These treatments act as a breathable shield while the nail plate recovers its natural thickness and rigidity.
Hydration is equally essential to the healing process. Incorporating a nutrient dense cuticle oil into your nightly regimen helps to stimulate blood flow to the matrix, where new nail growth begins. Look for formulas rich in jojoba oil, vitamin E, and squalane, as these ingredients penetrate the nail plate more effectively than heavy synthetic creams. For optimal results, massage the oil into the cuticles and the underside of the free edge consistently for at least two weeks before considering your next set. By prioritizing the health of your natural foundation, you ensure that your seasonal styles not only look exquisite but also remain structurally sound and resilient throughout the changing climate.
How to Safely Remove Fall Gel Without Damaging Your Natural Nails?
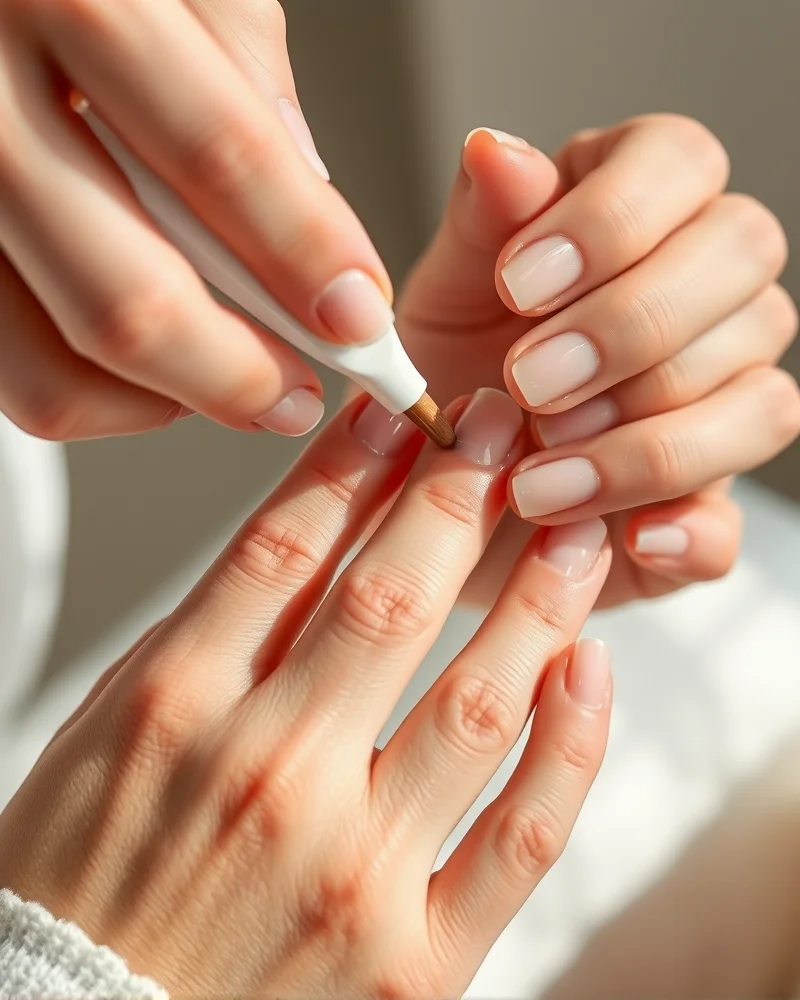
Transitioning away from your cozy autumnal gel manicure requires as much precision as the initial application. Many enthusiasts find themselves tempted to peel or pick at their gel polish when it starts to grow out, but this is the primary cause of nail plate thinning and surface damage. To maintain the structural integrity of your natural nails, you must prioritize a gentle, patient approach to removal.
The Professional Soak Off Method
The safest way to remove gel polish at home is the traditional soak off method. This technique avoids the friction associated with mechanical removal and keeps your nail bed protected. Follow these steps for best results:
- Lightly Buff the Surface: Use a medium grit nail file to gently remove the shiny top coat layer. Breaking the seal allows the acetone to penetrate the gel polish effectively.
- Prepare Your Wraps: Soak small cotton balls in 100 percent pure acetone. Place the wet cotton directly onto the nail and wrap each fingertip tightly in small squares of aluminum foil.
- Patience is Key: Allow the nails to soak for at least fifteen to twenty minutes. Avoid checking them repeatedly, as exposure to air causes the acetone to evaporate, slowing the process.
- Gently Remove Residue: After soaking, the gel should appear soft and lifted. Use a wooden orange stick or a cuticle pusher to gently nudge the product off the nail plate. Never force it; if the gel resists, soak for another five minutes.
Electric Filing vs. The Soak Off Method
While electric nail files offer speed, they require a high level of technical skill. Improper use of an e-file often leads to deep grooves or over-filing, which strips away vital layers of the keratin plate. Unless you are a trained professional, we recommend sticking to the chemical soak off method for home maintenance. If you must use an electric file, limit it strictly to removing the bulk of the color and leave the final base layer for a professional soak to avoid touching your natural nail bed.
Post Removal Hydration
The process of using acetone strips your nails and surrounding skin of their natural oils. Once the gel is completely removed, immediately wash your hands with a gentle cleanser. Follow this by applying a high quality cuticle oil rich in jojoba or vitamin E. Regular application of these oils over the following week will restore moisture, prevent peeling, and prepare your nails for their next seasonal color transition.
How to Create a Fall Gel Manicure Routine That Lasts 3 Weeks?
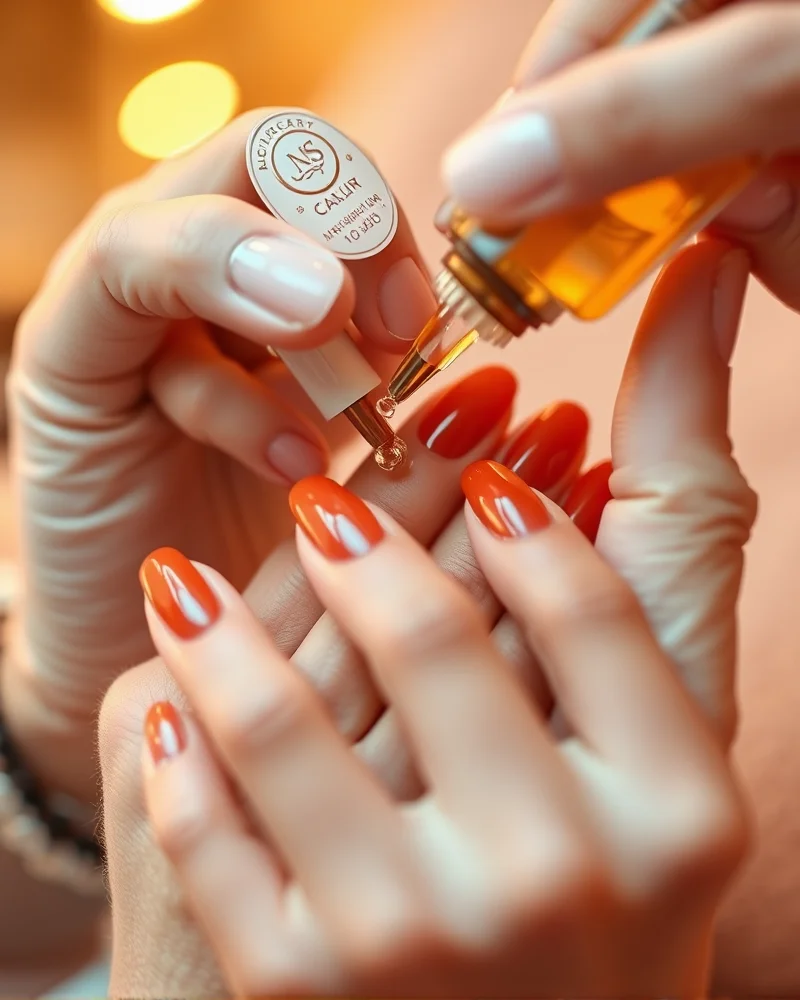
Achieving a salon-quality gel manicure that remains pristine for three full weeks during the autumn months requires more than just high-quality gel polish. It demands a dedicated maintenance strategy that addresses the specific environmental shifts of the season. As the air turns crisp and your hands endure frequent temperature fluctuations, your gel nails become susceptible to microscopic lifting. The foundation of a long-lasting manicure begins with meticulous cuticle care and a thorough dehydration process using a high-quality nail dehydrator or pure acetone before applying your base coat. This step removes natural oils that act as a barrier to adhesion, ensuring your gel polish locks onto the nail plate securely.
Daily maintenance is the secret weapon for preventing mechanical stress. Throughout the fall, your nails are prone to dryness, which can lead to brittle edges. You should integrate a hydrating cuticle oil into your nightly routine, specifically one containing vitamin E and jojoba oil. Massaging this oil into the surrounding skin keeps the nail bed flexible and prevents the gel from pulling away from the nail plate due to contraction. Furthermore, you must treat your nails as tools of elegance rather than utility. Avoid using your fingertips to pry open packages or scrape surfaces, as this puts undue pressure on the free edge of the gel, which is the most vulnerable point of the manicure.
Lifestyle adjustments play a crucial role in preventing premature wear and tear. When performing household chores, such as dishwashing or scrubbing, always wear nitrile or rubber gloves. Hot water and household chemicals can soften the gel layer and cause it to lose its structural integrity over time. Additionally, consider the following checklist to ensure your fall manicure survives the three-week mark:
- Apply a fresh layer of top coat after ten days to refresh the shine and seal the free edge against chips.
- Keep your hands moisturized with a thick, emollient hand cream to prevent the skin around the nails from snagging and pulling at the polish.
- Avoid prolonged soaking in baths or pools, as moisture absorption can lead to the expansion and contraction of the natural nail, breaking the seal of the gel.
- File down any minor snags immediately with a high-grit glass nail file to prevent them from catching on fabrics and causing a larger fracture.
By treating your manicure with this level of intentional care, you effectively minimize the risk of lifting, chipping, or fading. Consistency is the primary factor that transforms a standard two-week manicure into a durable three-week masterpiece that stands up to the demands of your autumn lifestyle.
What Are the Best Professional Tools for a High-End Finish?
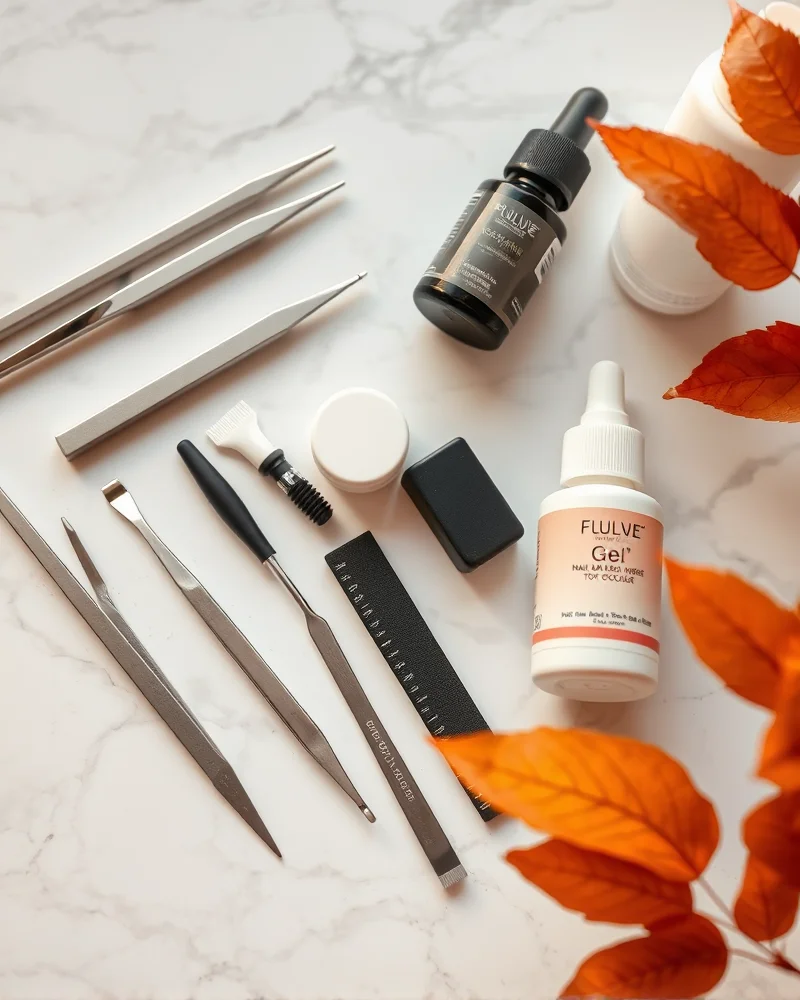
Achieving a salon quality manicure at home requires more than just a steady hand and your favorite autumn polish colors. The difference between a manicure that chips in two days and one that lasts for three weeks often lies in the caliber of your equipment. Professional nail technicians rely on specific, high performance tools to ensure their work remains flawless. Investing in these essential items will elevate your fall gel nail application to a professional standard.
| Essential Tool | Why It Matters for a High End Finish | Pro Tip for Best Results |
|---|---|---|
| Metal Cuticle Pusher | Precision cleanup of the nail plate is vital for preventing lifting and ensuring a smooth foundation. | Use the curved edge to gently nudge back dead tissue without putting pressure on the nail matrix. |
| High Grit Buffers | A 180 or 240 grit buffer removes the shine from the natural nail plate to ensure optimal adhesion for gel polish. | Avoid over buffing the nail plate to keep the keratin structure thick and healthy throughout the season. |
| Lint Free Wipes | Standard cotton balls leave behind tiny fibers that ruin the smooth surface of wet gel and cause imperfections. | Always saturate your wipe with 90 percent isopropyl alcohol to remove the sticky inhibition layer perfectly. |
| Professional Base Coat | A high grade base coat acts as a double sided tape between your natural nail and the colored gel. | Apply a very thin layer and ensure you do not touch the surrounding skin or cuticles to avoid lifting. |
| Non Wipe Top Coat | This provides the ultimate glass like shine and acts as a shield against scratches and color fading. | Cap the free edge of your nail with the top coat to prevent premature chipping during daily activities. |
To master the art of the perfect autumn manicure, you must prioritize the quality of your base and top coats above all else. These two products determine the structural integrity of your gel set. A professional grade base coat provides the necessary chemical bond to keep your polish secure, while a premium non wipe top coat seals your color, preventing UV yellowing and maintaining that high gloss reflective finish. Remember that professional tools are an investment in the health of your natural nails. By maintaining clean equipment and using the correct application techniques, you ensure that every fall nail look remains crisp, durable, and sophisticated.
Transitioning to fall gel nails is more than a color change—it’s an upgrade to your personal aesthetic and nail health maintenance. By choosing high-quality pigments, mastering the curing process, and prioritizing cuticle health, you ensure your manicure stays as crisp as the autumn air. Keep experimenting with textures like chrome and magnetic cat-eye to elevate your look throughout the season. For the latest in high-performance products, always check back at Nailosmetic for our curated professional selections.