Halloween Window Painting

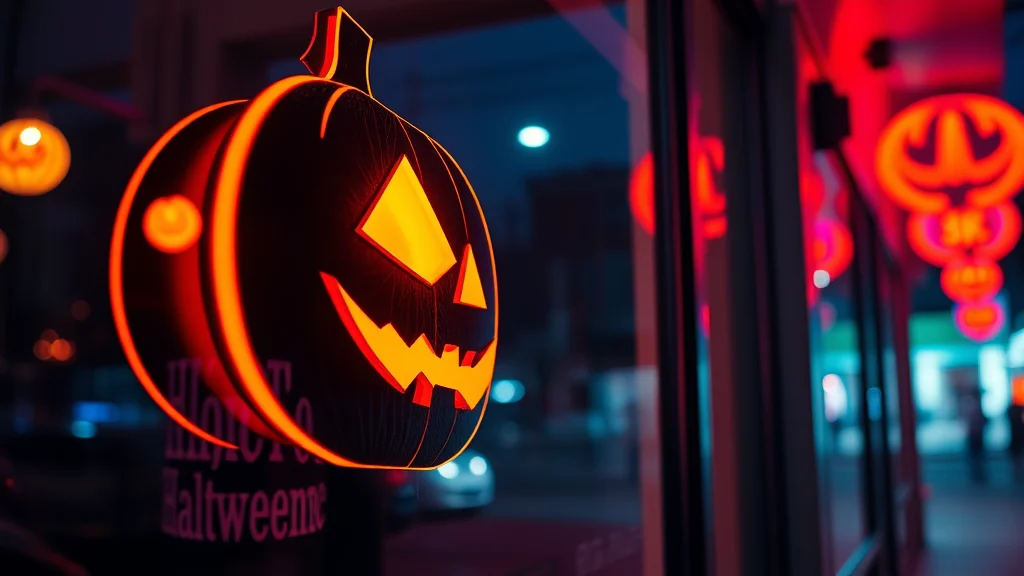
Halloween window painting transforms plain glass into professional-grade storefront art, turning your home or boutique into a neighborhood sensation overnight. The secret isn’t just in the brushwork; it’s in the professional-grade pigments that resist weather and glare, a trend [Nailosmetic](https://nailosmetic.com/) has mastered to bridge the gap between durable industrial finishes and high-fashion aesthetics. While amateurs struggle with streaky acrylics, the exact polish to achieving a seamless, gallery-quality look lies in layering high-viscosity, non-toxic mediums that cling to glass without chipping. Why is everyone suddenly abandoning temporary stickers for hand-painted murals? Because the light refraction of precision-pigmented paint provides a depth impossible to replicate with plastic decals. In this guide, we break down the elite techniques, professional color theory, and exact material specifications to ensure your Halloween display survives the elements while captivating every passerby who catches a glimpse of your masterpiece.
What are the best paints for professional-grade Halloween window art?
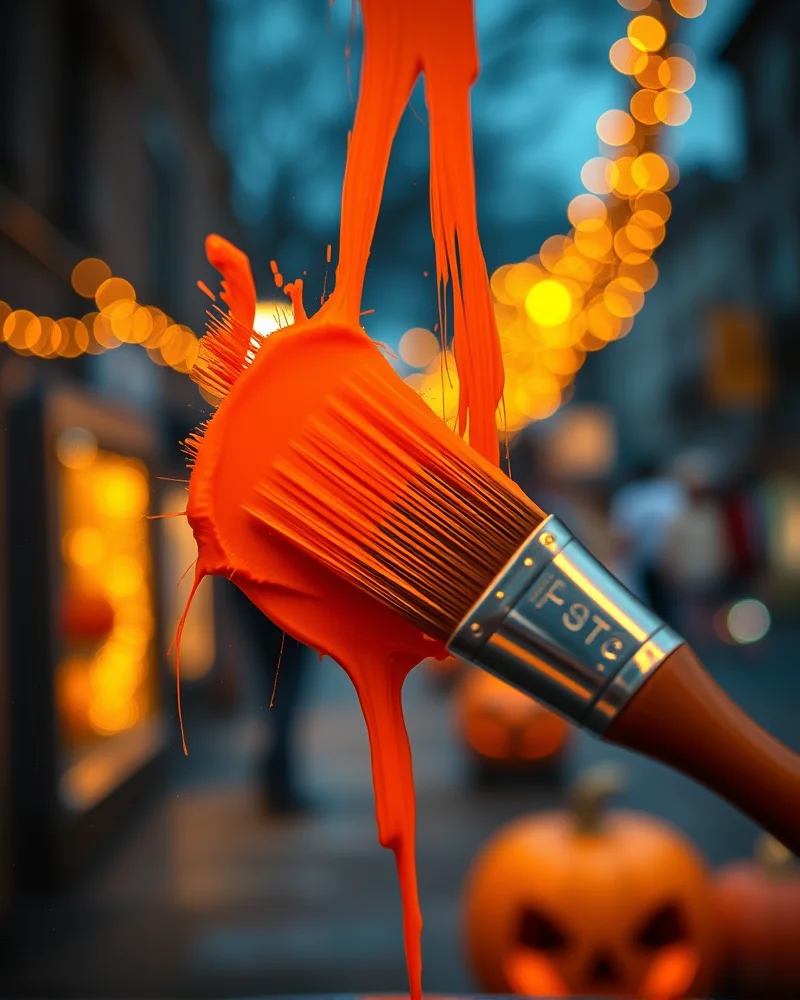
When selecting mediums for professional Halloween window painting, the divide between hobbyist supplies and gallery-grade tools comes down to molecular behavior and surface tension. Standard tempera paints are a common go to for classroom projects because they are water soluble and inexpensive, but they lack the structural integrity required for high-end exterior displays. Tempera tends to flake as it dries, leaving behind a dusty, uneven texture that loses vibrancy under the glare of streetlights or moonlight. While they are non toxic, their lack of weather resistance means a single evening of dew or unexpected autumn drizzle will cause your intricate designs to streak and run.
Acrylics offer a step up in durability, but they present their own set of challenges. Because acrylic polymers form a permanent bond, they can be notoriously difficult to remove from glass without the use of harsh chemical solvents or heavy scraping, which risks micro scratching the window surface. For the Nailosmetic professional, the superior choice is a high viscosity liquid chalk or a specialized vinyl based glass paint. These professional grade formulas are engineered with specific surfactants that allow them to adhere firmly to non porous surfaces while maintaining a smooth, opaque finish that does not crack or peel as the glass expands and contracts with temperature shifts.
The viscosity of a professional grade paint is critical for achieving clean lines and crisp edges. A paint with the proper rheology will sit exactly where it is applied without sagging or dripping, even on vertical glass surfaces. Furthermore, our premium supplies are formulated with UV resistant pigments. Craft store brands often fade under direct sunlight or intense artificial lighting, but Nailosmetic grade coatings utilize lightfast pigments that retain their saturated hues throughout the entire Halloween season. By choosing weather resistant, high pigment density formulas, you ensure that your window art remains a vibrant, professional installation that is easy to remove once the festivities conclude. Prioritizing these chemistry based features is what separates a amateur window smear from a true seasonal masterpiece.
How do you prep your windows for a streak-free finish?
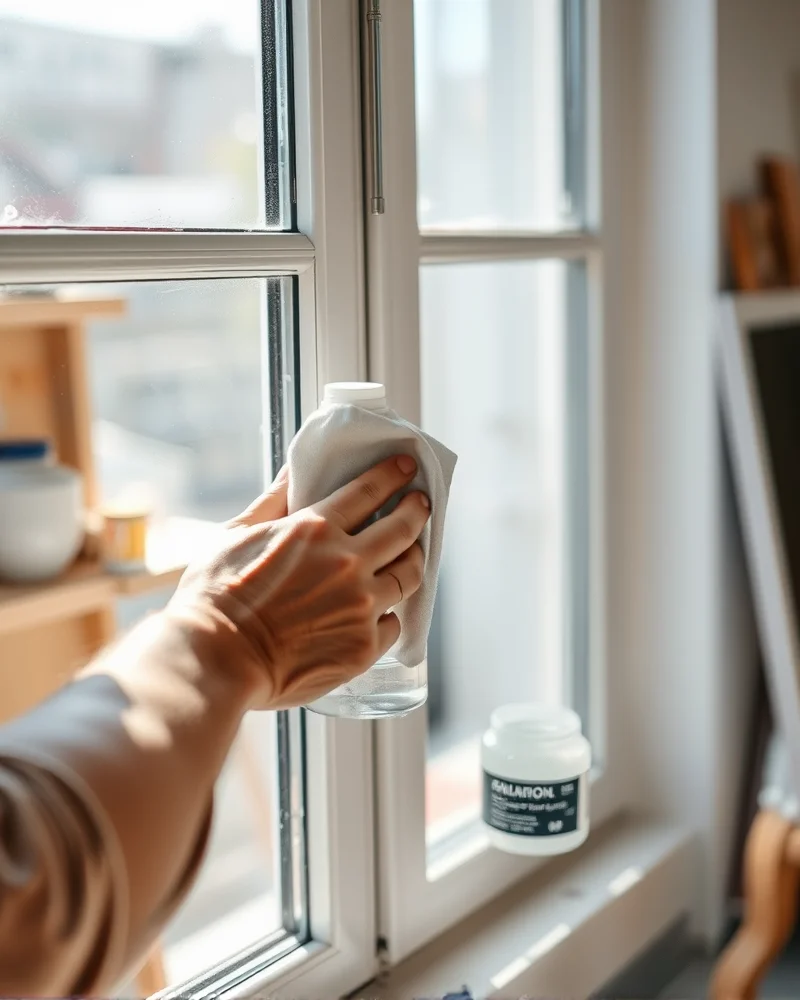
Achieving a professional finish on your Halloween window displays begins long before the first brushstroke. The secret to vibrant, long-lasting art is a chemically clean surface that promotes optimal paint adhesion. If your glass is clouded by microscopic oils or environmental pollutants, your pigment will struggle to bond, leading to premature flaking and distracting streaks. Follow this comprehensive guide to ensure your glass is perfectly primed for your seasonal masterpiece.
- The Science of Degreasing: Most standard glass cleaners contain ammonia or soap additives that leave behind a hydrophobic film. While these products seem to make glass look clean, they actually prevent acrylic paint from anchoring to the surface. Instead, reach for high-purity isopropyl alcohol. The alcohol evaporates instantly, stripping away every trace of fingerprint oils, skin lipids, and synthetic residue without leaving a film. By using a 70 percent or higher isopropyl concentration, you ensure a truly sterile surface where the paint can grip the glass molecules directly.
- Temperature Considerations: Glass is a thermally conductive material. If you attempt to paint on a window that is either scorching hot from direct sunlight or freezing cold, the paint will experience thermal shock. Extreme heat causes paint to dry too quickly, leading to cracking and brittle edges. Conversely, cold glass prevents the binder in your paint from setting, resulting in a runny, uneven application. Aim to prep and paint your windows when the surface temperature is between 65 and 75 degrees Fahrenheit.
- Preventing Ghosting and Residue: Ghosting occurs when previous paint applications or persistent cleaning chemicals leave a faint shadow behind. To prevent this, use a lint-free microfiber cloth rather than paper towels. Paper towels are notorious for leaving behind microscopic wood fibers and dust that ruin a streak-free finish. Work in small, circular motions using your isopropyl alcohol solution, then perform a final wipe with a clean, dry microfiber cloth in a single vertical motion. This technique removes any residual debris that could cause streaks or patchy coverage.
- Pro Tip for Success: After your final cleaning, run the back of your hand across the glass. If the glass feels squeaky or offers slight resistance, you have achieved the perfect level of degreasing. If it feels smooth or oily, repeat the alcohol wipe. This attention to detail creates a professional canvas that makes colors pop and ensures your Halloween window art stays crisp until you are ready to peel it away.
Which brushes and tools do professional window artists use?
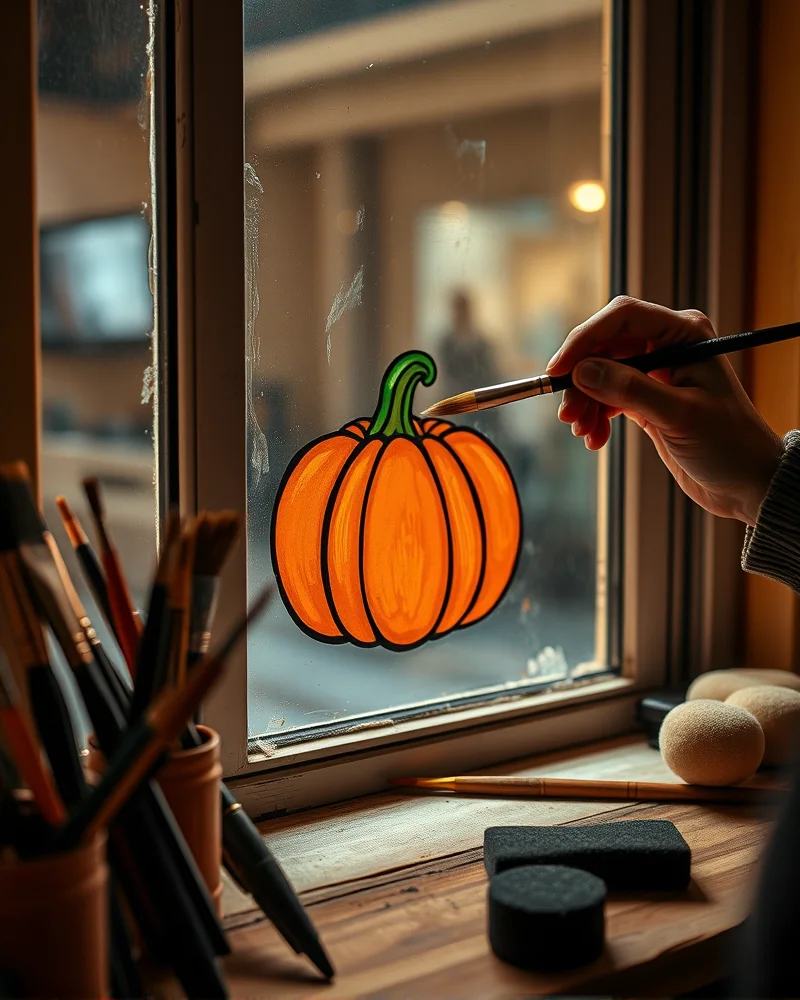
Achieving a professional finish on glass requires more than just high-quality tempera paint. It demands a specific arsenal of tools designed to manipulate viscosity and precision on a non-porous substrate. Whether you are aiming for intricate cobweb detailing or bold, opaque ghost silhouettes, your tool selection defines the final aesthetic. Mastering these implements is a cornerstone of our home decor ideas ultimate guide, where we emphasize that the right equipment transforms a simple hobby into a polished display.
| Tool Type | Primary Application | Pro Tip |
|---|---|---|
| Synthetic Filberts | Broad color-blocking and blending | Use the rounded edge to create soft edges on pumpkin gradients or ghostly glows. |
| Synthetic Liners | Intricate outlines and fine typography | Keep the brush damp to ensure a smooth flow of paint without stuttering on the glass. |
| Natural Sea Sponges | Texture creation and background filling | Blot the sponge on a paper towel first to avoid excessive dripping or pooling of pigment. |
| Pressure-Sensitive Applicators | Defining crisp architectural lines | Vary your grip strength to control stroke width without changing tools mid-design. |
Synthetic brushes are the industry standard for window art because they maintain their shape even when saturated with water-based pigments. Synthetic filberts offer a unique advantage because their rounded shape mimics the stroke of a brush while providing a flat surface area for filling in large spaces. When you transition to detailed linework, a synthetic liner or rigger brush is essential. These long, flexible bristles allow for long, uninterrupted lines that are necessary for lettering or detailing skeletal structures.
For those aiming for a professional, streak-free look, the use of pressure-sensitive applicators is a total game-changer. These tools allow artists to transition from a thin, needle-like stroke to a thick, bold line simply by adjusting the force applied against the glass. This level of control is vital for achieving the high-contrast silhouettes that characterize top-tier Halloween displays. Once your masterpiece is complete, the final step involves the application of a professional-grade spray-coating sealant. This clear, aerosol-based protective layer locks the artwork in place, protecting your hard work from condensation and incidental smudging during the chilly autumn nights. By utilizing these professional-grade tools, you ensure your window art remains vibrant and crisp throughout the entire Halloween season.
How to design a layout that maximizes curb appeal?
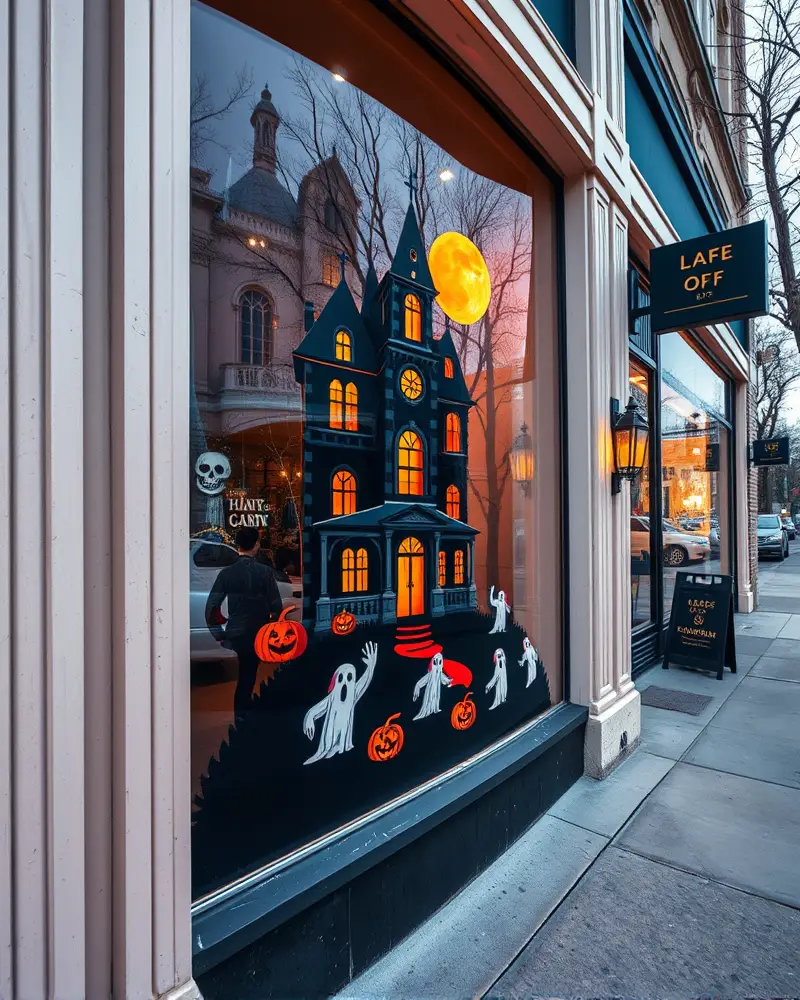
Designing a window display that commands attention from the street requires more than just artistic flair. It demands a strategic understanding of composition and visual hierarchy. When your canvas is a storefront or a residential glass pane, your goal is to draw the eye of passersby from at least 20 feet away. To achieve this, you must prioritize scale and clarity over intricate details. Small, dainty sketches tend to vanish when viewed from the sidewalk, so think in broad, bold strokes. Utilize the rule of thirds by dividing your window into a grid of nine equal rectangles. Position your primary focal point, such as a looming silhouette of a haunted mansion or a giant spectral figure, at one of the four intersections where these lines meet. This naturally guides the human eye through the composition and creates a sense of dynamic balance that feels intentional and professional.
Mastering negative space is equally vital for maintaining a clean, high impact aesthetic. Do not feel obligated to cover every square inch of the glass with paint. Leaving intentional gaps of empty space prevents the design from becoming cluttered and allows your main subjects to breathe. This negative space acts as a visual frame, isolating your spooky motifs and making them pop against the surrounding architecture. Regarding your color palette, leverage the psychology of high visibility to stop traffic. Deep blacks and charcoal grays provide excellent structural depth, but they must be anchored by high contrast accents. Incorporating vibrant neon oranges, electric purples, or toxic lime greens serves a functional purpose, as these hues are processed rapidly by the brain even in low light conditions. Bright, saturated colors create a visual pop that cuts through the glare of streetlights and internal building reflections.
Scaling your drawings for long distance legibility involves checking your work frequently from the exterior. A common pro tip is to sketch your composition using a dry erase marker on the outside of the glass before committing with your permanent paint. This allows you to walk back to the curb and verify that the proportions are correct and that the visual hierarchy flows logically. If you find your details are lost, enlarge the primary shapes and simplify the silhouettes. Always ensure that the largest elements of your scene are placed at eye level for the average pedestrian, as this creates a direct, immersive connection between your art and the viewer. By combining these structural design principles with a bold, high contrast color scheme, you transform your windows into a localized landmark that effectively captures the spooky spirit of the season.
Should you paint from the inside or the outside?
When you embark on the creative journey of Halloween window painting, one of the most critical decisions you will make involves the physical placement of your art. Deciding whether to paint from the inside or the outside is not merely about convenience, but rather a strategic choice that dictates the longevity, visibility, and technical approach of your display. Both methods offer distinct advantages that cater to different artistic priorities.
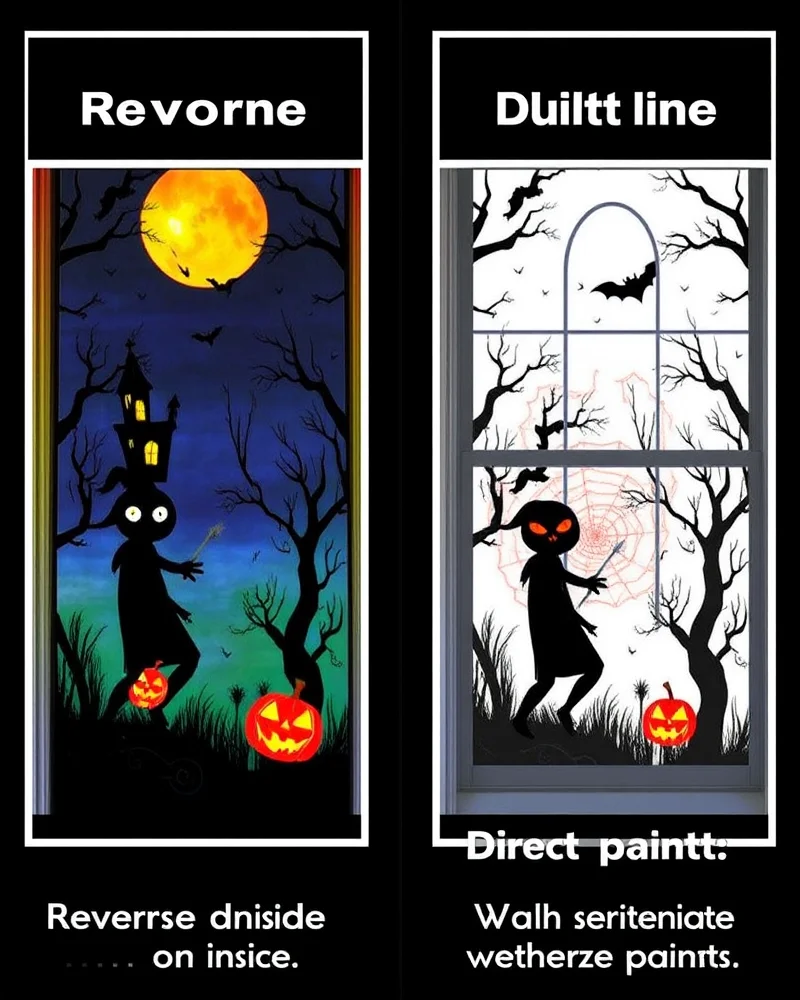
Painting from the interior of your home is a favorite among artists looking to protect their work from the elements and potential mischief. Because your artwork is shielded behind a layer of glass, it remains pristine despite wind, rain, or humidity. This method effectively safeguards your masterpiece from accidental damage or vandalism, ensuring that your Halloween display lasts throughout the entire month of October. However, this approach requires a mastery of reverse painting techniques. You must apply your highlights and fine details first, followed by the midtones, and finally the base colors. Effectively, you are building the image in the opposite order of a traditional canvas. While this learning curve can be steep, it produces a clean, professional aesthetic that is exceptionally easy to clean up once the season ends.
Conversely, painting on the exterior of the window allows for a much more direct artistic experience. Without the glass acting as a physical barrier between your brush and the scene, you can achieve significantly higher color saturation and more vivid contrast. This approach is ideal for artists who want their Halloween window murals to pop with intensity when viewed from the street. The primary trade-off is environmental exposure. To ensure your design survives harsh autumn weather, you must incorporate weather-resistant topcoats or clear sealants into your workflow. Without these protective layers, a sudden storm could wash away your hard work or cause pigments to bleed.
Ultimately, the choice depends on your environment. If you live in a high traffic area or a region prone to unpredictable October storms, interior painting is the practical choice. If you prioritize maximum visual impact and vibrant curb appeal for trick or treaters, exterior painting offers a bolder, more tactile finish. Whichever path you choose, remember that proper surface preparation remains the key to ensuring your paint adheres correctly to the glass surface.
What is the secret to perfect layering and opacity?
Achieving a professional finish on glass requires a masterclass in patience and material science, specifically concerning the paint-dry-paint cycle. Many beginners make the mistake of attempting to achieve full opacity in a single, heavy pass, which inevitably leads to streaks, drips, and a muddy appearance when the morning sunlight hits the pane. The secret to a crisp, luminous display is to build thin, uniform layers of pigment. By allowing each coat to dry completely, you ensure that the subsequent layer sits perfectly atop the base without lifting or dragging the underlying design. This methodical approach is the only way to manage pigment density effectively. If your paint is too thin, the daylight will wash out the vibrancy of your Halloween motif, making your art look faded and ghost-like rather than bold and striking.
To ensure your colors pop with high saturation, focus on the opacity of your initial base layer. For lighter tones like ghostly whites or vibrant orange pumpkins, start with a white primer layer or a very opaque base coat. This creates a solid backdrop that reflects light rather than absorbing it. Once this is set, you can begin the creative process of blending atmospheric effects. To create a seamless gradient, such as a moody violet dusk transitioning into a deep midnight blue, apply the two colors side by side while both are still slightly tacky, then use a clean, dry fan brush to lightly buff the meeting point. This soft-focus technique creates the ethereal, atmospheric depth that defines high-end window art. If you are looking to extend your festive theme beyond the windows, you might consider crafting some stunning fall table centerpieces to complement the seasonal mood inside your home.
Pro-tips for managing light transmission include thinning your acrylics with a professional-grade glazing medium instead of water. Water tends to break down the binder in the paint, causing it to lose its grip on the glass surface and appearing patchy. A glazing medium maintains the integrity of the pigment while allowing for beautiful, luminous transitions. Always step back to view your work from a distance as you add each layer. Sunlight acts as a natural lightbox, and checking your progress throughout the day will prevent you from over-working areas that are already perfectly balanced. By mastering this technical cycle, you transform glass panes into vivid canvases that capture the magic of the season.
How do you troubleshoot common window painting errors?
How do you troubleshoot common window painting errors?
Even the most experienced artists encounter setbacks when working with glass surfaces. Because glass is non porous, it behaves differently than canvas or wood. Below are professional solutions to rectify common mistakes without the need to remove your entire masterpiece.
- Q: What should I do if my paint starts dripping down the glass?
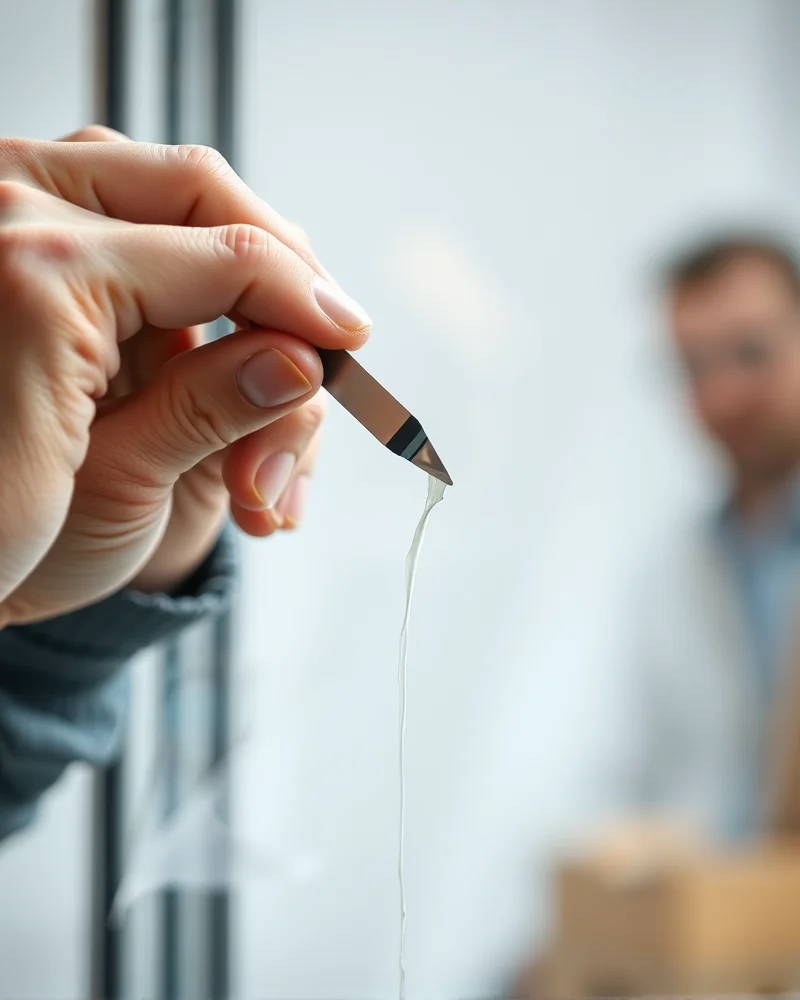
- A: Dripping usually indicates that the paint was applied too heavily or thinned with excessive medium. If the paint is still wet, use a clean, dry microfiber cloth or a precision cotton swab to gently lift the excess pigment. If the drip has already begun to set, wait until it is fully dry, then carefully shave the drip away using a new, sharp razor blade held at a 45 degree angle. Follow up with a glass cleaner on a Q-tip to tidy the edges, then dab a small amount of fresh paint onto the area to feather it back into the design.
- Q: How can I fix unwanted transparency or streaky layers?
- A: Transparency often occurs when the first coat is too thin or the brush was too dry. Do not try to fix this while the paint is tacky, as dragging the brush will create more streaks. Instead, allow the first layer to cure completely. Once dry, apply a second coat using a stippling motion with a high quality synthetic brush. This creates a dense, opaque texture that hides the streaks of the previous layer. If the opacity still fails to meet your standards, a thin coat of white primer as an underlayer on your next project will act as a base to help colors pop.
- Q: How do I stop colors from bleeding into each other?
- A: Color bleeding happens when wet colors touch or when the paint is too fluid. If you notice colors beginning to migrate, immediately lift the excess with a clean paper towel. To prevent this, always allow your base colors to reach a full dry state before applying bordering details. If you are working on a tight deadline, use a handheld hair dryer on a cool setting to accelerate the drying process. Pro tip: Always work from the center of your design outward to minimize the risk of accidentally smudging or bleeding your progress.
- Q: What is the remedy for cracking or flaking paint?
- A: Cracking is usually a symptom of a temperature shift or applying paint over a dirty surface. If you see cracks, the bond with the glass has likely failed. Gently peel away the loose, flaking sections. Clean the exposed glass with isopropyl alcohol to remove any residual oils or grime. Once the surface is clean and bone dry, reapply your paint in thinner, more controlled strokes. Avoid painting during extreme humidity or direct sun, as these environmental factors often cause acrylics to contract too quickly, which results in unsightly fissures.
How to safely remove Halloween paint without damaging the glass?
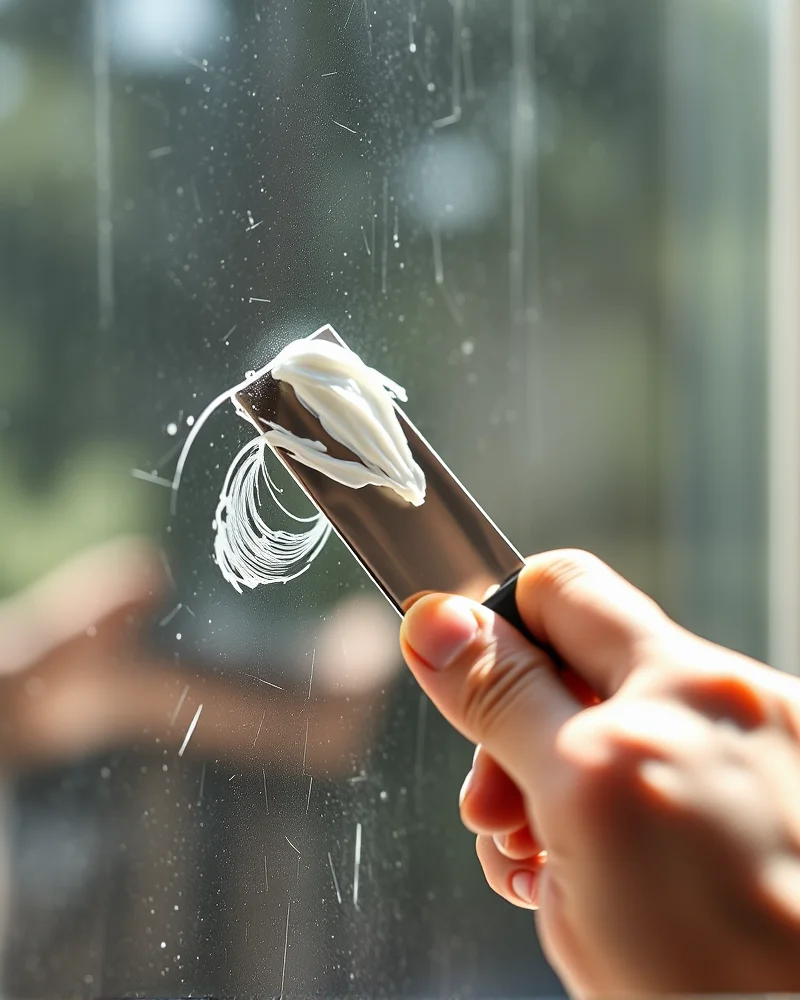
When November first arrives, the transition from spooky season to a pristine winter aesthetic is essential for maintaining your home facade. Removing Halloween window paint requires patience and the right technique to ensure your glass remains scratch-free and crystal clear. Whether you used acrylic tempera or professional window markers, the removal process should focus on preserving the integrity of the pane.
Chemical-Free Removal Methods
- Warm Water and Mild Soap: Begin with a mixture of warm water and a drop of dish soap. Using a microfiber cloth, dampen the paint thoroughly. Allow the moisture to soak for five to ten minutes. This rehydrates the pigments, making them much easier to lift without aggressive scrubbing.
- Vinegar Solution: For stubborn, dried paint residue, a mixture of white vinegar and water acts as a natural solvent. Spray the surface liberally and let it sit. The acidity helps break the bond between the paint particles and the microscopic pores of the glass.
Chemical Assistance
- Isopropyl Alcohol: If the paint contains high levels of polymers or wax, a light application of 70 percent isopropyl alcohol on a soft rag can dissolve the residue instantly. Ensure you are working in a ventilated area and avoid getting the alcohol on surrounding window frames or sills, as it can strip paint or sealant.
The Art of Scraping and Tool Usage
- The Razor Blade Technique: A high quality glass scraper is your best asset, provided it is used correctly. The most critical factor is the angle of attack. Always keep your blade at a shallow 45 degree angle relative to the glass surface. Never scrape with the blade at a 90 degree angle, as this increases the risk of gouging the glass.
- Maintaining Moisture: Never scrape a dry window. Always keep the glass lubricated with your soapy water solution while you work. This acts as a barrier that allows the blade to glide underneath the paint film rather than digging into the surface.
- Pro Tip: Regularly inspect your blade for nicks or debris buildup. A dull blade is far more likely to cause scratches than a fresh, sharp one. Replace your blades frequently throughout the project.
Final Residue Removal
- Buffing to Perfection: Once the bulk of the paint is removed, use a clean, dry microfiber cloth to buff the glass in circular motions. For a factory clean finish, apply a streak-free glass cleaner to remove any lingering hazy film, leaving your windows bright and ready for the winter sun.
What are the most trending Halloween motifs for 2024-2025?
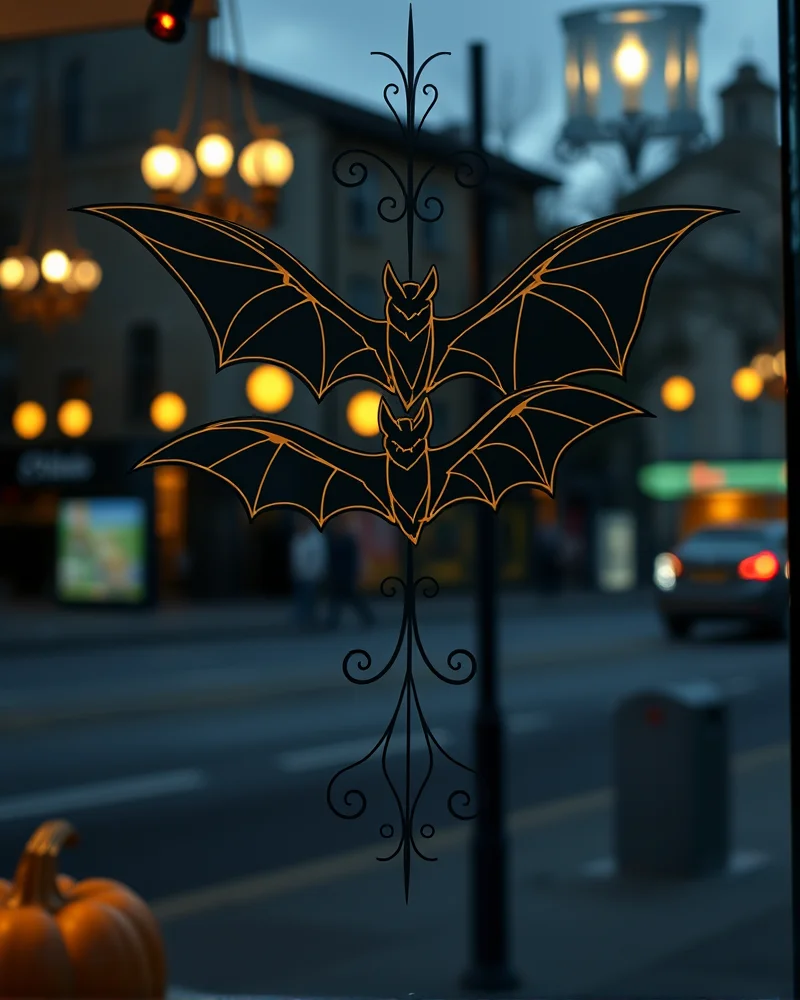
The aesthetic landscape for Halloween window painting in 2024 and 2025 has shifted away from kitschy store bought decals toward curated artistic expressions that reflect interior design trends. We are seeing a major movement toward minimalist line art, where simple, fluid strokes create sophisticated silhouettes of black cats or stretching spiders. This style leans into negative space, allowing the natural light to interact with the glass. If you want to elevate this look, consider incorporating some subtle nail art embellishment techniques by applying small reflective gems or metallic foil flakes to the borders of your painted motifs. This brings a high end, tactile dimension to the window that captures ambient street lighting at night.
For those who prefer a more dramatic flair, Victorian gothic remains a powerhouse trend. Think intricate, lace inspired filigree patterns combined with melancholy botanicals like wilted roses or drooping ivy. You can modernize the classic ghost symbol by opting for sheer, watercolor style washes instead of opaque white blobs, giving the spirits a haunting, ethereal quality that feels sophisticated rather than cartoonish. Similarly, pumpkins are being reimagined through anatomical sketches or elegant, sweeping calligraphy styles that focus on the organic curves of the gourd rather than the standard jack o lantern grin.
The neon cyberpunk aesthetic is also making a bold appearance, utilizing high contrast UV reactive paints to turn windows into vibrant, glowing light shows. This modern approach often features geometric grids, glitch effect fonts, and circuit board motifs that bridge the gap between traditional spooky decor and digital futurism. Finally, the vintage 50s horror imagery trend is capturing the nostalgic heart of decorators everywhere. This involves painting stylized, comic book influenced monsters, bubbling cauldrons, and B movie style typography. To modernize these, use a restricted color palette of monochromatic greys or deep bruised purples to unify the composition. By carefully selecting your motifs and focusing on intentional brushwork, your windows will serve as a refined seasonal centerpiece that sets a new standard for neighborhood curb appeal.
How can businesses monetize window painting services?
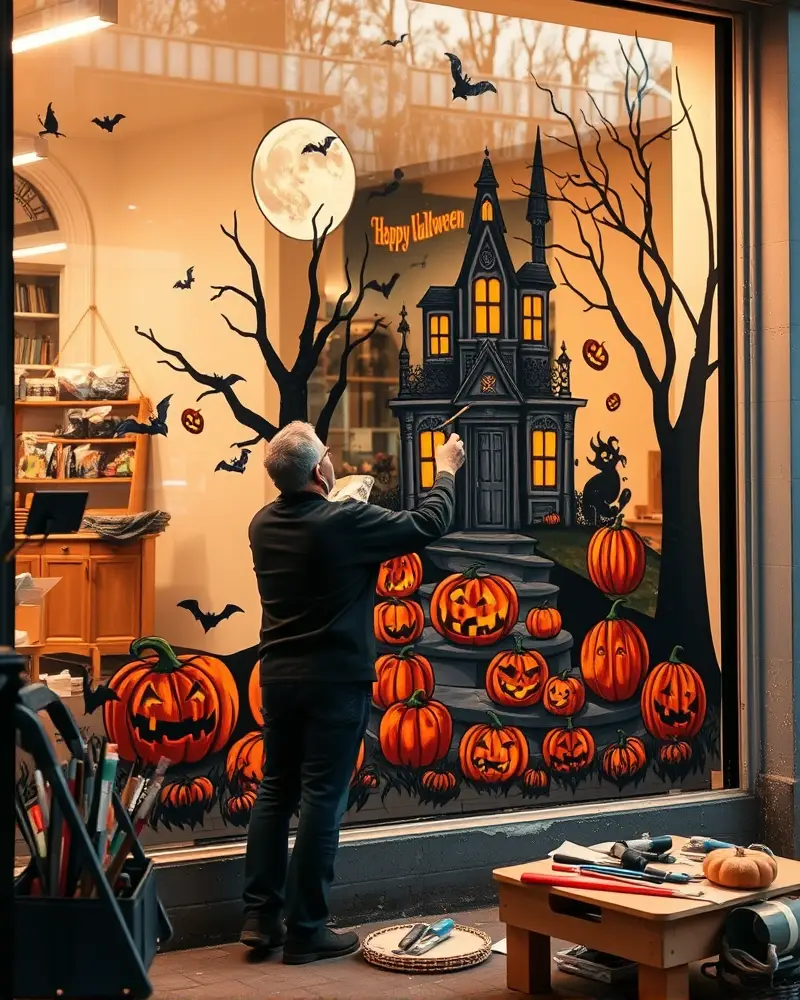
Transforming your artistic hobby into a profitable side hustle requires a strategic approach to business operations rather than just focusing on brushwork. To monetize Halloween window painting effectively, you must first establish a clear pricing structure that respects your labor and professional expertise. Many freelancers start with a flat rate based on window size, but a more accurate method involves calculating your hourly rate against the complexity of the design. You should aim to charge a minimum of fifty to one hundred dollars per window, adjusting for intricate details like shading or gradient work. Always factor in your material costs, including the price of high quality tempera paint, specialized glass markers, and cleaning supplies. A good rule of thumb is to calculate your total material expenditure and add a twenty percent markup to cover overhead, then add your hourly labor fee on top of that final figure.
When pitching your services to local storefronts, presentation is everything. Create a digital portfolio or a physical lookbook that highlights your best seasonal murals, as business owners want to see how your art will attract foot traffic. You can target local coffee shops, boutique clothing stores, and real estate offices, as these businesses benefit significantly from festive curb appeal. When you approach these owners, explain the value proposition: professional window art is an affordable form of local advertising that increases brand visibility and captures the attention of passersby during the busy autumn shopping season.
- Tiered Pricing: Offer a basic package for simple silhouettes and a premium package for full color, high detail, and photorealistic designs.
- Deposit Policy: Always request a fifty percent deposit upfront to secure the date on your calendar, ensuring you are compensated for your time.
- Referral Programs: Provide existing clients with a discount on future holiday displays if they refer you to neighboring businesses.
- Social Media Marketing: Tag local business owners in your Instagram posts and use location specific hashtags to ensure that prospective clients in your city can easily find your work.
Efficiency is the secret to profitability in this niche. By developing a repertoire of repeatable designs or using custom stencils for lettering, you can reduce your total time on site while maintaining a high quality appearance. Keep track of your time per project to refine your estimates, and over time, you will find a rhythm that maximizes your hourly earnings while keeping your clients thrilled with their seasonal window displays.
Halloween window painting is a blend of artistic vision and chemical precision. By choosing the right pigments, mastering the prep work, and focusing on high-contrast composition, you move from basic decorations to professional-grade art. Remember that durability starts with the substrate—ensure your glass is primed, your layers are deliberate, and your sealants are chosen for the local climate. Use this guide to turn your windows into a seasonal landmark that leaves an indelible mark on your neighborhood, just like the quality you expect from Nailosmetic products.