Fall Funky Nails

Fall funky nails are the definitive trend of the season, moving away from muted earth tones toward maximalist textures, unexpected color blocking, and experimental finishes. According to current nail industry data, search interest for ‘avant-garde autumnal manicures’ has surged 400% as consumers swap traditional burgundy for multidimensional chrome, 3D gel sculpting, and asymmetrical patterns. Whether you are hunting for the exact polish to replicate the ‘moody maximalist’ aesthetic or trying to understand why everyone is switching to high-contrast, mismatched sets, you’ve landed in the right place. At [Nailosmetic](https://nailosmetic.com/), we curate the industry’s most innovative tools to help you achieve salon-quality results from home. This guide breaks down the precise techniques, color theories, and professional-grade products required to master the season’s boldest look. If your goal is to push the boundaries of seasonal nail art, the following deep dive is your ultimate blueprint for fall-ready, show-stopping fingertips.
Why are funky, maximalist nails defining the fall season?
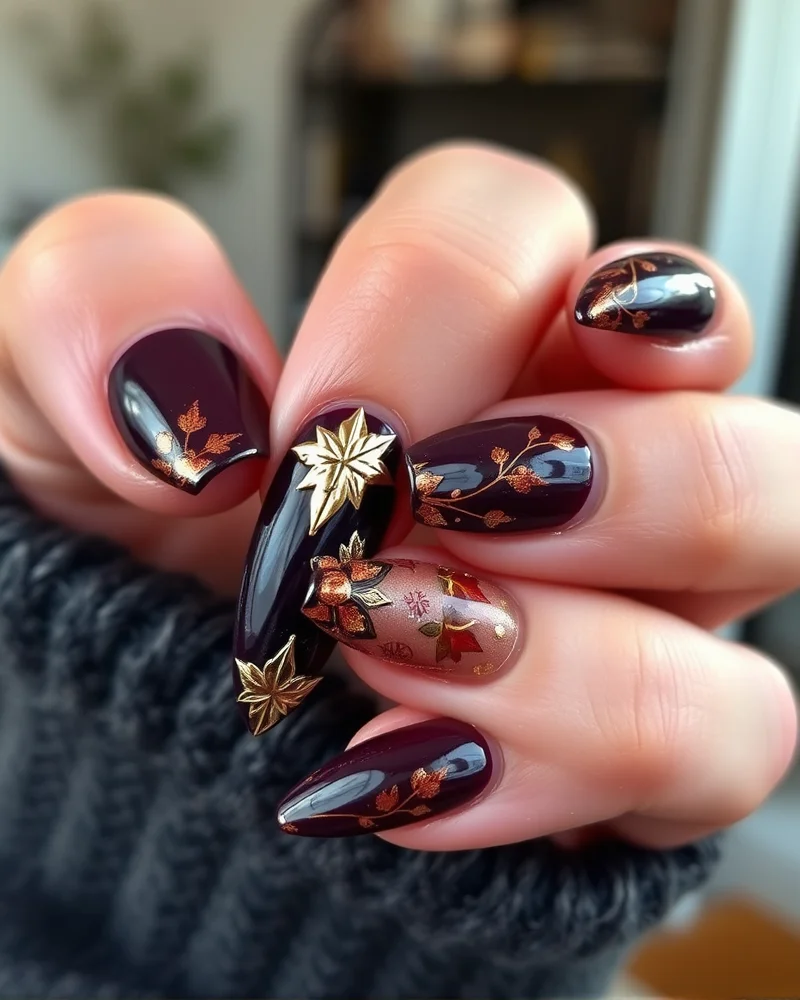
For several years, the beauty industry was firmly gripped by the clean girl aesthetic. This trend prioritized neutral tones, sheer nude polishes, and the illusion of effortless perfection. However, we have witnessed a definitive cultural pivot toward maximalist expressionism. Fall has become the ultimate playground for this transition, signaling a departure from muted conformity in favor of high impact visual storytelling. People are no longer satisfied with blending in. Instead, they are using their manicure as a medium for bold personal branding. This shift is deeply rooted in the desire for authenticity, where intricate nail designs serve as a canvas for one’s mood, artistic preferences, and creative identity.
Social media platforms like Instagram and TikTok have accelerated this movement, turning nail art into a competitive digital sport. Viral trends often favor complexity over subtlety. Whether it is 3D chrome accents, velvet magnetic polishes, or heavy hand-painted motifs, the algorithm rewards those who push boundaries. This visibility creates a feedback loop where nail enthusiasts are constantly challenged to innovate. When you see a high definition reel of a textured tortoiseshell design or a deep oxblood set with gold filigree, it invites you to participate in the spectacle. The psychological impact here is profound. Wearing bold, intricate nail art provides a sense of empowerment. It acts as a permanent accessory that alters how one carries themselves, transforming simple gestures into statements of intent.
Fall provides the perfect environmental backdrop for this experimentation because of its relationship with color theory. As the natural world transitions to a palette of burnt orange, deep plum, and moody charcoal, we feel a natural pull toward richer pigments. This season invites us to layer textures and play with contrast in ways that summer light often washes out. Pro-tip: Try pairing a matte base with glossy high-shine embellishments to create depth that captures the dimming autumn light. By embracing vibrant hues alongside seasonal staples, you create a look that feels both grounded in tradition and daringly modern. Maximalist fall nails are not merely a fleeting trend. They are a loud, colorful rejection of minimalism that invites every individual to reclaim their space through the art of the manicure.
What are the top color palettes for fall funky nails?
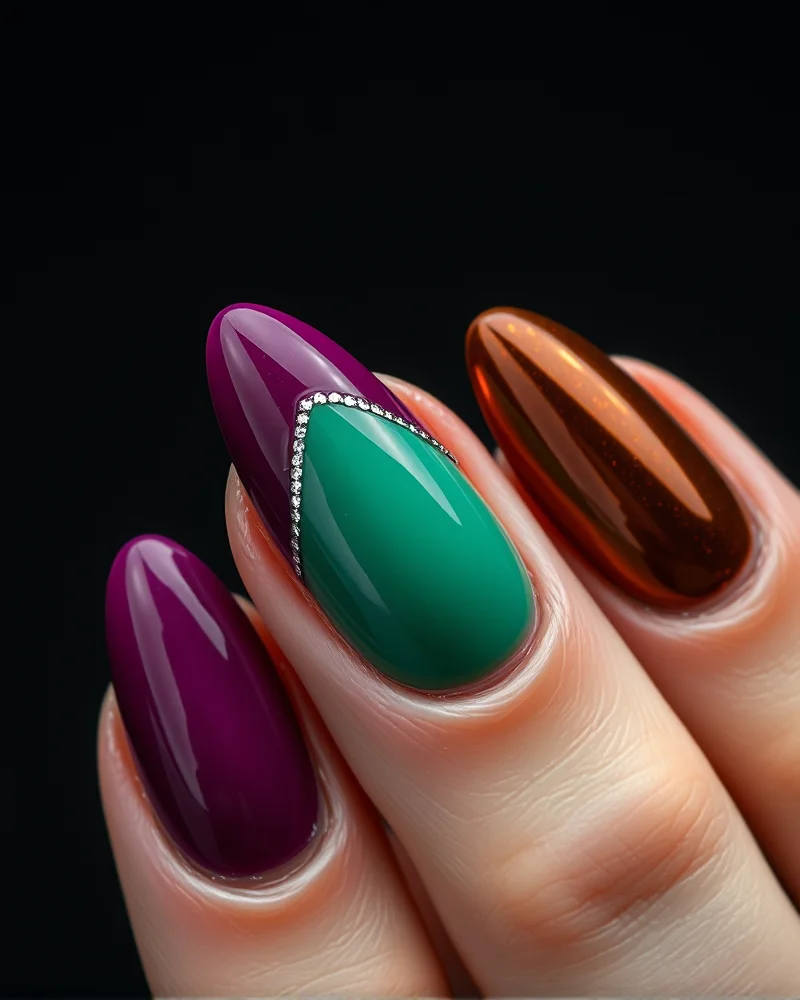
When we talk about the New Autumn color theory, we are essentially moving away from the tired, muted pumpkin spice aesthetics of the past. This season, the focus is on high impact and maximalist energy. We are embracing shades that challenge the gloom of shorter days while maintaining that essential moody, sophisticated autumn vibe. The New Autumn palette is built on unexpected saturation, creating a visual dialogue between comfort and electric intensity.
Electric Plum sits at the center of this revolution, acting as a deep and saturated alternative to standard berry tones. It brings a synthetic, futuristic edge that pairs perfectly with the grounded nature of Burnt Sienna Chrome, which provides a reflective, molten copper finish that feels like liquid foliage. Neon Moss is the wildcard here, a sharp and acidic departure from forest green that injects a dose of youth and vibrancy into any manicure. Finally, Midnight Cobalt provides the depth needed to anchor these brighter hues, offering a rich alternative to basic black or dark navy polishes.
To truly master this trend, you must pair these foundational colors with the right metallic finishes. Contrast is your greatest tool for achieving that desired funky, maximalist aesthetic. Whether you are using foil transfers, chrome powders, or metallic gel liners, the goal is to create a multi-dimensional look that changes under different lighting conditions.
| Autumn Color Palette | Complementary Metallic Finish | Visual Impact |
|---|---|---|
| Electric Plum | Sterling Silver Chrome | High contrast with a futuristic, cold aesthetic. |
| Burnt Sienna Chrome | Antique Gold Leaf | Warm, molten luxury with a textured finish. |
| Neon Moss | Gunmetal Foil | Industrial edge that balances the acid green. |
| Midnight Cobalt | Champagne Iridescent Flakes | Deep space depth with a ethereal, glowing effect. |
Pro tip: For the best results, consider utilizing a matte top coat over the base color before applying metallic detailing. This creates a tactile contrast between the soft, velvety texture of the primary color and the slick, high gloss finish of the metallic accents. This layering technique is exactly what professional nail artists use to ensure these funky designs look premium and intentional rather than cluttered.
How can you achieve 3D textured nail art at home?
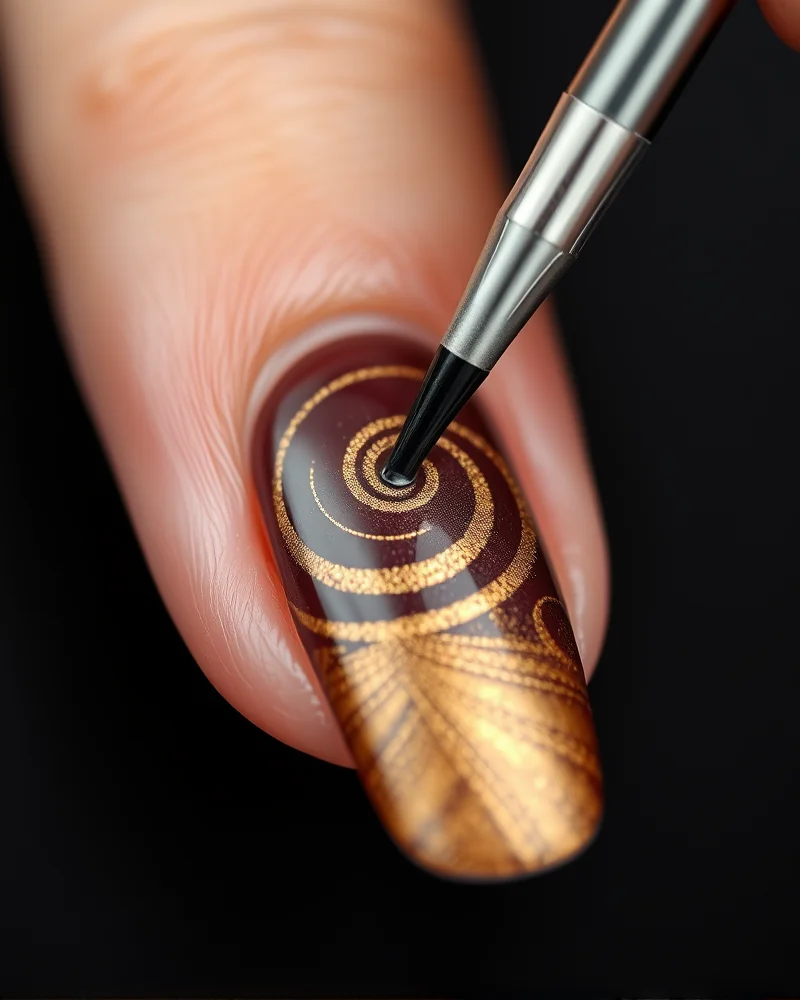
Achieving salon quality 3D textured nail art at home is a rewarding journey that transforms your manicure into a tactile masterpiece. To begin, you need a foundational set of tools including high quality builder gel in a bottle or pot, a dedicated 3D sculpting gel that does not self level, a selection of precision dotting tools, and ultra thin liner brushes. Before you start, remember that safety is paramount when working with polymerization products. Always ensure you are using a high quality UV or LED lamp and keep your workspace well ventilated to avoid inhaling uncured product fumes. Never allow the gel to touch your skin, as prolonged exposure can lead to contact dermatitis, so keep a cleanup brush dipped in alcohol nearby to remove any stray gel from your cuticles before curing.
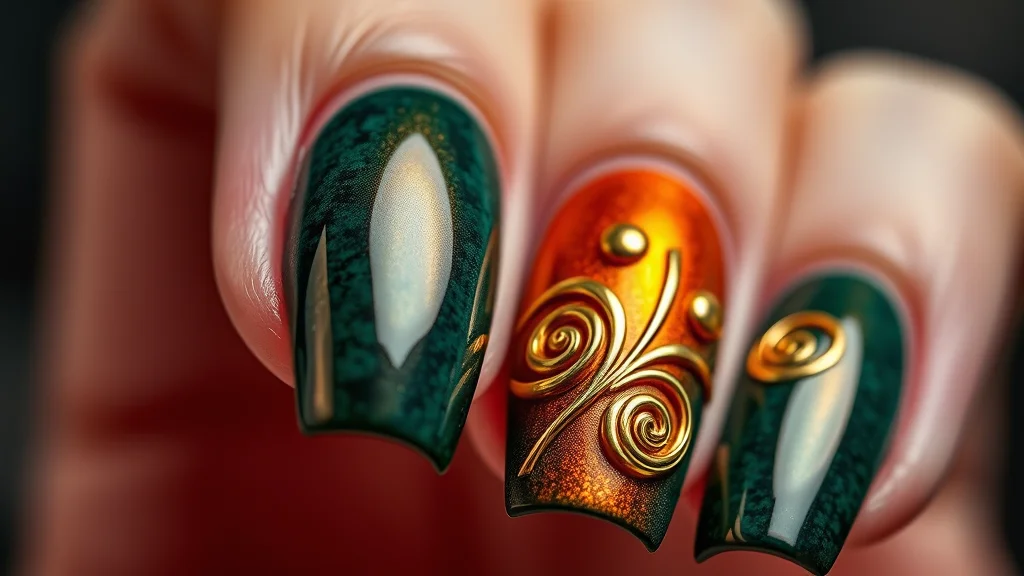
To create the popular molten metal aesthetic, apply a chrome powder over a cured black base, then use your sculpting gel to draw organic, fluid swirls. After curing the gel, apply a non wipe top coat over the raised texture before buffing in your favorite gold or silver chrome pigment to achieve that liquid metal finish. For those interested in embossed botanical motifs, use your sculpting gel to create delicate petals directly on the nail surface. You can find more inspiration for these styles in our nail art designs ultimate guide. Use the tip of a dotting tool to drag the gel into fine, tapered points that mimic the natural curves of leaves or flower buds.
The key to mastering these textures is working in thin layers. It is far better to cure multiple light layers than to attempt a thick, complex design that might remain uncured in the center. Always flash cure for ten seconds to set the design in place, then perform a full sixty second cure to ensure the structural integrity of your 3D art. If you are aiming for a raised liquid swirl effect, place a small bead of sculpting gel on the nail and use a thin liner brush to pull and shape it into a three dimensional loop. This technique adds depth and personality to your fall funky nails, ensuring your manicure stands out with a professional, artisan touch.
Which chrome and metallic finishes are trending this fall?
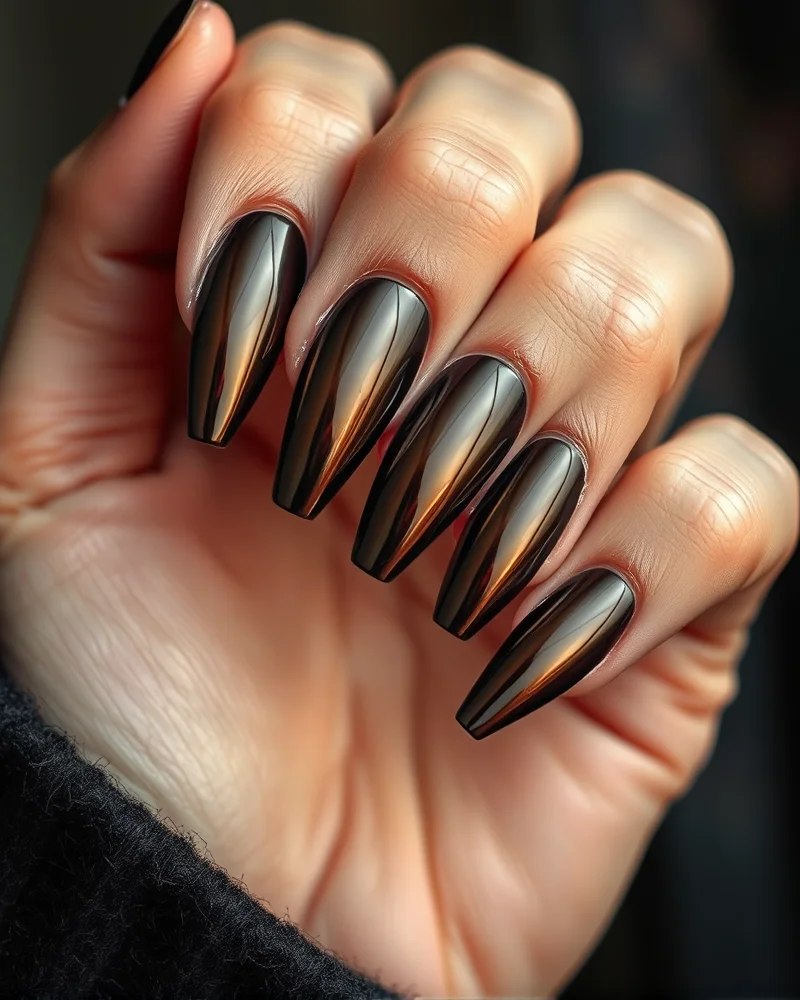
The aesthetic landscape for this autumn is undeniably dominated by the rise of Liquid Metal nails. This trend has moved beyond simple shimmer to embrace a high-octane, reflective quality that mimics molten gold, silver, and copper dripping over the fingertips. While traditional metallic polishes offer a classic luster, they often fall short of the true mirror effect now demanded by maximalist trends. To achieve the absolute peak of this look, understanding the medium is essential.
- Chrome Powders versus Metallic Polishes: Metallic finish polishes are formulated with fine metallic pigment particles suspended in a lacquer or gel base. While they provide an elegant brushed metal appearance, they rarely achieve a true mirror reflection. In contrast, chrome powders are ultra-fine pigments designed to be buffed into a non-wipe top coat. This buffing action creates a smooth, dense surface that reflects light with near-perfect clarity. If you desire the liquid metal aesthetic, chrome powders are your primary tool.
- Layering for Depth: The most requested look in top-tier salons this fall involves layering metallic powders over deep, moody base colors like espresso brown or charcoal grey. Using a dark base creates a dimensional foundation that makes the chrome pop with an expensive, moody intensity. For an espresso base, pair it with gold or bronze chrome for a warm, autumnal glow. For a charcoal or midnight blue base, opt for silver or holographic chrome to create a sleek, futuristic contrast.
- The Mirror-Shine Technique: To perfect the mirror-shine finish, start by applying your chosen espresso or charcoal gel color and curing it completely. Apply a high-quality non-wipe gel top coat and cure for precisely thirty to forty-five seconds. This specific timing is critical because a slightly tacky surface will cause the powder to streak, while an over-cured surface will prevent the powder from adhering. Gently buff the chrome pigment onto the nail using a silicone tool or a sponge applicator until the mirror finish appears. Always seal the design with two thin coats of a non-wipe top coat to prevent the pigment from wearing down at the tips.
By treating these metallic finishes as an artistic overlay rather than a standalone color, you can transform a standard manicure into a high-fashion accessory that defines the moody elegance of the fall season.
How do you master asymmetrical and mismatched patterns?
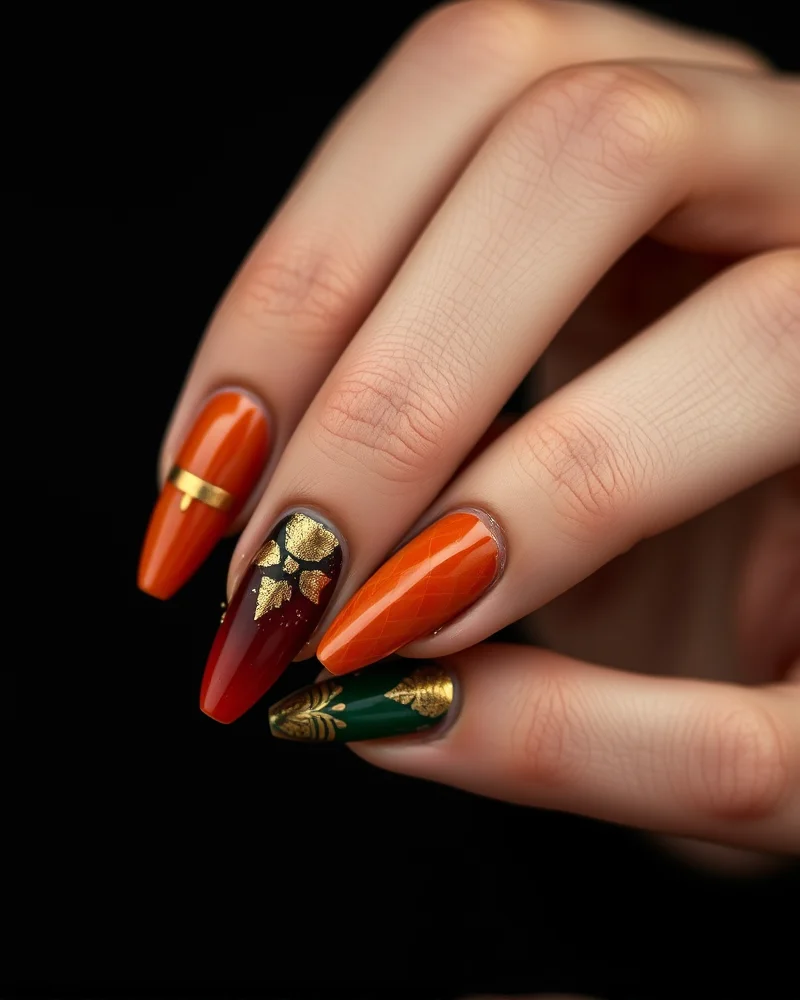
Mastering the chaos manicure requires a delicate balance between curated disorder and intentional design. The goal is to lean into the asymmetrical and mismatched nail trend without allowing the look to descend into visual clutter. To achieve this high fashion aesthetic, you must treat your entire hand as a single canvas rather than five individual works of art. The secret lies in establishing a unifying thread that anchors the eclectic elements together, ensuring that even the most daring patterns feel like they belong in the same collection.
To maintain cohesion while experimenting with varying nail art designs, follow this step-by-step methodology to achieve a professional finish:
- Select a consistent base tone or neutral color palette. By using a shared cream or soft nude shade as the foundation for at least three of your fingers, you create a visual anchor. This allows the remaining two fingers to feature bold, intricate patterns without overwhelming the senses.
- Utilize a recurring metallic accent across every nail. Whether you choose gold leaf, silver chrome line work, or copper detailing, incorporating the same metallic element on each finger ties the disparate patterns together. The consistency of the reflective finish acts as a bridge between varying textures and shapes.
- Limit your primary color story to three distinct shades. While the chaos manicure celebrates diversity in design, sticking to a specific color family—such as burnt orange, deep espresso, and forest green for the fall season—prevents the manicure from looking disjointed.
- Balance visual weight by placing larger, more intricate patterns next to simpler solid colors. If you decide to feature a complex plaid design on your thumb, ensure the index finger serves as a palate cleanser with a minimalist solid polish or a simple negative space detail.
Ultimately, the beauty of the mismatched trend is the opportunity for self-expression. By keeping these structural guidelines in mind, you can confidently mix textures like matte and gloss, or patterns like checkers and swirls, while still presenting a refined and intentional nail set that perfectly captures the funky energy of autumn.
What are the best tools for intricate fall nail art?
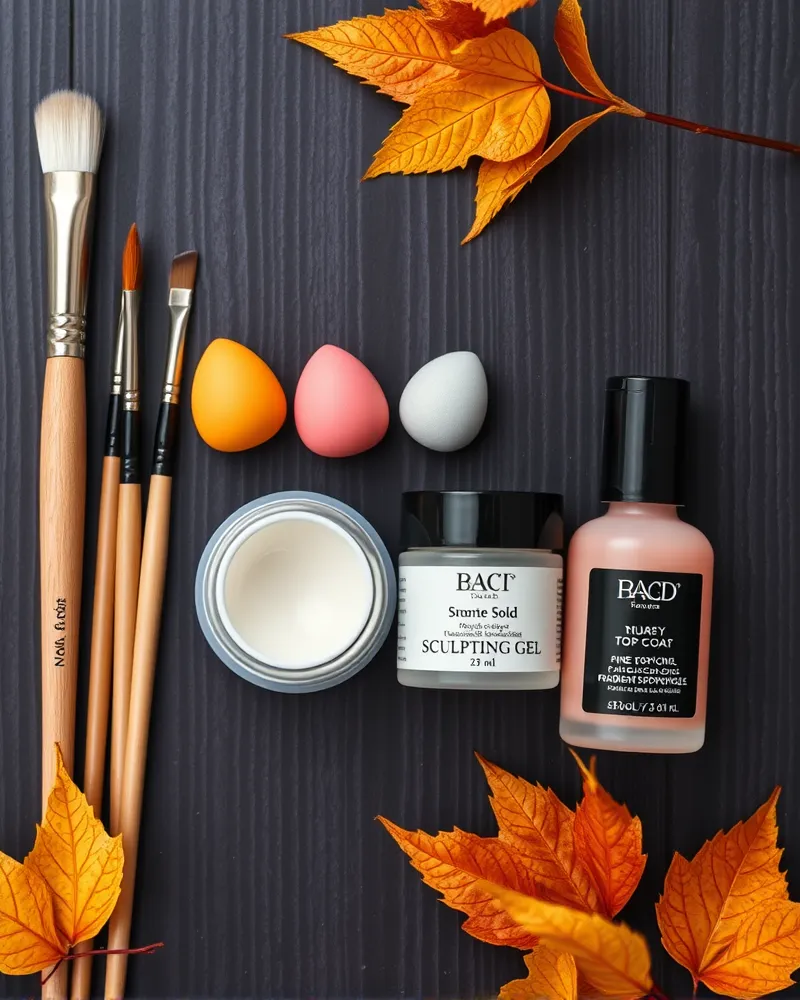
Achieving salon quality results during the autumn season requires more than just a steady hand. The secret to those viral autumn manicures lies in the quality of your implements. When you are attempting to create intricate fall pumpkin nail designs or delicate harvest motifs, standard brushes often fail to provide the precision needed for fine detail work. Professional grade tools act as an extension of your artistic intent, allowing for crisp edges and smooth color transitions that elevate a design from amateur to high fashion.
- Fine Point Liner Brushes: These are the undisputed stars of intricate nail art. Look for brushes with high quality synthetic bristles that maintain a sharp point. These allow you to execute thin lines, spider webs, or miniature leaf veins with total control. At Nailosmetic, we recommend keeping a set of varying lengths to manage different detail scales.
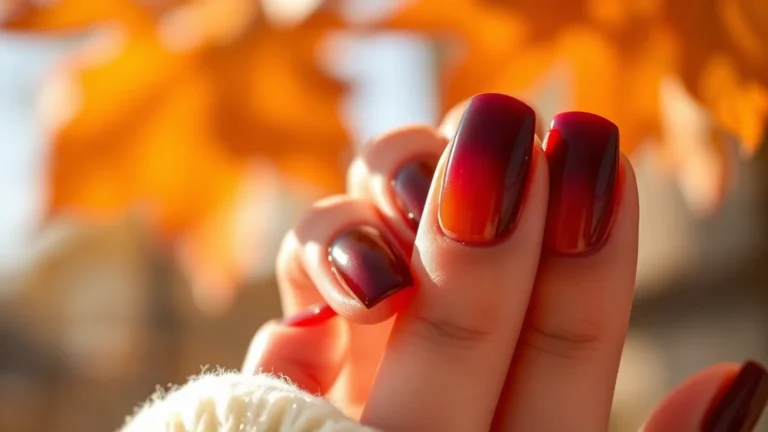
- Specialized Gradient Sponges: Fall trends often favor moody ombres featuring deep burgundy or burnt orange. Standard household sponges are too porous, leading to unwanted texture. Our dense, fine pore gradient sponges absorb less product and distribute polish evenly, ensuring a seamless fade without bubbling or patchiness.
- High Viscosity Sculpting Gels: For those interested in adding depth or 3D elements, high viscosity gels are essential. Unlike runny formulas, these thicker gels hold their shape once placed on the nail bed. This stability is crucial for building raised pumpkin ridges or textured sweaters patterns before curing.
- Non Wipe Top Coats: The final stage of your design requires a product that locks in your art without needing to remove a sticky inhibition layer. A premium non wipe top coat provides a glass like finish and superior scratch resistance, which keeps your complex autumn nail art looking pristine for weeks.
Using inferior equipment often leads to jagged lines and uneven curing. By investing in professional tools, you reduce the time spent on cleanup and ensure that your creative efforts are fully realized. Precision in your application is the definitive barrier between a cluttered look and a polished, professional masterpiece.
Can you combine negative space with funky fall designs?
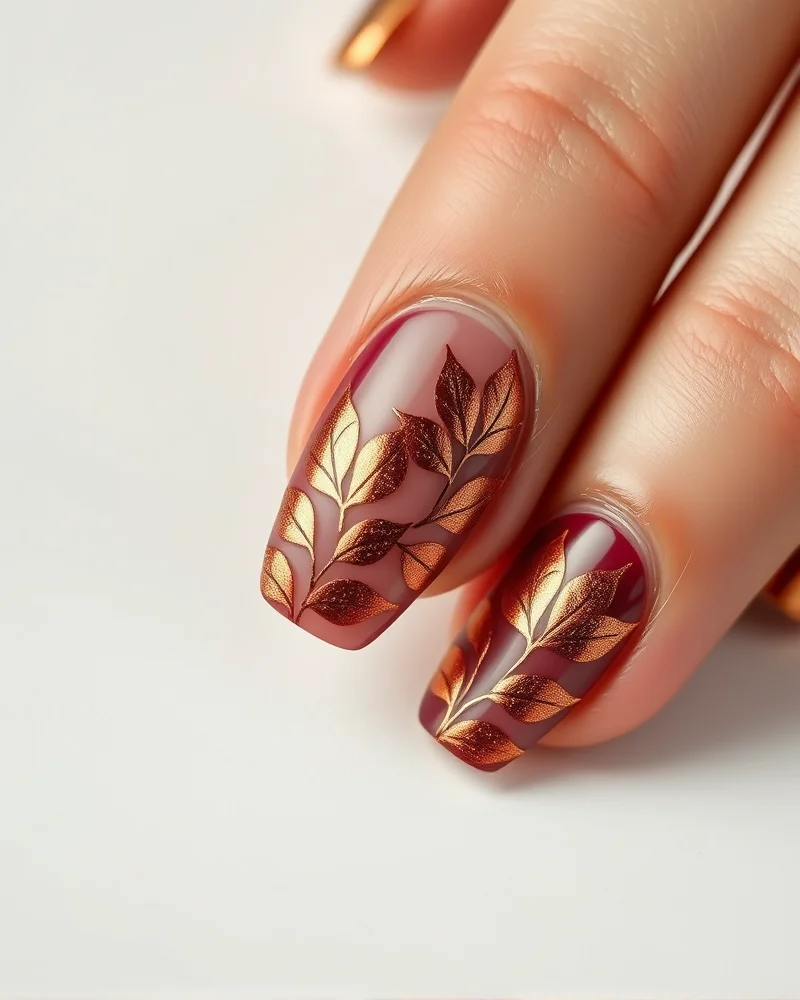
The evolution of nail art has brought us to a fascinating crossroads where the stark simplicity of negative space meets the vibrant, high energy of maximalist fall aesthetics. Many people assume that if they want a trendy fall manicure, they must commit to full coverage art that coats every millimeter of the nail plate in deep burgundy, burnt orange, or moody espresso tones. However, the true secret to sophisticated nail design lies in the strategic use of negative space. By leaving portions of your natural nail visible, you create a sophisticated balance that anchors busy, funky designs. This technique effectively prevents intricate patterns from feeling visually overwhelming, transforming an otherwise bold aesthetic into a refined look that remains entirely appropriate for professional settings.
Integrating negative space into your fall manicure is a brilliant way to showcase seasonal motifs without sacrificing elegance. Think of classic fall elements like elongated leaves, geometric harvest patterns, or abstract swirls. When you layer these elements over a clear base or a sheer nude polish, the design immediately gains a sense of lightness and breathability. For instance, you might paint a singular, intricate plaid pattern or a metallic copper leaf on just one corner of the nail, letting the rest of the nail bed remain bare. This creates a curated, intentional look that is far more versatile than a saturated, full coverage polish job.
If you are aiming to transition your nails from an office environment to an evening event, negative space is your greatest asset. It acts as a visual palette cleanser that allows the eye to rest. Consider the following applications for your next salon visit:
- Half moon manicures that incorporate autumnal hues like olive green or plum, leaving the crescent area clear.
- French tip variations that feature jagged, funky edges or fall florals while the majority of the nail stays natural.
- Abstract line work that snakes across the nail, utilizing thin gaps of bare nail to define the shape and flow of the design.
Ultimately, combining negative space with maximalist fall art is about restraint and intentionality. It allows you to participate in the funky, eclectic trends that define this season while maintaining a polished appearance. By embracing this intersection, you make complex art feel wearable, durable, and effortlessly chic, ensuring your manicure stays relevant throughout the entire autumn season.
What are the common mistakes when doing complex nail art?
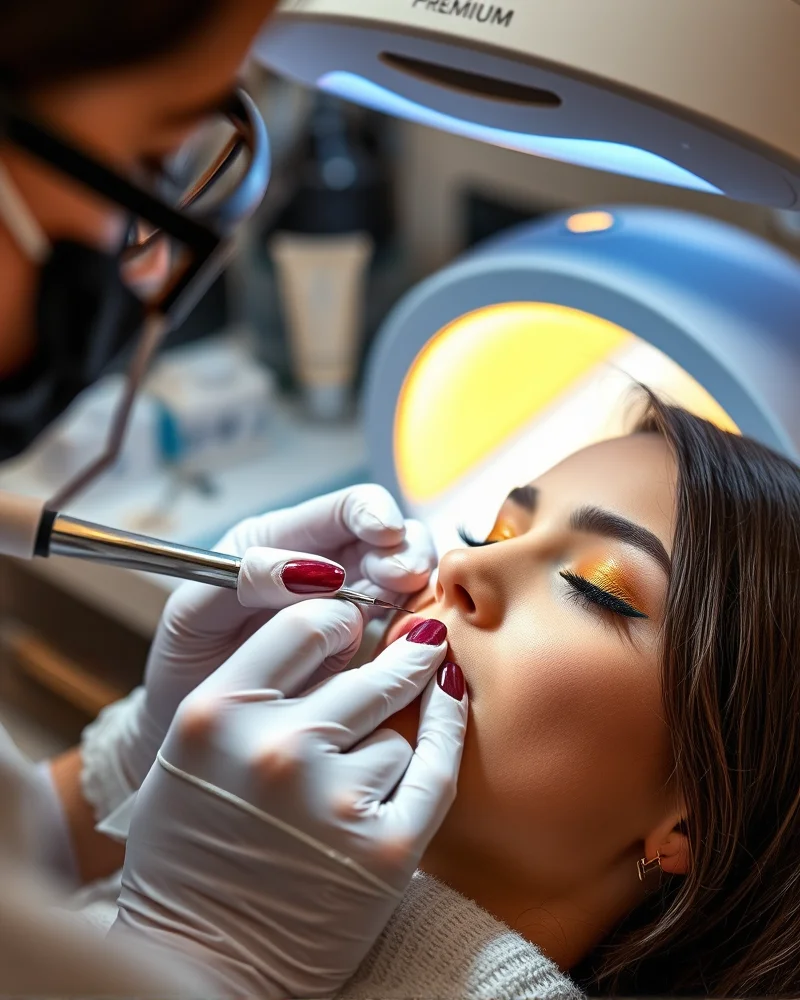
What are the common mistakes when doing complex nail art?
Achieving a salon quality manicure at home is rewarding, but complex nail art often introduces technical challenges that can lead to premature lifting or peeling. Even with the trendiest fall funky nail designs, your art is only as good as the foundation you build. Many enthusiasts struggle because they rush the process, leading to a breakdown in product integrity.
Here are the most common pitfalls and the technical solutions to ensure your gel manicure lasts for at least 14 days.
- Q: Why is my complex gel art peeling after only a few days?
- A: The most common culprit is improper nail plate preparation. If you do not push back your cuticles thoroughly and remove the invisible layer of dead skin known as the cuticle dam, the gel will eventually lift. Additionally, failing to dehydrate the nail plate with a high quality nail prep or primer prevents the gel from forming a tight bond. Another frequent mistake is applying your gel layers too thickly. When gel is applied in bulky, uneven coats, the center of the polish may not cure properly, leading to a soft, gooey layer that inevitably lifts from the natural nail.
- Q: How do I troubleshoot curing issues with intricate designs?
- A: Improper curing is a major safety concern and a leading cause of service breakdown. If you are layering multiple intricate colors or encapsulation elements, your UV or LED lamp might not be penetrating all the way through the design. You must ensure you are using a lamp that is compatible with the specific viscosity of your gel polish brand. Always cure for the full recommended time, and never skip a cure cycle simply because the art looks dry on the surface. If you are using dark, highly pigmented fall colors, increase your cure time by an extra 30 seconds to ensure the base layers are fully polymerized.
Longevity Troubleshooting Checklist for Complex Art:
- Surface Prep: Always buff the natural nail plate lightly to remove shine and ensure better adhesion for the base coat.
- Capping the Free Edge: Carefully seal the tip of every layer, including your color and top coat, to prevent water from seeping between the nail and the gel.
- Thin Layering: Apply color in thin, controlled coats. Three thin layers will always outperform one thick, globby application.
- Cleansing: Use a lint free wipe with high percentage isopropyl alcohol to remove the inhibition layer only when necessary, as this can affect the bond of subsequent layers.
- Oil Maintenance: Once the final top coat is cured, hydrate the surrounding skin with high quality cuticle oil daily to maintain the flexibility of the natural nail and prevent brittle lifting.
By correcting these technical errors, you can extend the life of your fall funky nails and maintain a pristine finish that resists chipping and fading for two weeks or longer.
How do you maintain your fall funky nail set for longer?
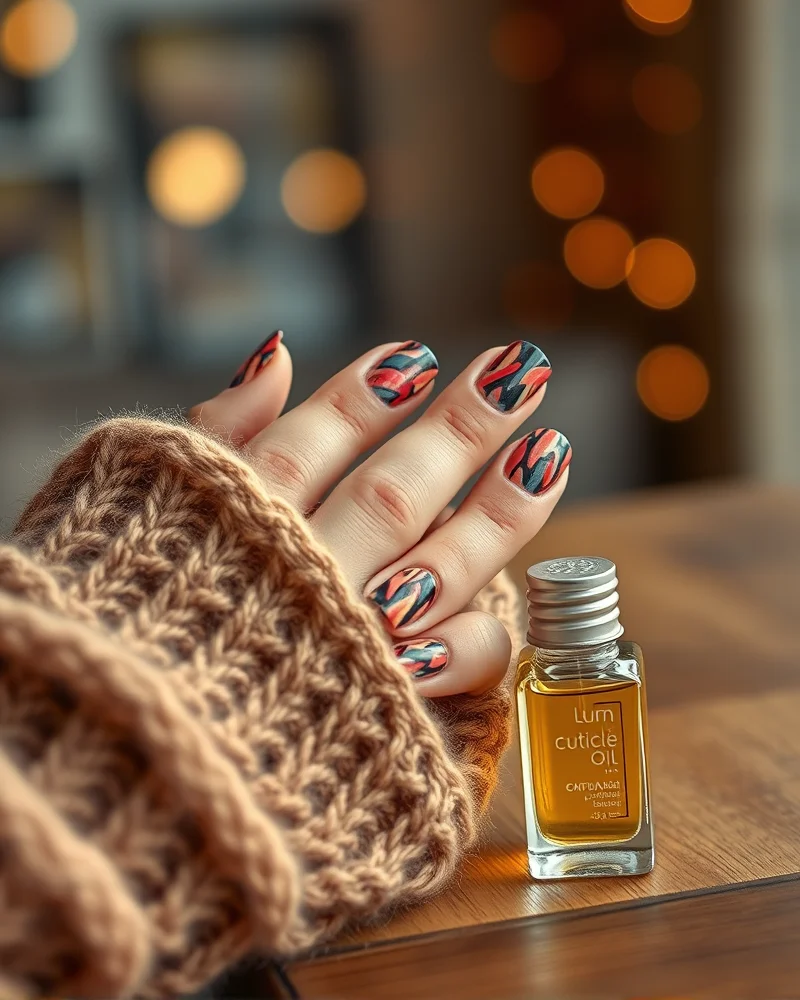
Maintaining your fall funky nail set requires a strategic approach that blends daily habits with professional maintenance techniques. The longevity of your manicure depends largely on how you shield your nails from external stressors. The most important rule is to avoid harsh chemical exposure, specifically acetone based removers, which strip moisture from your nail plate and dissolve the bonding agents in your gel or lacquer. Instead, always opt for non acetone polish removers to ensure the integrity of your intricate nail art remains intact. Additionally, hydration acts as the foundation of your nail health. Integrating a high quality cuticle oil into your nightly routine is non negotiable. Applying this oil to the nail bed and surrounding skin creates a protective barrier that keeps your manicure flexible, preventing the brittle snapping often caused by autumn temperature drops.
Protecting your funky fall aesthetic during your daily chores is equally vital. When washing dishes or using heavy cleaning agents, always wear nitrile or rubber gloves. Water causes the natural nail plate to expand and contract, which eventually leads to micro fractures in your top coat and premature lifting of your design. If you notice your manicure losing its luster or if you want to swap your spooky vibes for trendy halloween nails later in the season, a proactive touch up strategy is your best friend. You can easily revive a dull finish by applying a thin layer of high gloss or matte top coat every four days. This re seals the free edge of the nail, which is the most common site for chipping. Should you experience minor edge wear, carefully buff the tip of the nail and reapply a small drop of polish that matches your base color before sealing it again. By prioritizing moisture, avoiding physical impact, and performing consistent maintenance, your seasonal nail art will remain vibrant and durable well into the winter months.
Which celebrity trends are driving the funky nail movement?
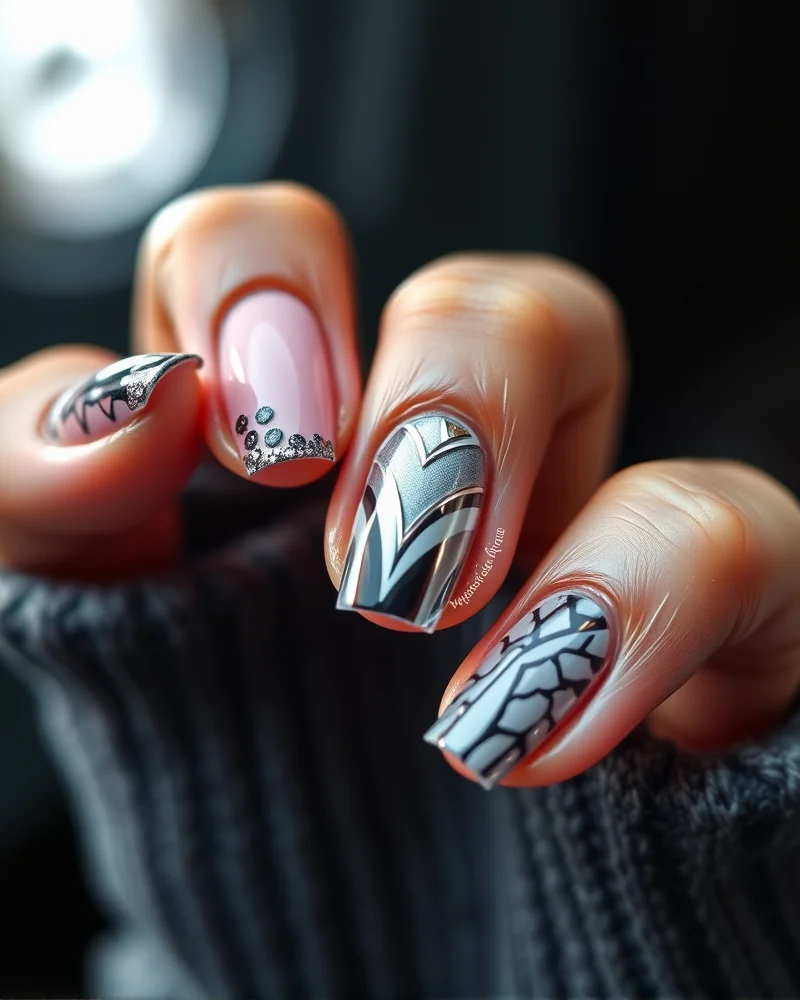
The shift toward maximalist nail art this autumn is not a coincidence. It is a direct response to a cultural moment where the manicured hand has become the ultimate accessory for high profile celebrities. When we look at the red carpet, we see that the minimalist era of clean, sheer polish has been completely eclipsed by bold textures, heavy embellishments, and surrealist shapes. Viral social media moments from stars like Dua Lipa and Doja Cat have transformed nails from a subtle finishing touch into the centerpiece of a complete fashion ensemble. These trendsetters are frequently seen sporting three dimensional charms, chrome finishes, and mismatched patterns that defy traditional symmetry. By embracing this funky nail movement, these celebrities have empowered the general public to view their fingertips as a canvas for self expression rather than just a grooming necessity.
This celebrity influence mirrors the broader evolution seen in recent fall fashion collections. High end designers are moving away from muted, safe palettes and toward an aesthetic that celebrates texture and eccentricity. Just as luxury fashion runways have featured layered knits paired with statement accessories, the nail industry has responded with designs that feature thick gel applications and intricate hand painted motifs. This connection is visible when you observe how runway models now wear coordinated nail art that echoes the eclectic patterns of the garments themselves. The trend is fundamentally about juxtaposition. You might see a star wearing a structured, monochromatic suit paired with neon, asymmetrical claw tips, which highlights the desire to break away from the monotony of traditional seasonal fashion.
Pro tip: If you want to replicate these celebrity inspired looks, focus on the details that make them stand out. It is not enough to just pick a bright color. You must consider the interplay of finishes, such as combining matte velvet textures with high gloss metallic accents. To achieve this, look for professional grade products that offer high pigmentation and durability. The current trend favors length and shape, so do not be afraid to experiment with coffin or stiletto silhouettes to better showcase your funky designs. Remember that the goal is to make a statement that feels authentic to your personal style while drawing inspiration from the daring choices of modern pop culture icons who have redefined what it means to have a professional manicure.
Is DIY nail art cost-effective compared to professional salons?
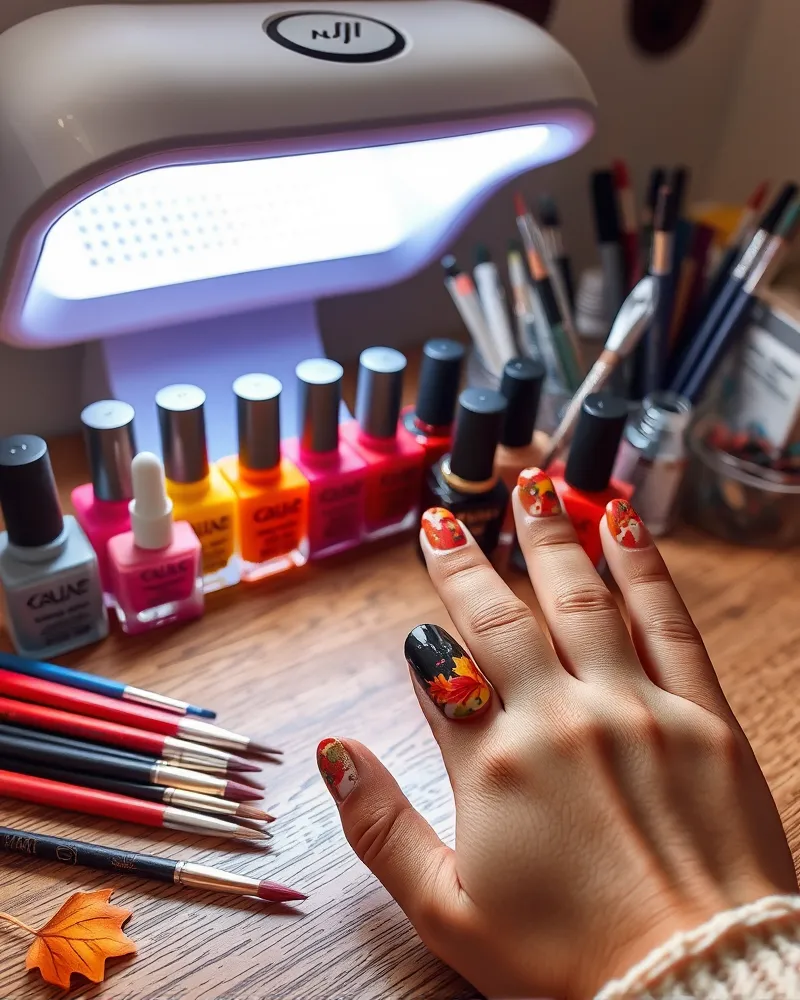
When you look at the vibrant landscape of fall funky nails, the temptation to book a professional appointment is understandable. However, performing a cost benefit analysis reveals that the initial investment in a home studio setup often pays for itself within three to four professional visits. To get started, you will need a reliable UV or LED nail lamp, a collection of high quality gel polishes, base coats, top coats, and essential tools like fine liner brushes and dotting tools. While the upfront cost for these professional grade supplies might reach between one hundred and two hundred dollars, consider that a single intricate set of seasonal nail art at a high end salon can easily cost eighty dollars or more before gratuity. Over the span of a year, the savings become significant, effectively turning your bathroom or vanity into a cost efficient creative hub.
Beyond the raw mathematics of salon prices versus DIY expenses, the true value of home manicures lies in the liberation of your artistic spirit. When you sit in a salon chair, you are often limited by time constraints and the specific skill set of the nail technician. Conversely, mastering complex designs at home allows for total creative freedom. You can experiment with layered autumn palettes, intricate marbling, or negative space designs without the pressure of a ticking clock. If a specific nail does not meet your standards, you can simply wipe it clean and start over until it reaches perfection. This trial and error process is the ultimate way to cultivate your signature style. Pro tip: invest in high quality gel builder in a bottle to extend the life of your natural nails, which reduces the need for expensive fills. As you build your collection of pigments and specialty textures, you gain the ability to replicate viral social media trends exactly as you envision them. Ultimately, DIY nail art is not just about saving money. It is an investment in a sustainable hobby that evolves alongside your personal aesthetic, giving you the power to sport funky, runway inspired designs whenever inspiration strikes.
Mastering the ‘fall funky nail’ trend is about embracing the season’s capacity for complexity and depth. Whether you are experimenting with 3D chrome or mismatched textures, the key is professional technique paired with high-quality supplies. By utilizing the expert tools found at Nailosmetic, you can turn your fingertips into a seasonal statement. Start your journey into maximalist nail art today and define your autumn signature.