spring break nails for college students

The secret to the perfect vacation isn’t the resort—it’s finding the exact spring break nails for college students that survive everything from ocean salt to pool parties. As a professional nail architect at Nailosmetic, I’ve tested hundreds of formulas to find the ones that won’t chip by day two. If you’re tired of seeing your manicure disintegrate before you even hit the beach, this guide reveals the pro-grade prep and trending aesthetics that are dominating the 2024 scene. I’ve personally experimented with long-wear gels and hybrid lacquers during high-humidity trips, and in my experience, the difference between a ruined set and a pristine vacation look comes down to three specific, overlooked steps. Below, I break down the high-performance techniques and aesthetic choices that will ensure your hands stay photo-ready for every single moment of your spring break.
Why are these the essential spring break nails for college students?
When preparing for a week of travel, your beauty choices must balance high fashion with extreme utility. The primary requirement for spring break nails for college students is long-term resilience against the elements. Whether you are lounging poolside, swimming in the ocean, or participating in adventure sports, a standard manicure often fails within forty-eight hours. You need a set that survives sand abrasion, chlorine exposure, and the constant friction of packing and unpacking luggage. Choosing the right coating system is the single most important decision for maintaining a pristine look throughout your entire vacation.
The distinction between standard lacquer and professional systems like gel or SNS dip powder lies in the chemical bonding process. Traditional polish relies on solvent evaporation, which leaves the layer prone to chipping, lifting, and dulling when exposed to water or heat. Conversely, gel polish uses photo initiators that harden under UV or LED light, creating a durable polymer network that resists scratches and water absorption. SNS and other dip systems utilize cyanoacrylate, the same family of adhesive agents used in super glues, creating a thicker, rock-hard shield that is ideal for students who want a manicure that feels like a natural extension of their nails.
Beyond aesthetics, you must prioritize the integrity of your natural nail bed. It is easy to overlook the potential for damage when focusing solely on the visual design, but improper removal techniques or harsh chemicals can lead to thinning and brittleness. For guidance on maintaining your nail health and identifying signs of damage or irritation, consult the dermatologists at https://www.aad.org to ensure your vacation glow does not come at the cost of your long-term nail strength. Versatility is the final piece of the puzzle. By selecting a neutral base with customizable nail art elements, your manicure will transition perfectly from morning brunch to late night beach parties, ensuring you remain photo ready without needing a mid-trip salon visit. Investing in these professional systems ensures your spring break nails remain flawless while you focus entirely on making memories.
What are the top 5 trending aesthetics for your spring vacation?
Finding the perfect manicure for your upcoming getaway requires balancing durability with high-impact aesthetics. Whether you are hitting the coast or heading to a festival, these five styles define the current nail art landscape.
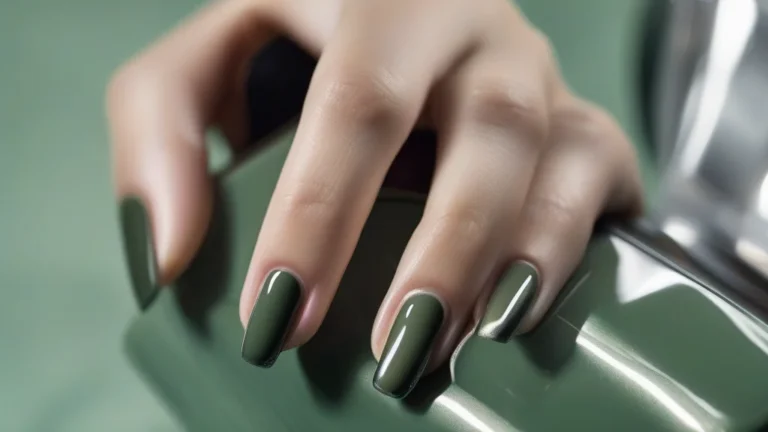
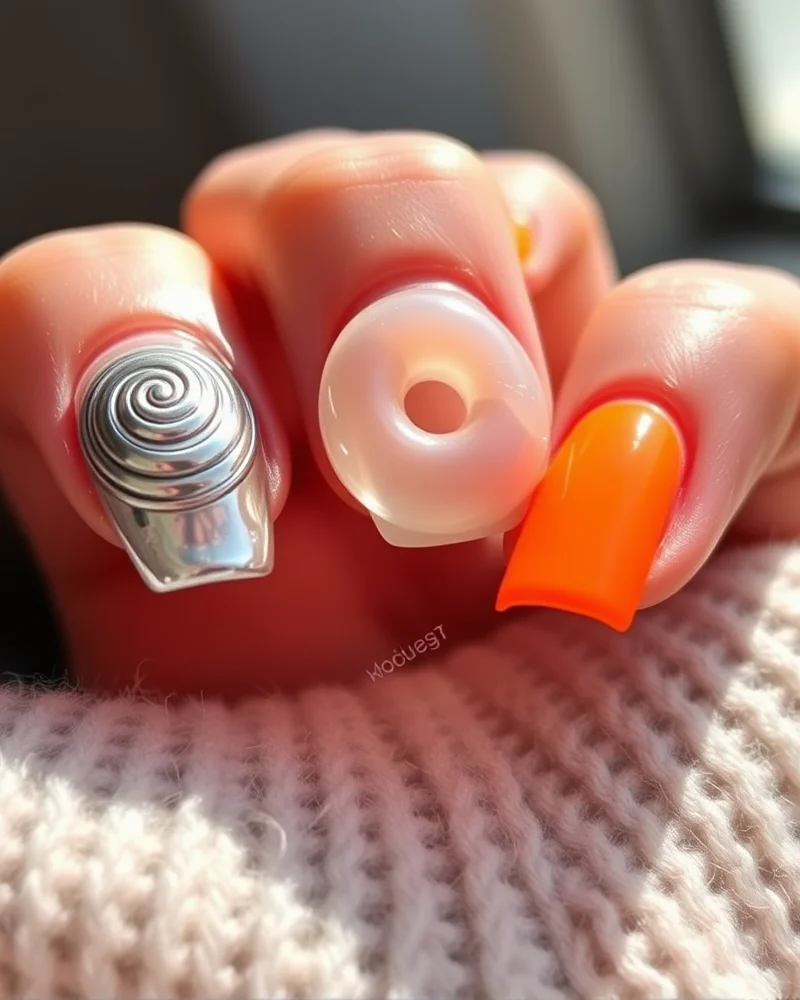
- 3D Chrome Accents: Elevate your look with liquid metal textures. By applying a metallic chrome powder over a sculpted gel base, you create a mirror-like finish that catches every ray of sunlight. For a pro-tip, try adding 3D chrome swirls over a nude base to achieve a futuristic, Y2K inspired look that remains sophisticated enough for daytime wear.
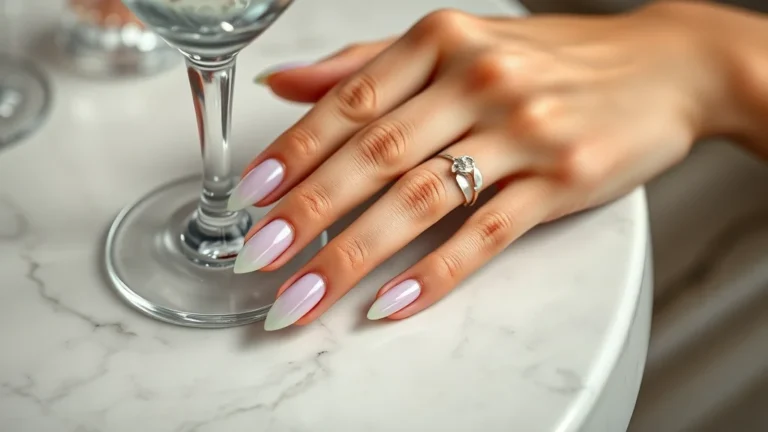
- Glazed Donut Finish: This pearlescent shimmer continues to dominate as a staple for college students who prefer a clean, elevated aesthetic. To achieve the signature glow, opt for a sheer milky white base layered with a fine chrome dusting. If you want to customize it, try layering the chrome over pastel pink or lavender to add a soft spring twist to the classic design.
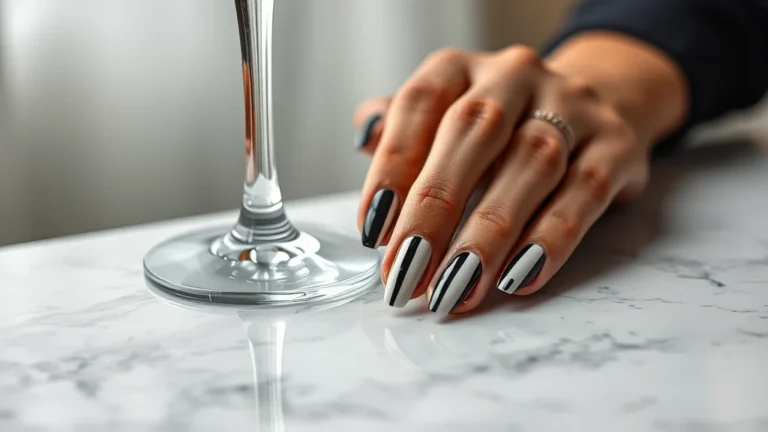
- Vibrant French Tips: Move beyond traditional white lines by embracing high-saturation neon tips. Whether you select a singular bright hue or an alternating rainbow palette, this style makes your fingertips pop in vacation photos. To ensure longevity, use a high-quality top coat that protects the edges from chipping, as salt water and pool chlorine can compromise the integrity of your polish.
- Jelly Textures: Often referred to as glass nails, this style uses semi-transparent colored gels to create a candy-coated finish. These are exceptionally popular for beach trips because the translucent quality mimics the look of sea glass. For a textured effect, apply the jelly polish over a base of glitter or encapsulate small nail charms inside the gel layers.
- Floral Press-Ons: When time is limited, salon-quality press-ons are the ultimate time saver. Modern versions feature hand-painted botanical designs and delicate 3D blossoms. To ensure healthy natural nail beds, always consult guides from the American Academy of Dermatology regarding safe adhesive removal. When applying them, ensure your nail plate is buffed and dehydrated with alcohol so the glue adheres properly for a long-lasting hold.
How do you prep your natural nails for maximum longevity?
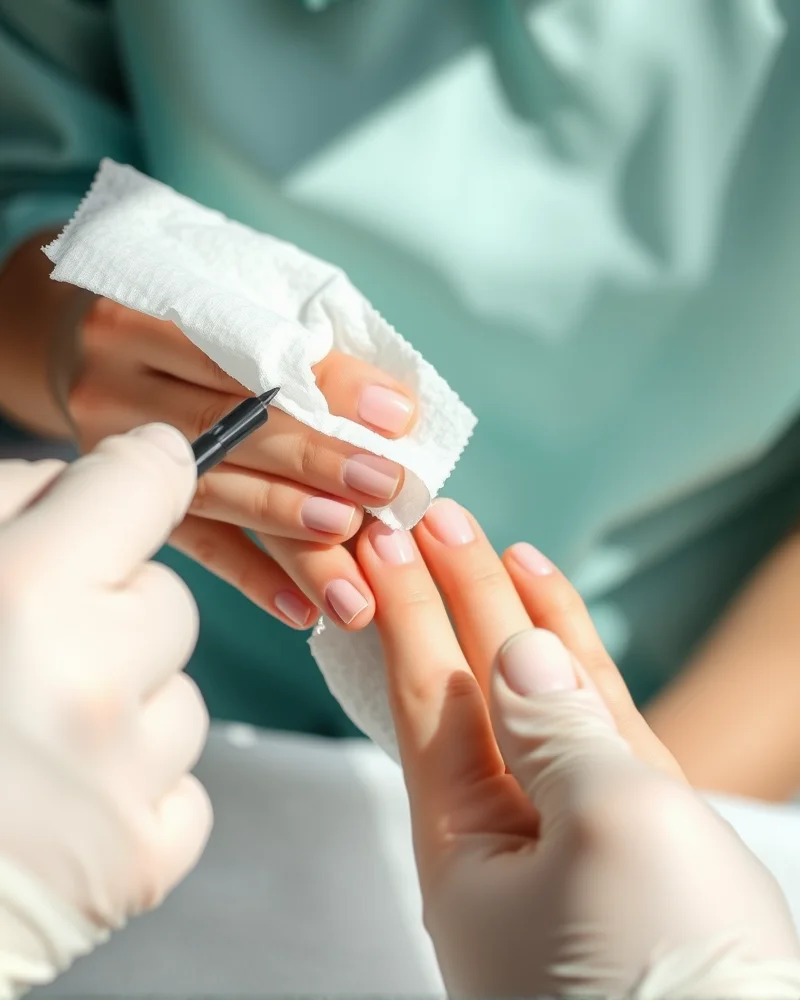
Achieving a manicure that survives the rigors of spring break requires more than just a high quality top coat. In my years of working with clients, I have found that the foundation of a long lasting manicure is almost entirely dependent on how you treat the nail plate before a single drop of lacquer touches your fingers. The most frequent culprit for premature lifting or peeling is residual surface oil. Natural oils act as a physical barrier that prevents the chemical bonding of your base coat to the keratin layers of the nail. If your nails are even slightly oily, the polish will float on top of the surface rather than adhering to it, leading to chips within hours of your arrival at the beach.
Begin your process with meticulous cuticle care. Gently push back your proximal nail fold with a sanitized metal pusher or an orangewood stick to remove any invisible cuticle growth clinging to the nail bed. If this dead tissue is left behind, your polish will adhere to the skin instead of the nail plate, causing immediate lifting as your skin moves. According to the American Academy of Dermatology Association, healthy nail maintenance is essential for preventing common infections, so ensure your tools are sterilized. Once the cuticle is cleared, reach for a high quality dehydrator or a lint free wipe soaked in pure acetone. Swipe the entire nail plate thoroughly, including the sidewalls and the free edge. This process strips away every trace of sebum and moisture that might compromise your adhesion.
If you are looking to elevate your look with complex patterns, you should review our comprehensive guide to creative nail art designs to ensure your base prep is sturdy enough to hold intricate details. After dehydration, avoid touching your nails with your fingers to prevent transferring new oils back onto the plate. Finally, ensure you cap the free edge with your base coat, color, and top coat. This sealing technique acts as a protective shield against water immersion, which is critical when you are spending your break by the pool or in the ocean.
Which professional vs. drugstore products actually survive travel?
When you are preparing for a week of travel, the structural integrity of your manicure becomes just as important as the aesthetic appeal. The primary factor separating salon professional gels from drugstore polishes is the concentration of photo-initiators and polymer stabilizers. These additives control how the lacquer cross-links during curing, which determines whether your polish chips upon the first touch of a suitcase zipper or remains pristine through sand and saltwater. Professional formulas utilize higher concentrations of high molecular weight oligomers, providing a flexible bond that moves with the natural nail plate rather than fracturing under pressure.
Drugstore alternatives often rely on solvent-heavy bases that evaporate quickly, which can make the finish brittle. If you choose to use consumer-grade products for your spring break nails for college students, you must compensate for the lack of professional-grade stabilizing resins with a high-quality, non-yellowing top coat. Always remember to maintain cuticle health by following guidelines from the American Academy of Dermatology to ensure your nail beds are resilient enough to hold a color application for the duration of your trip.
| Product Category | Key Polymer Component | Durability Expectation | Best Usage Case |
|---|---|---|---|
| Salon Professional Gel | Urethane Acrylate Oligomers | 14 to 21 days | Active travel and beach vacations |
| Drugstore Long Wear Polish | Nitrocellulose with Plasticizers | 3 to 5 days | Short weekend getaways |
| Professional Rubber Base | Flexible Methacrylate Monomers | 21+ days | Weak or brittle natural nails |
| Drugstore Gel Effect Polish | Photo-reactive Resin Blends | 5 to 7 days | Quick, touch-up friendly aesthetic |
To maximize your manicure longevity while away, focus on the application technique rather than just the brand. Professional products require a disciplined approach to edge capping, which is the process of sweeping the brush along the free edge of the nail to seal the layers. Even with luxury products, oil buildup on the nail surface will compromise the polymer bond. If you find your manicure lifting early, investigate your nail plate dehydration process, as professional systems rely on a specific pH balance to lock in the color pigments effectively.
Should you choose Gel, Dip Powder, or Press-ons for Spring Break?
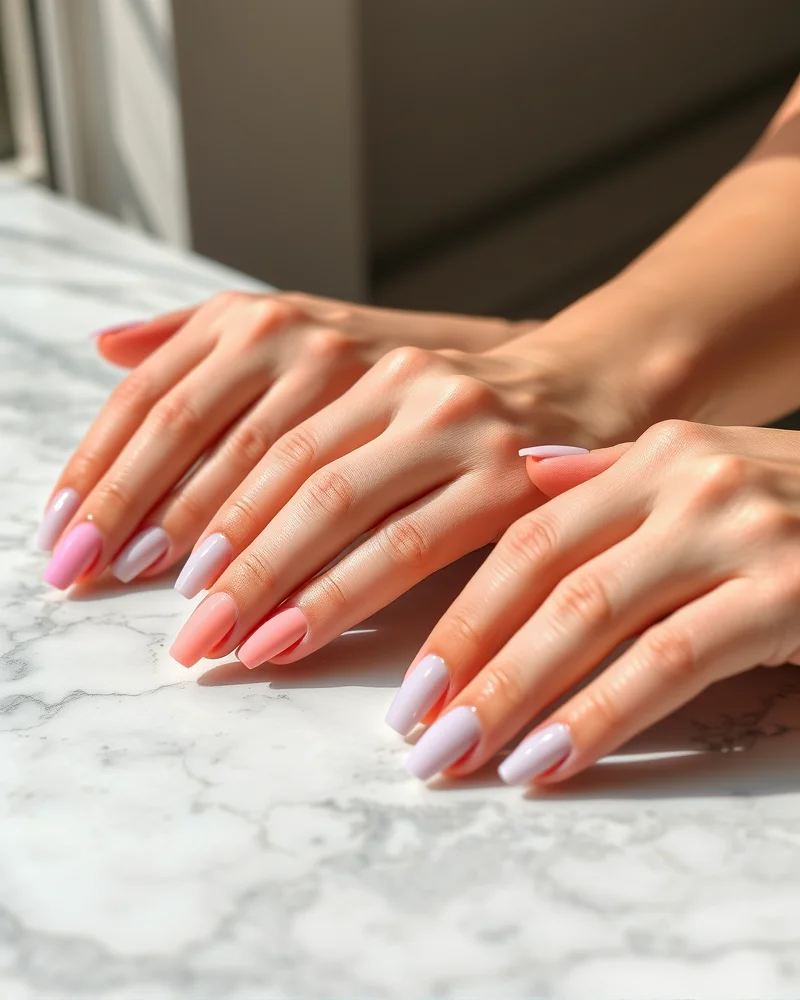
When preparing your manicure for a vacation, the choice between gel, dip powder, or press-ons is as much about chemical durability as it is about convenience. Gel polish involves liquid monomer formulations that cure under UV or LED lamps, creating a high-shine, flexible finish that typically lasts two to three weeks. While gel provides a thin, natural look, it necessitates exposure to UV radiation. According to the American Academy of Dermatology, frequent exposure to UV lamps during professional manicures may increase the risk of premature skin aging and potential DNA damage, though the risk remains low for occasional users. We recommend applying a broad-spectrum sunscreen to your hands fifteen minutes before your appointment to mitigate this impact.
Dip powder, or SNS, utilizes a cyanoacrylate base and an acrylic polymer powder. This technique is often favored for its extreme strength and lack of necessary UV curing, making it a robust option for students who spend their time in the ocean or pool. Because the powder creates a thicker layer of protective material, it acts as a literal shield for the natural nail plate. However, proper removal is vital. Incorrectly filing or prying off dip powder can result in significant thinning and breakage of the natural nail bed. Always prioritize professional removal if you lack the proper acetone soaking equipment at home.
Press-ons have evolved significantly, moving away from drugstore plastic to durable, high-quality ABS resin. This option is the ultimate solution for short-term versatility, allowing you to swap styles between beach days and formal spring parties. Using a high-quality brush-on nail glue ensures these can stay secure for up to ten days. They are the healthiest choice for your natural nails because they require minimal surface etching. By opting for reusable luxury press-ons, you avoid the chemical stripping associated with traditional salon removals, preserving your nail integrity long after the semester break concludes. When traveling, packing a small, travel-friendly bottle of glue ensures you can perform immediate repairs without a trip to a salon.
How do you maintain your manicure while on the go?
Maintaining a flawless manicure while hopping between flights or lounging on a beach requires proactive preparation. When your hands are exposed to salt water, chlorinated pools, and the dehydrating cabin pressure of an airplane, your nail enhancements are at risk of chipping. To keep your set pristine throughout your spring break festivities, pack a compact survival kit in your carry-on luggage.
- Cuticle Oil Pens: Hydration is the secret to extending the life of your polish. The skin around your nail plate dries out rapidly in transit, which can lead to hangnails and lifting. Use a portable brush-on oil pen at least twice daily to keep the surrounding tissue supple.
- Crystal Nail File: Unlike emery boards that can fray the free edge of your enhancement, a high-quality crystal file provides a smooth, sealed finish. It is essential for gently buffing away any rough spots before they turn into full-blown tears.
- Quick-Dry Top Coat: Carry a mini bottle of a high-shine, chip-resistant top coat. Applying a thin layer every three days adds a sacrificial barrier that protects your color from environmental wear and tear.
- Medical-Grade Adhesive: For those opting for press-on nails, always carry a small tube of professional nail glue to handle any accidental pop-offs.
In my experience, the most heartbreaking moment during a vacation is when you catch a corner of a nail on a suitcase zipper or a heavy beach bag. When you feel that dreaded snag, resist the urge to pull or bite at the loose material, as this causes microscopic fractures in your natural nail bed, as noted by the American Academy of Dermatology. Instead, immediately use your crystal file to gently buff the snag in one consistent direction until the edge is smooth. Follow this with a small dab of cuticle oil to prevent further splitting.
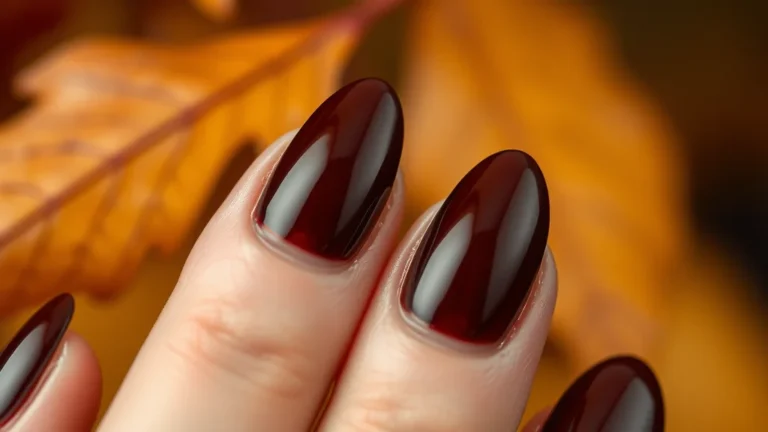
If you find yourself missing the darker, moodier aesthetic of a fall cat eye nail design while you are soaking up the sun, remember that you can easily pivot your style by applying a sheer glitter topper to your spring break manicure. This trick adds depth and dimension, effectively masking any minor imperfections in the polish surface while you wait for a professional touch-up upon your return home.
What are the most common spring break nail mistakes to avoid?
When preparing for your tropical getaway, it is tempting to view your fresh manicure as armor against the elements. However, even the most resilient gel or dip powder finish has clear vulnerabilities. The most common pitfall involves prolonged immersion in chlorinated pools. While chlorine is necessary for sanitation, it acts as a chemical solvent that can weaken the molecular structure of your nail enhancements over time. Constant exposure causes the acrylic or gel surface to become brittle, leading to micro-cracks where moisture can seep in and lift the product. If you plan to spend your afternoons at the swim-up bar, consider applying a UV-protective top coat or keeping your hands raised above the waterline whenever possible to preserve the bond of your spring break nails.
Beyond chemical exposure, the biggest threat to your salon investment is behavioral. Many college students subconsciously use their fingertips to open soda cans, peel off luggage tags, or pry apart stubborn beach gear. Your nails are not tools. Treating them as such applies intense lateral pressure to the free edge, which inevitably causes premature chipping or full-blown detachment. Always use the pad of your finger or a secondary object to handle tasks that require leverage. If you feel the urge to pick at your cuticles or the edges of your gel polish, remember that this creates openings for bacteria, which can lead to unsightly infections or fungal growth. According to the American Academy of Dermatology, maintaining the integrity of the nail bed is essential for long-term health and preventing the separation of the nail plate.
Finally, we must address the notorious sunscreen stain phenomenon. Many high-SPF lotions and tanning oils contain chemical filters like avobenzone or oxybenzone, which react with certain light-cured finishes. Over the course of a week in the sun, these ingredients can cause light-colored manicures to turn yellow, orange, or dull in appearance. This discoloration is often permanent and requires a fresh set to correct. To mitigate this risk, opt for mineral-based sunscreens that utilize zinc oxide or titanium dioxide instead of chemical alternatives. Furthermore, always wash your hands thoroughly with a gentle soap immediately after applying your SPF products to ensure that no residue sits on the nail surface for extended periods.
Frequently Asked Questions: Spring Break Nail Care
Frequently Asked Questions: Spring Break Nail Care
- How can I prevent my manicure from lifting while swimming or enjoying water sports?
- Water acts as a catalyst for lifting because it causes the natural nail plate to expand and contract, which disrupts the adhesive bond of your polish. To maintain the integrity of your spring break nails, keep your time submerged in salt or chlorinated water to a minimum. After swimming, rinse your hands with fresh water and apply a high quality cuticle oil to seal the edges. This hydration prevents the chemicals in the pool from dehydrating the nail matrix.
- Is it safe to apply artificial enhancements if my natural nails feel brittle?
- If your nails are showing signs of significant thinning or peeling, skip the harsh acrylics and opt for a press on set with adhesive tabs rather than glue. According to the American Academy of Dermatology, consistent exposure to strong chemical bonds can weaken the nail bed over time. If you decide to move forward, ensure the nail technician avoids excessive buffing, which thins the nail plate. Always prioritize a base coat enriched with keratin or calcium to offer a protective barrier.
- What is the best way to handle a chipped nail while traveling?
- Carry a travel size glass nail file and a bottle of top coat in your carry on luggage. If a corner chips, gently file the edge to smooth it out so it does not snag on clothing or hair. Apply a thin layer of top coat over the damaged area to seal the gap and prevent the polish from peeling further. This quick fix is essential for keeping your manicure looking pristine throughout your entire vacation.
- How do I remove my vacation manicure without damaging my nails at home?
- Avoid the temptation to peel or pop off your polish, as this removes layers of your natural nail surface. Instead, use a gentle acetone soak. Wrap each finger in a cotton ball soaked in acetone and secure it with aluminum foil for ten to fifteen minutes. Once the product softens, use a wooden orange stick to push the residue away. Follow up with a rich hand cream to replenish moisture lost during the chemical removal process.
How to transition your nails from beach to campus effortlessly?
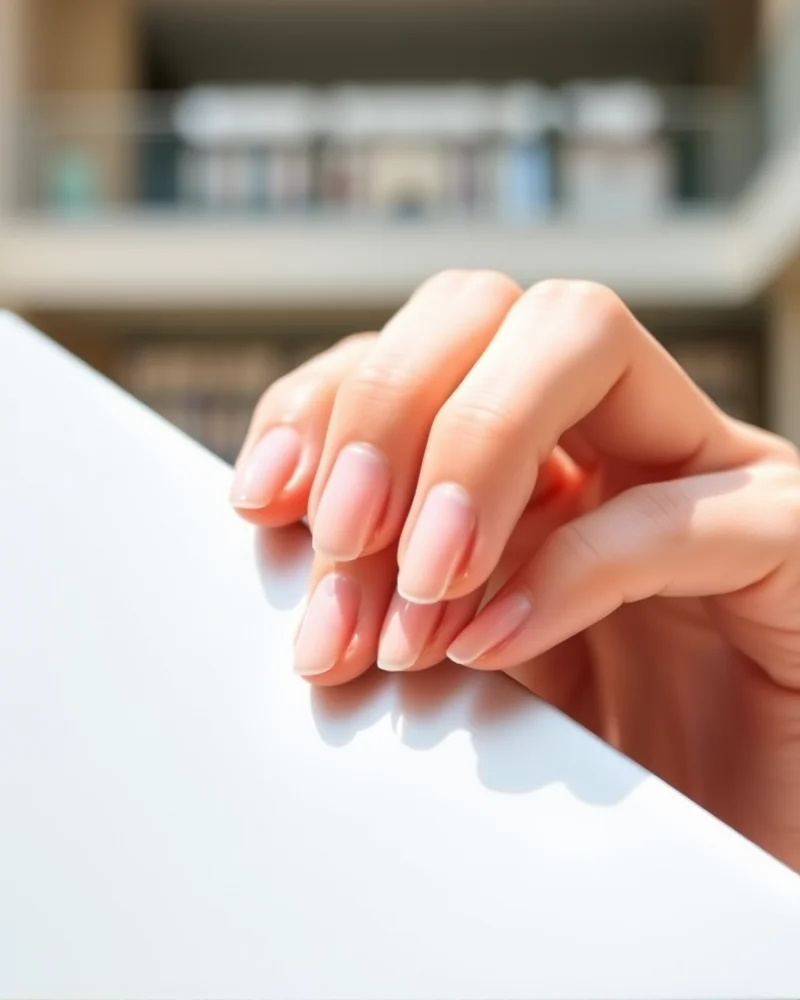
When your spring break vacation winds down and the reality of midterms looms, the transition from beachside brightness to classroom sophistication should be seamless. The secret to managing this shift lies in the art of layering. Instead of committing to a complete removal process the moment you land, you can utilize neutral base coats as your foundation for flexibility. Start your break with a high quality base coat that protects the nail plate from staining, as recommended by the American Academy of Dermatology for maintaining nail health during long wear times. By keeping your initial application thin and professional, you retain the ability to modify your look without damaging your cuticles or the keratin structure of your nails.
For those students who indulge in neon oranges, electric blues, or tropical fuchsias during their holiday, a simple sheer nude polish acts as an instant eraser for intensity. When you apply one or two coats of a milky, semi-transparent beige or soft pink over a vibrant manicure, the opacity drops significantly. This technique softens the boldness of the underlying pigment, creating a muted, sophisticated aesthetic that feels appropriate for a lecture hall or a professional internship meeting. It effectively tames the visual noise of spring break vacation shades while adding a healthy, glass-like finish that looks clean and intentional.
If you find that your bright tones are truly too distracting, consider using a sheer shimmer top coat to add dimension instead of coverage. This shifts the focus from the hue to the texture, providing an elegant look that bridges the gap between fun and functional. Interestingly, mastering these subtle shifts in color temperature is excellent practice for when the seasons change again, as you will eventually want to swap your brights for richer tones like the ones featured in our guide on classic red and burgundy nail styles. By viewing your manicure as a modular system rather than a permanent fixture, you remain perfectly prepared for every environment you encounter on campus.
Are DIY press-ons a viable alternative to a salon visit?
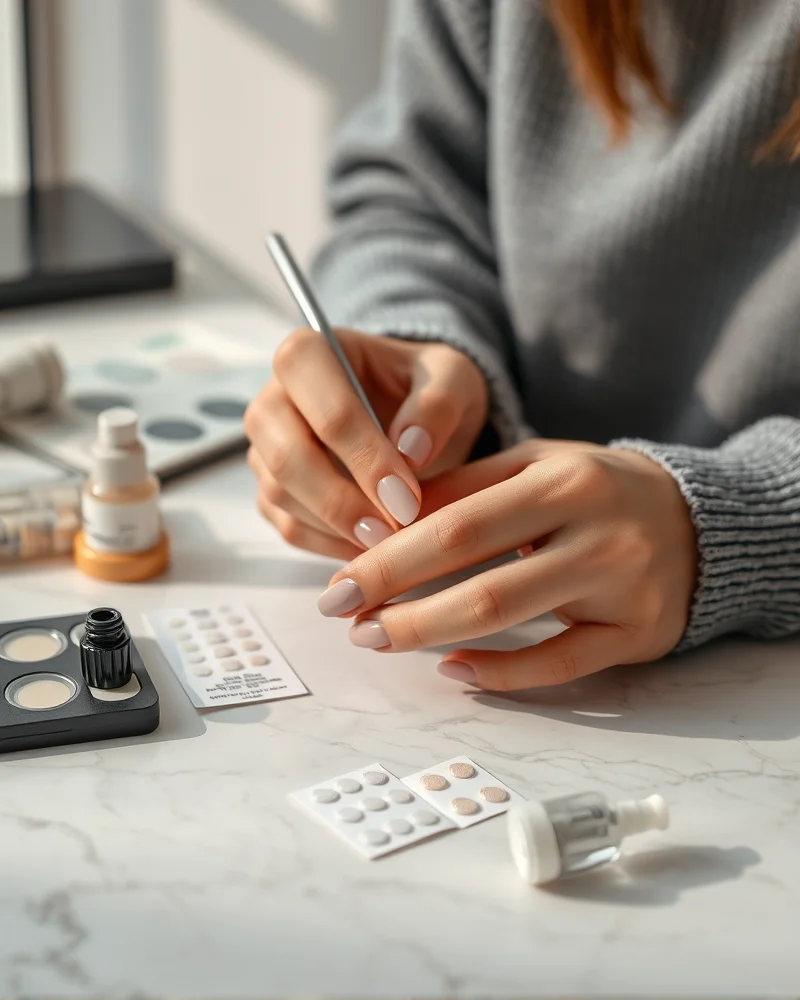
For the busy college student balancing midterms and impending travel, the convenience of a high-quality manicure is essential. The debate between adhesive tabs and traditional liquid glue often comes down to the longevity versus nail health trade-off. Modern adhesive tabs have evolved significantly, offering a damage-free experience that is perfect for those who want to switch up their nail art throughout spring break without the chemical stress of acetone soaking. These tabs act as a cushioned barrier, providing a secure hold that typically lasts three to five days, which is ideal for short trips or specific events.
Conversely, professional-grade liquid glue remains the gold standard for durability. When applied correctly, a high-quality brush-on resin can keep a set of artificial nails secure for two full weeks. However, this method requires a meticulous preparation process to prevent lifting and potential moisture entrapment, which can lead to bacterial nail infections if not monitored properly. According to the American Academy of Dermatology, it is critical to prioritize nail bed hygiene when using synthetic adhesives to avoid contact dermatitis or thinning of the natural nail plate.
To achieve a salon-quality application at home, follow these steps:
- Begin by buffing the surface of your natural nail with a fine grit file to remove oils and create a textured surface for better adhesion.
- Cleanse every nail thoroughly with a lint-free wipe soaked in 90 percent isopropyl alcohol to dehydrate the nail plate.
- If using tabs, size them carefully before peeling the backing, ensuring the tab covers the entire nail bed without overlapping the cuticle.
- For liquid glue, apply a thin layer to both your natural nail and the back of the artificial tip, wait ten seconds for the glue to become tacky, and press down firmly at a 45-degree angle to push out air bubbles.
- Apply pressure for at least 30 seconds to ensure a tight seal around the entire perimeter of the cuticle and sidewalls.
Ultimately, the choice depends on your itinerary. If you need a quick aesthetic boost for a weekend festival, opt for the ease of adhesive tabs. If you are looking for a reliable, long-lasting look to get you through the entire vacation, invest in a premium liquid resin kit, but always prioritize gentle removal techniques to preserve the strength of your natural nails.
Mastering the perfect set of spring break nails for college students is about balancing high-fashion aesthetics with industrial-grade durability. Whether you choose a professional salon service or a high-end DIY press-on kit, the keys remain the same: rigorous nail plate preparation, high-quality base coats, and consistent cuticle maintenance. By following these expert-vetted techniques, you ensure your manicure remains as vibrant as your memories, long after you’ve returned from paradise.