Trendy Halloween Nails

Trendy Halloween nails this year are moving away from basic stickers toward 3D sculpting, chrome layering, and ‘ghost-core’ aesthetics. The exact polish finish causing a viral stir on social media is the ‘cat-eye velvet’ effect combined with sheer black overlays, which creates an eerie, depth-defying glow. If you have been wondering how to achieve salon-quality spooky sets at home, [Nailosmetic](https://nailosmetic.com/) provides the professional-grade tools required to master these intricate designs before the October 31st deadline. Whether you prefer minimalist ‘bloody’ French tips or maximalist haunted house motifs, the secret lies in the viscosity of your top coat and the precision of your liner brush. Dive into this guide to discover why professional manicurists are ditching traditional acrylics for structured gel extensions this season and how you can replicate the industry’s most coveted high-fashion Halloween looks.
What are the top 5 Halloween nail trends for 2024?
As we transition into the spookiest season of the year, the Nailosmetic studio has seen a definitive shift in manicure aesthetics. The 2024 landscape is dominated by textures and high-impact finishes that move beyond simple seasonal art. Here are the five definitive trends defining your social media feed this October.
- 3D Chrome Accents: Chrome is no longer just for base coats. This year, artists are using sculptural chrome gels to create raised, liquid metal silhouettes. Think molten silver drips or jagged, raised chrome thorns over a matte black base. To achieve this, use a high-pigment chrome powder applied over a non-wipe builder gel. We recommend the Born Pretty Mirror Powder paired with Apres Gel-X sculpting tips for the perfect structured foundation.
- Velvet and Cat Eye Magnetics: The mesmerizing depth of velvet nails is peaking for Halloween. By using magnetic cat eye polish, you create an ethereal, deep-space effect that mimics dark potions. Use a strong neodymium magnet to push the pigment into a velvet finish. We suggest the VBeauty Pure Magnetic Collection to get that multidimensional shimmer that shifts from deep purple to midnight forest green.
- Minimalist Gore: This trend favors high-fashion subtlety over cartoonish blood. It involves delicate, hyper-realistic red droplet art placed sparingly on a clean, nude base. For the precision needed for these “blood droplets,” use a detail liner brush and a high-viscosity red gel polish like DND DC Gel in True Red. It provides a sophisticated look that is perfect for professional environments while maintaining a dark, moody edge.
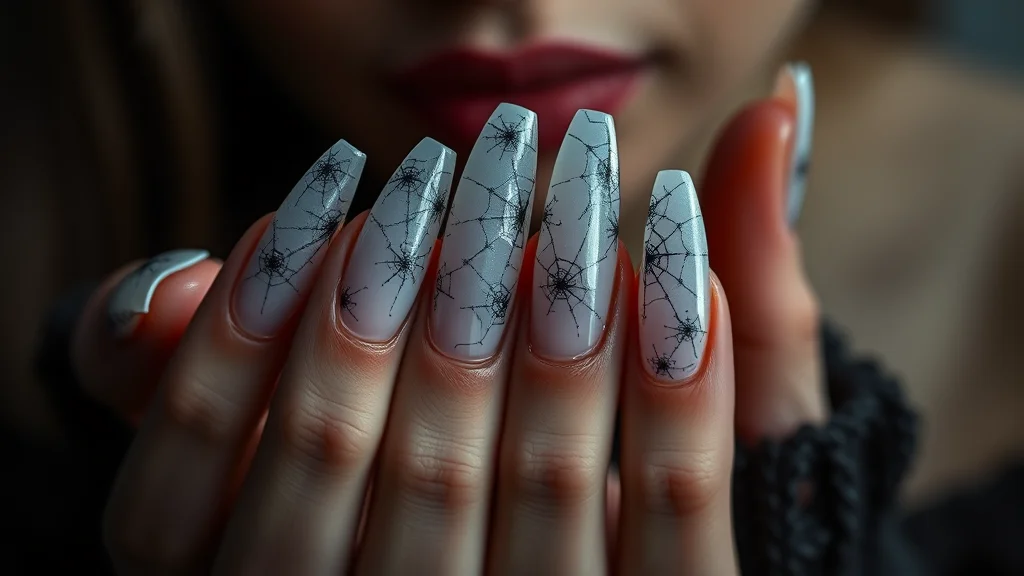
- Retro Witchy Aesthetics: Think 1970s occult illustrations, muted autumnal tones, and celestial symbols. This style thrives on hand-painted gold moons, stars, and spider webs. For the intricate webbing, utilize spider gel, which is a thick, elastic formula that allows you to pull thin, crisp lines effortlessly. The Saviland Spider Gel set is essential here; simply pick up a bead of gel with a dotting tool and stretch it across the nail to create seamless, geometric web patterns.
- Glow-in-the-Dark Encapsulated Glitter: Nothing captures the Halloween spirit like nails that transform once the lights go out. Encapsulating fine, iridescent glitters within a glow-in-the-dark acrylic or builder gel creates a stunning haunted effect. We recommend using Mia Secret Glow-in-the-Dark Acrylic Powder to encapsulate your favorite hex glitters, providing a radiant, spooky luminescence that lasts for weeks.
How do you achieve the ‘Haunted Chrome’ look at home?
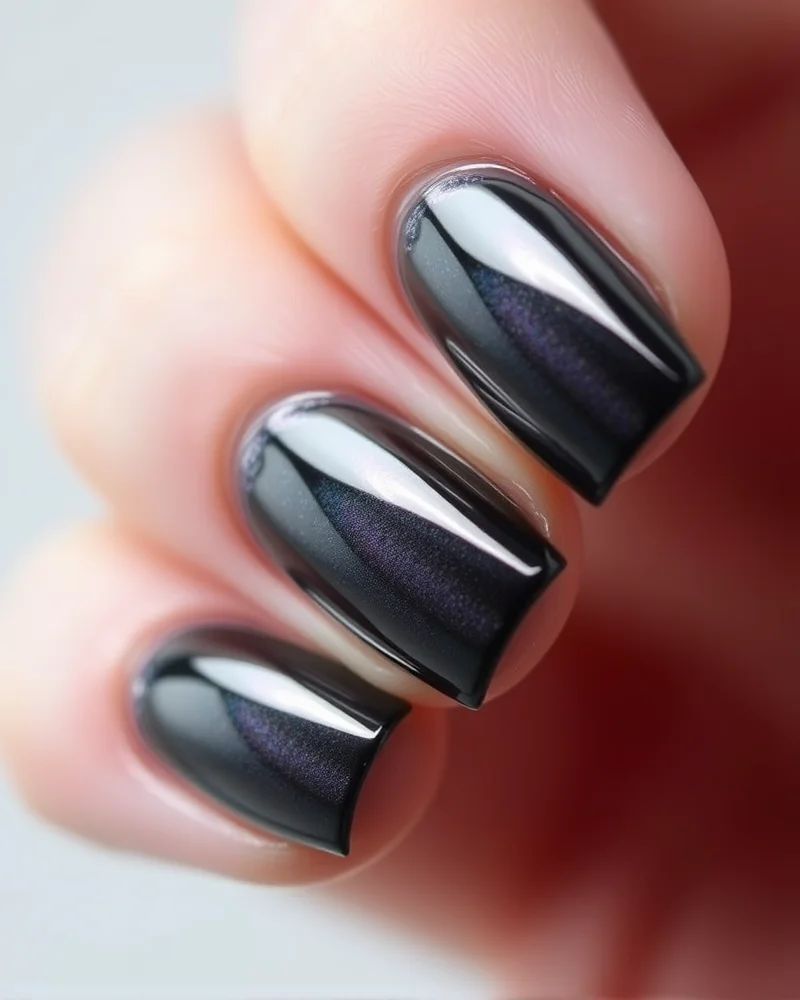
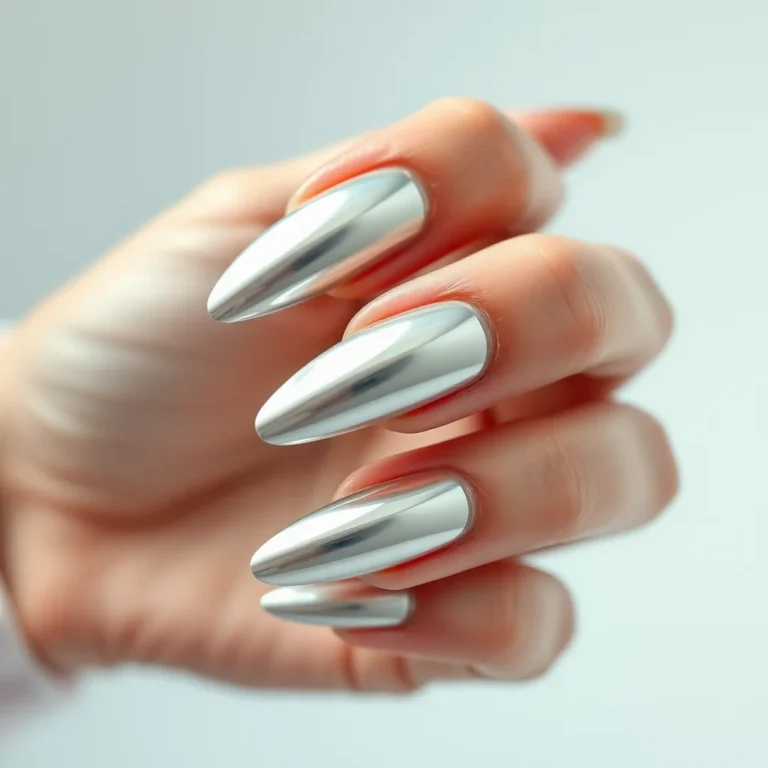
Achieving the elusive Haunted Chrome aesthetic requires more than just a metallic pigment. It demands a sophisticated understanding of polymer science and surface tension. To begin this professional grade application, start by prepping your nail plate with a high quality gel base coat cured for the manufacturer recommended time. The secret to a glass like chrome finish lies entirely in the smoothness of your canvas. Any micro imperfections in your gel polish will be magnified ten times over by the reflective nature of the metallic pigment. Once your base color is cured, the most critical step involves the chemistry of your top coat. You must utilize a non wipe gel top coat rather than a traditional tacky layer formula. A non wipe top coat is specifically engineered to cure to a hard, smooth surface without any inhibition layer. If you attempt to apply chrome powder over a tacky layer, the pigment will clump, resulting in a dull, gritty texture rather than the desired mirror effect.
Using a dense silicone applicator or a soft eyeshadow sponge, pick up a minimal amount of loose chrome pigment. Gently buff the powder into the non wipe top coat using firm, circular motions. You should observe the surface transforming into a liquid metal finish almost immediately. For the best results during the Halloween season, ensure you remove any excess dust with a soft, lint free brush before proceeding to the final sealing step. This is where most enthusiasts falter. To ensure your Haunted Chrome manicure remains chip free and vibrant throughout October, you must cap the free edge of your nail with a flexible rubber base coat or a second layer of the non wipe top coat. This sandwich technique seals the pigment particles within a protective casing, preventing the dreaded edge wear that often ruins chrome looks within days. Avoid using acidic primers on top of the chrome, as they can sometimes cloud the metallic sheen. By following these precise technical steps, you effectively lock the pigment between two layers of chemically compatible gel, creating a durable, high shine finish that stands up to the rigors of your daily activities while maintaining an ethereal, spectral glow.
Which nail shapes are best for dramatic Halloween art?
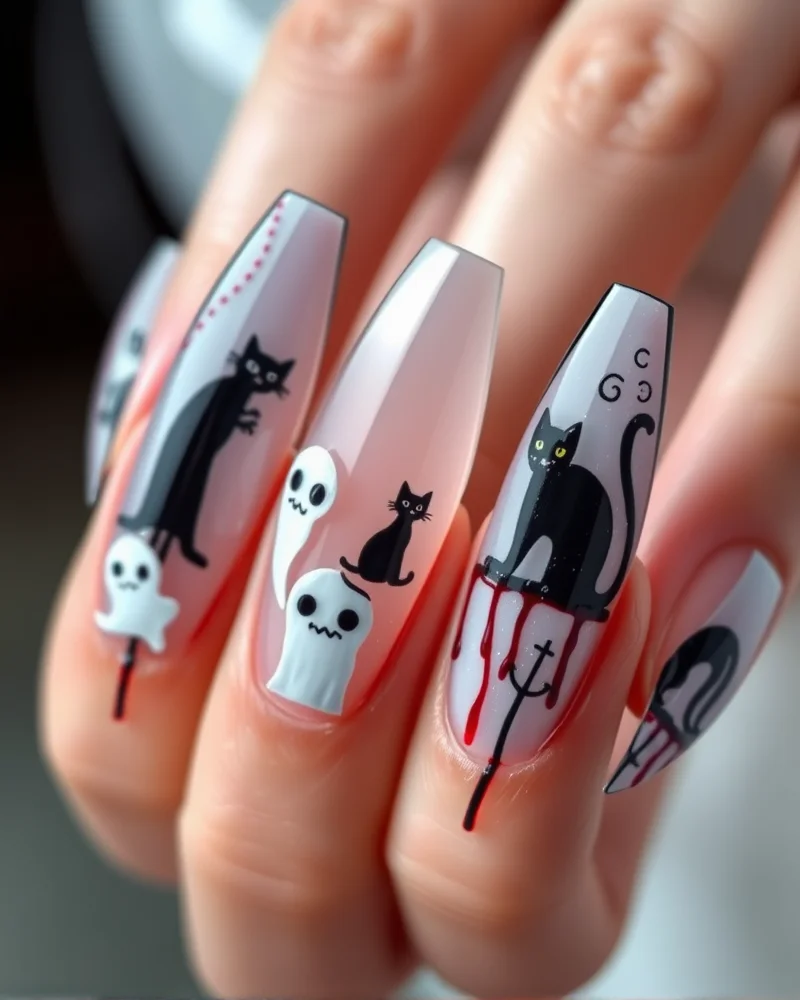
When we approach the spooky season, your nail shape serves as the architectural foundation for your artistic vision. While shorter styles offer convenience, Halloween is the quintessential time for high drama and maximalism. If you are planning to execute intricate horror portraits, cinematic landscapes, or multi-dimensional nail charms, the canvas matters immensely. For enthusiasts who want to master the art of scary, thematic manicures, we recommend checking out our professional nail art designs guide to understand how different base structures influence your final results.
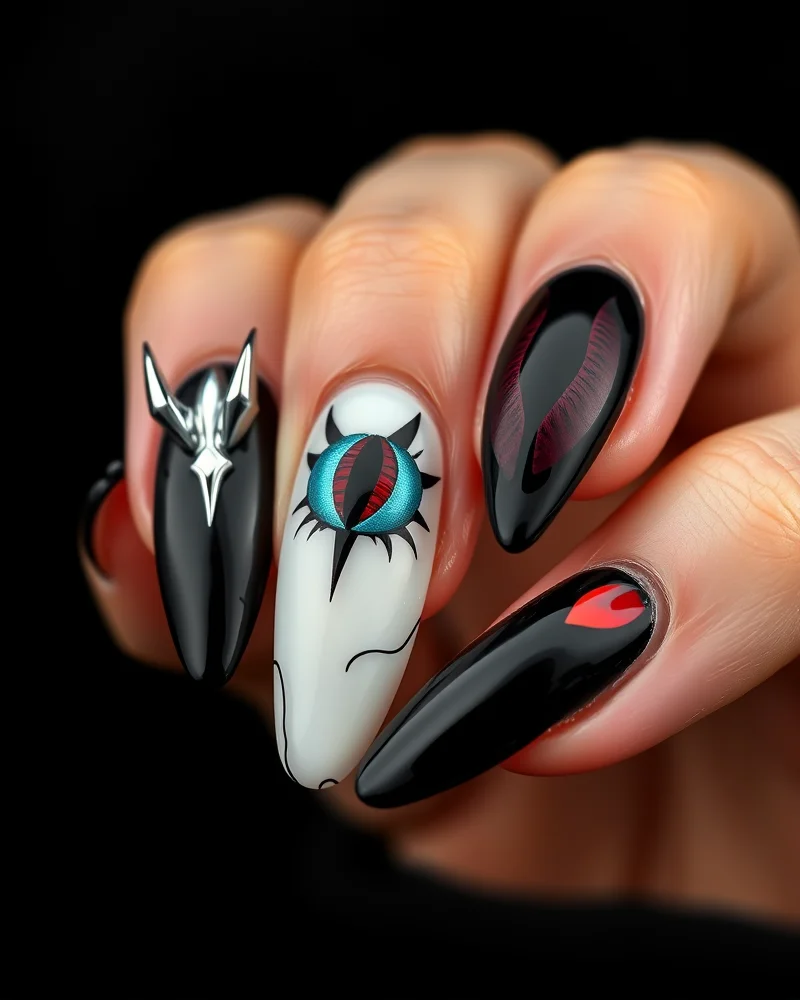
The stiletto shape remains the undisputed champion of Halloween aesthetics. Its aggressive point naturally mimics the sharpness of vampire fangs or wicked witch claws, making it the perfect silhouette for darker themes. Because the stiletto provides an elongated surface area, it allows nail artists to paint detailed blood drips or long, skeletal fingers that stretch down the nail bed without looking crowded. Similarly, the coffin or ballerina shape offers a flat, broad tip that acts as a stable platform for 3D embellishments. If you want to glue on tiny skull cabochons or gothic chains, the coffin shape provides the necessary structural support that prevents these heavier elements from snagging or popping off during your festivities.
While square nails offer a clean, retro edge that works well for minimalist black and white checkerboard patterns, they lack the dramatic flair required for complex character work. Almond shapes are sophisticated but often prove too narrow at the tip to support a realistic portrait of a movie monster. Choosing the right shape is essentially about balancing your daily utility with the visual impact of your chosen design. Below is a comparison to help you choose the best foundation for your October set.
| Nail Shape | Surface Area | Durability | Design Compatibility |
|---|---|---|---|
| Almond | Moderate | High | Best for soft, mystical designs like moons and stars. |
| Stiletto | High (Vertical) | Low | Ideal for detailed horror portraits and bloody drips. |
| Square | High (Horizontal) | Moderate | Perfect for graphic patterns and grid-based art. |
For those aiming for maximum visual impact, consider the length of your enhancement as a variable of the design itself. A longer stiletto can accommodate a full scene, such as a haunted house silhouette that begins at the cuticle and ends at the tip, creating a seamless storytelling effect. Whatever shape you choose, ensure your structure is reinforced with a high-quality builder gel to prevent breakage, as longer, more dramatic shapes are inherently more vulnerable to the mechanical stresses of daily life.
Is DIY gel nail art safer than salon acrylics?
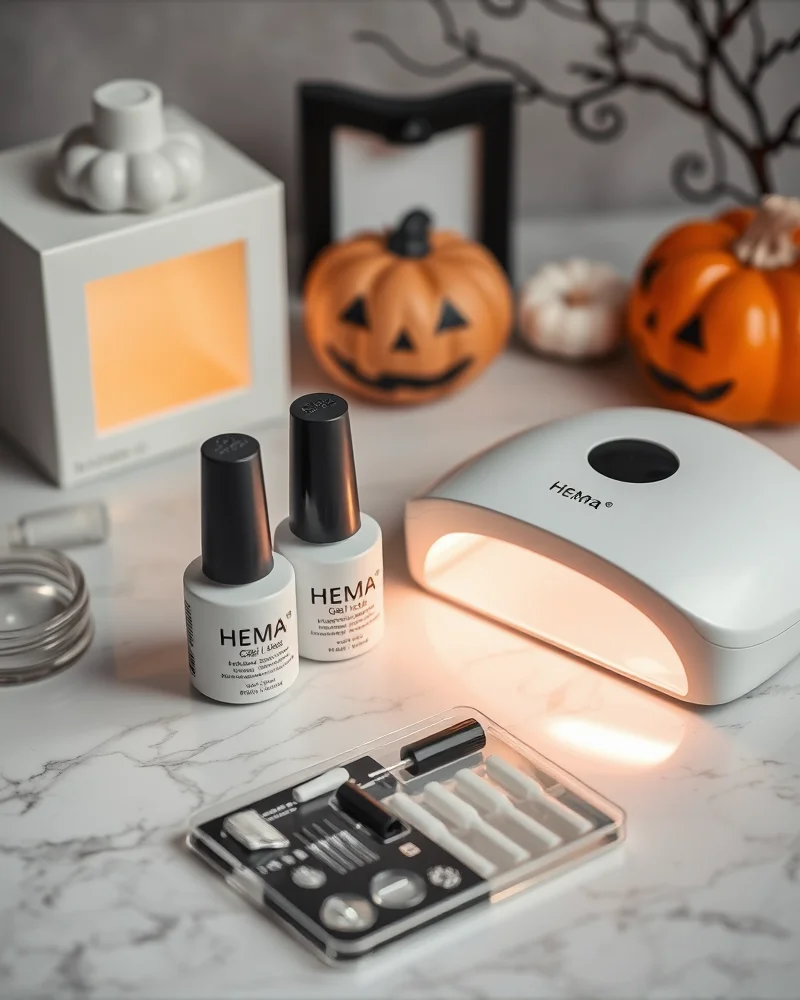
When preparing your claws for Halloween, the health of your natural nail plate should be your primary concern. Many enthusiasts wonder if DIY gel manicures are truly safer than the traditional salon acrylic extensions that have dominated the industry for decades. The short answer is yes, provided you are meticulous about the ingredients you choose. Traditional salon acrylics rely on a combination of liquid monomer and powder polymer, which often contain harsh chemicals like methyl methacrylate. These substances can cause significant respiratory irritation and severe allergic reactions. Furthermore, the application process for acrylics usually requires aggressive buffing and filing of the nail surface, which thins the nail plate and leaves it susceptible to bacteria and breakage.
By transitioning to high quality, HEMA-free gel formulas, you significantly reduce the risk of contact dermatitis and nail bed inflammation. HEMA, or hydroxyethyl methacrylate, is a common monomer found in many standard gels known to cause sensitivities over time. Opting for a HEMA-free system ensures that you are exposing your skin and nail matrix to safer, more stable chemical compositions. These modern formulas are designed to bond securely to the nail without requiring the deep etching that acrylics demand. This preserves the integrity of your natural nail, keeping it strong and flexible long after your spooky Halloween design is removed.
To ensure your DIY experience remains safe, you must pay close attention to your curing equipment. Not all lamps are created equal. A low wattage lamp or a bulb that has exceeded its lifespan may result in under-cured gel. Under-cured product is not only prone to lifting, but it can also lead to chemical sensitization as uncured monomers penetrate the skin. Always use a high quality LED lamp with the correct wavelength, typically between 365 and 405 nanometers, and adhere strictly to the manufacturer recommended curing time. Do not be tempted to rush the process. A full sixty seconds is standard for most modern LED lamps to ensure a complete polymerization. For those with sensitive skin, consider using fingerless protective gloves to minimize UV exposure to the delicate skin on your hands. By combining HEMA-free products with disciplined curing habits, you can achieve professional, hauntingly beautiful results that keep your nails healthy throughout the entire festive season.
What is the secret to perfect ‘ghost-core’ sheer layering?
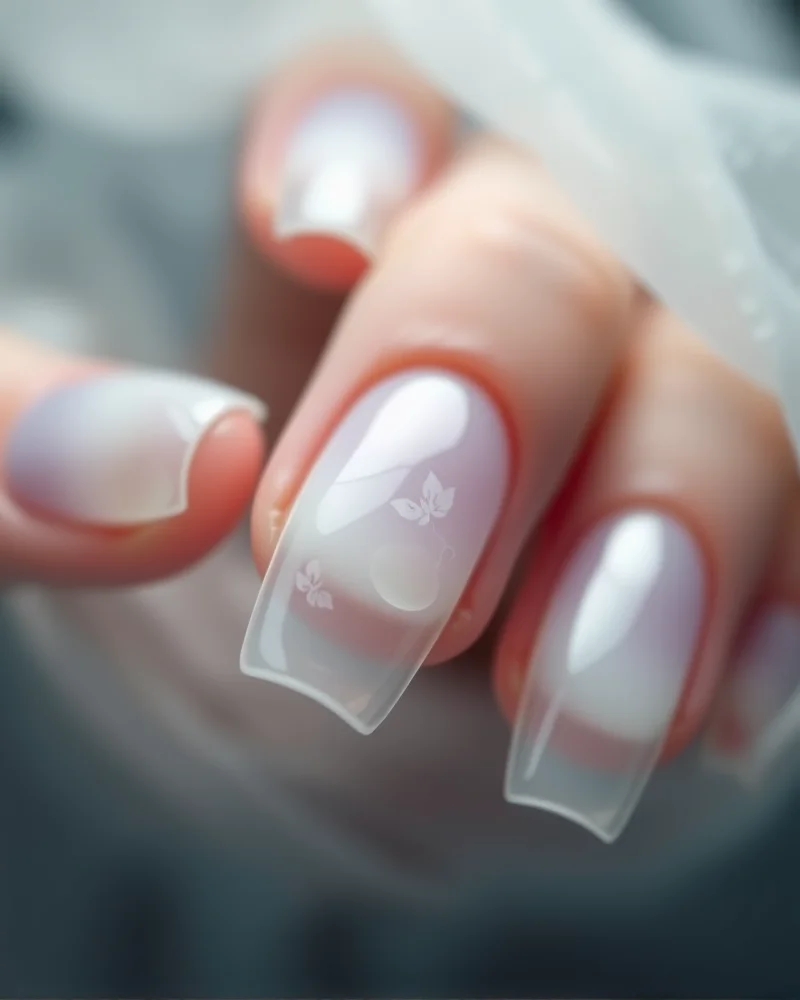
The secret to achieving the perfect ghost core aesthetic lies in the mastery of jelly polish layering. This technique relies on the principle of translucency, allowing light to pass through multiple strata of pigment to create a depth that opaque polishes simply cannot replicate. To achieve this ethereal, fog like effect, professional nail artists often bypass standard color gels in favor of creating custom jelly mixtures. The primary method involves mixing a high quality clear builder gel or a clear top coat base with a singular drop of highly pigmented gel color or loose mica powder. By thinning the pigment significantly, you create a sheer, tint like consistency that mimics the look of spectral mist or graveyard fog.
When applying these layers, the goal is to build volume without sacrificing clarity. Start by applying a very thin coat of your custom jelly mixture and curing it thoroughly under an LED nail lamp. Follow this with subsequent layers, perhaps subtly shifting the pigment concentration or adding tiny flecks of iridescent glitter between the strata to mimic suspended dust particles. The artistic value of this approach is immense because it plays with the concept of negative space and dimensionality. Unlike a flat painted design, jelly layering captures the way light interacts with a surface, giving your Halloween manicure an organic, haunting quality that feels truly three dimensional.
For those looking to perfect this look at home, consider these pro tips for professional results:
- Always work on a crystal clear nail tip or a natural base to ensure the light has a path to travel through the layers.
- Use a clean, dry brush to gently buff the edges of each jelly layer, softening any harsh lines to create a seamless gradient.
- Incorporate white gel paint specifically formulated for thin line work to add wispy, ghost like silhouettes within the middle layers of your jelly stack.
- Seal your design with a high gloss top coat to amplify the depth of the layers, creating a glass like finish that makes the ghostly elements appear as though they are trapped beneath the surface.
By treating your nail art as a translucent sculpture rather than a surface painting, you elevate the ghost core trend from a simple seasonal novelty to a sophisticated piece of wearable art. The result is a ghostly, hauntingly beautiful manicure that shifts and changes as you move your hands through different lighting environments.
How to choose the right Halloween color palette for your skin tone?
Finding the perfect color palette for your Halloween manicure goes far beyond the predictable neon orange and stark black. This season, sophisticated nail enthusiasts are gravitating toward rich, evocative shades that bridge the gap between costume party drama and high fashion elegance. To ensure your manicure complements your natural beauty rather than washing you out, you must consider your underlying skin tone. If you are looking for even more transitionary seasonal ideas, explore our latest fall nails inspo 2026 to keep your style fresh well past October 31st.
- Blood Red vs. Wine and Oxblood: If you possess cool undertones, opt for a true, blue-based blood red that mimics the classic horror aesthetic. This sharp contrast makes your skin appear brighter. Conversely, if your skin is warm, reach for deep oxblood or decadent wine shades with mahogany undertones. These colors harmonize with the golden pigments in your skin, creating a moody, luxurious effect that feels intentional rather than accidental.
- Acid Green vs. Emerald: Acid green is the ultimate choice for those with neutral skin tones who want to embrace the edgy, supernatural side of Halloween. It commands attention and pairs beautifully with geometric negative space designs. However, if you have cool or olive undertones, vibrant acid green might clash. In this case, a rich emerald or a dark forest green provides that same mystical vibe while flattering your complexion with its deep, jewel-toned depth.
- Bone White vs. Pearlized Cream: A stark, matte bone white is a fantastic tool for creating contrast against dark or tan skin, highlighting the melanin with a crisp, spectral finish. If you have fair skin with cool undertones, avoid flat whites that can make you appear washed out. Instead, select a pearlized cream or an iridescent off-white. The subtle shimmer adds a dimension that softens the look, ensuring your manicure looks like ethereal moonlight rather than correction fluid.
When finalizing your decision, always consider the finish of the polish. High-gloss top coats tend to make dark, moody colors pop with a liquid-like intensity, while matte finishes can make colors like oxblood appear more grounded and sophisticated. If you are ever in doubt, apply a swatch to your cuticle line to observe how the color interacts with your natural skin tone under both indoor and natural lighting before committing to a full set of gel or acrylic extensions.
Are 3D charms and charms suitable for daily wear?
When we talk about the maximalist aesthetic that defines trendy Halloween nails, the conversation inevitably turns to 3D charms, resin cabochons, and metallic embellishments. Many nail enthusiasts wonder if these elaborate designs are truly suitable for daily wear or if they are destined to pop off within twenty four hours of leaving the salon. The truth is that while 3D nail art requires a higher level of maintenance than a simple gel polish application, it is entirely possible to incorporate these elements into your lifestyle if you prioritize proper adhesion techniques and structural integrity.
The secret to keeping these intricate pieces secure lies in your choice of adhesive. Gone are the days of relying on traditional nail glue, which becomes brittle and prone to cracking under tension. Instead, the gold standard for long term wear is heavy duty builder gel or a high viscosity rubber base. To ensure your charms remain snag free, you must create a structural foundation. Apply a small bead of thick builder gel to the base of the charm and press it into the nail surface before curing. Once the charm is locked in, use a fine liner brush to seal the perimeter of the base with a thin layer of top coat. This technique creates a smooth slope between the charm and the nail bed, effectively eliminating the sharp edges that catch on clothing fibers, hair, or textiles.
Understanding the life cycle of a maxi manicure is essential for setting expectations. While a standard gel set can easily last three to four weeks with minimal wear, a manicure featuring 3D elements generally has a peak lifespan of about ten to fourteen days. As your natural nail grows out, the weight distribution of the charms shifts, creating leverage that can eventually lead to lifting. We recommend the following habits to extend the longevity of your Halloween designs:
- Wear gloves when cleaning or handling household chemicals to prevent the gel seal from breaking down.
- Avoid using your fingernails as tools to pry open packages or manipulate small objects.
- Schedule a professional fill or maintenance appointment at the two week mark to reseal any loose embellishments.
- Opt for smaller charms on your dominant hand if you work in an office setting to ensure maximum comfort while typing.
By blending robust structural chemistry with mindful daily habits, you can successfully rock high impact, festive nail art throughout the entire spooky season without the frustration of losing your favorite charms.
How long do professional Halloween nail sets actually last?
When you invest in an intricate Halloween manicure featuring everything from hand painted spiderwebs to sculpted 3D pumpkins, you naturally want that spooky aesthetic to survive the entire month. To understand the lifespan of your professional nail set, we must first look at the science of nail biology. Your natural nail plate is composed of keratin, which grows at an average rate of 3.5 millimeters per month. As your natural nail pushes forward from the matrix, it creates a visible gap between your cuticle and the base of your acrylic or gel extension. This structural shift is why the three week fill is the absolute industry gold standard for maintaining both the aesthetic integrity and the structural health of your enhancements.
If you push your appointment beyond the three week mark, you are not just dealing with an unsightly gap at the cuticle line. You are fundamentally altering the balance of your nail structure. As the extension grows out, the stress point moves toward the tip of the finger, which significantly increases the risk of accidental breakage, lifting, or painful nail trauma. Professional technicians rely on these intervals to rebalance the product and ensure that the apex remains in the correct position to protect your natural nail plate from snapping under the weight of elaborate seasonal art.
Maintaining the fresh look of your Halloween set during this period requires a rigorous commitment to cuticle care and hydration. The cuticle acts as a vital seal protecting the nail matrix from infection and debris. When that area becomes dry or ragged, it detracts from the polished look of your nail art. We recommend the following routine to ensure your set stays pristine:
- Apply high quality jojoba based cuticle oil twice daily to keep the skin around the nail supple and prevent product lifting.
- Wear protective gloves when performing household chores involving harsh cleaning agents or prolonged water submersion.
- Avoid using your nails as tools to peel back labels or open packages, as this puts unnecessary pressure on 3D charms and intricate detailing.
- Schedule your fill appointments precisely at the twenty one day mark to prevent the overgrowth of bacteria in any small gaps that may develop.
By respecting these biological growth cycles and committing to a consistent maintenance routine, you can keep your Halloween manicure looking salon fresh from the first day of October until the final pumpkin is carved. Consistent oiling is the secret weapon of nail enthusiasts, as it prevents the surrounding skin from becoming dehydrated, which keeps the transition between your artificial set and your natural skin looking seamless and healthy.
Where can you find the best inspiration for spooky nail sets?
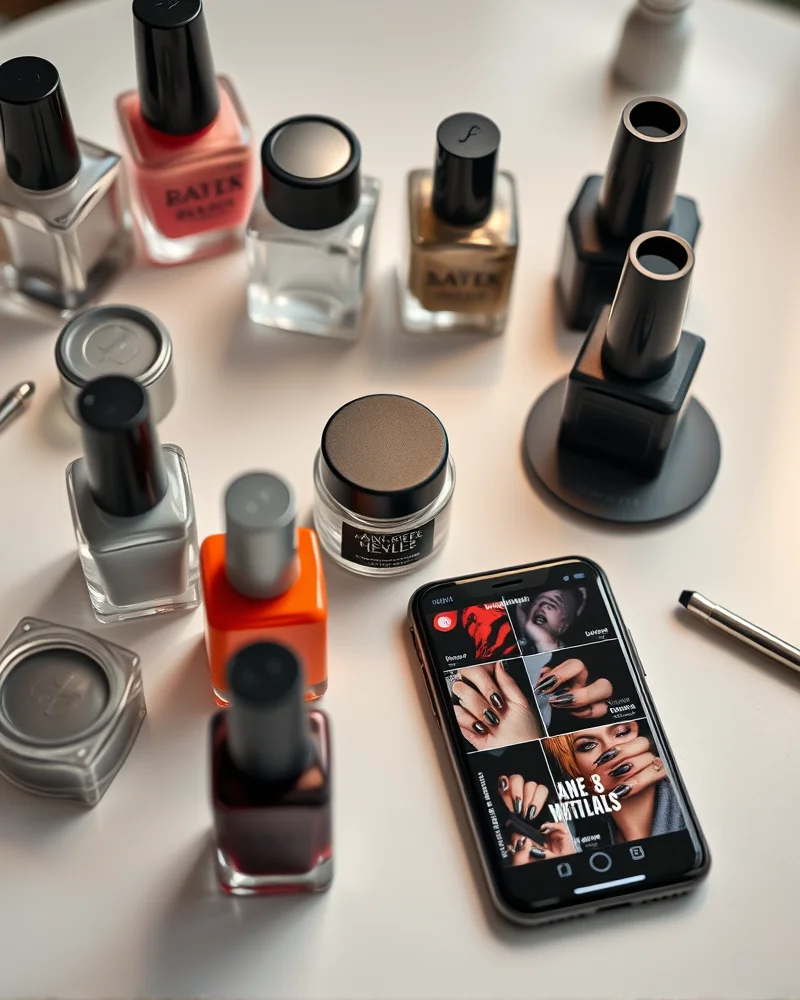
Finding the perfect spooky aesthetic for your next manicure requires a curated approach to digital inspiration. While the internet is vast, the secret to achieving a salon-quality result lies in knowing exactly where to look and how to interpret those visual trends into actionable directives for your artist.
- Mastering Pinterest and Instagram Search Algorithms: These platforms are the primary hubs for modern nail artistry. When browsing, bypass generic terms and instead leverage high-traffic, niche-specific hashtags. Searching for #NailTech connects you with professional portfolios that showcase technical precision, while #HalloweenNails2024 provides a direct pulse on current seasonal color palettes and motifs. For those who want to push boundaries beyond simple decals, filtering your feed by #AvantGardeNails will reveal structural masterpieces and textured designs that define the cutting edge of the industry.
- Bridging the Gap Between Screen and Salon: Simply showing a photo is a start, but effective communication is key. When you find a design you love, save multiple angles of the manicure. Discuss with your technician the specific techniques required, such as whether the look utilizes gel polish, acrylic extensions, or builder gel overlays. If the design features intricate hand-painted nail art, confirm that your tech has the time allotted for such precision work.
- Transitioning Your Style: If you are currently rocking a set from our September fall nails transition collection, consider how you can evolve those warmer tones into a spookier vibe. You might add deep burgundy velvet powder or obsidian chrome tips to keep the integrity of your current base while leaning into the Halloween theme.
- DIY Professional Kits: For the enthusiast who prefers working from home, investing in professional-grade kits is essential for longevity. Look for high-pigment UV gels and fine-detail brushes that allow for micro-detailing. When replicating complex sets, start by perfecting the base structure before attempting intricate charms or 3D sculptures. Remember that moisture control and proper nail preparation are just as vital as the final coat of polish in achieving a professional-grade finish that lasts through the entire month of October.
Frequently Asked Questions about Halloween Manicures
- Can I remove gel without damaging my nails?
- The secret to preserving nail health after a festive Halloween manicure lies in patience rather than force. You should never peel or scrape off your gel polish, as this removes the top layers of your natural nail plate. Instead, lightly buff the shiny top coat with a file to break the seal. Soak cotton pads in pure acetone, place them directly on your nails, and wrap your fingertips tightly in aluminum foil for at least fifteen minutes. Once the gel has lifted, use a cuticle pusher to gently glide the product off. Always finish with a nourishing cuticle oil to rehydrate your nail bed.
- How do I fix a smudge on a finished set?
- It is the ultimate heartbreak when you ruin a fresh spooky design, but a smudge does not mean you have to start over. If the polish is still wet, gently smooth the area with a tiny bit of acetone on a thin brush, then reapply a thin layer of color. If the polish has already cured or dried, try buffing the surface very lightly to level out the dent before applying another coat of pigment and a high quality top coat. For intricate nail art that gets ruined, a strategically placed 3D charm or a festive sticker can act as the perfect camouflage to hide the mistake while adding extra flair.
- Are stickers tacky or trendy?
- When utilized with precision, nail stickers are exceptionally trendy. Gone are the days of thick, plastic decals. Modern water slide decals and vinyl stickers are ultra thin, allowing them to lay perfectly flat against the nail. They are a fantastic tool for achieving detailed Halloween motifs like spider webs, ghosts, or anatomical hearts that would be nearly impossible to paint by hand. The key to making them look professional is to apply a high quality base color first and finish with two layers of glossy top coat to seal the edges completely.
- What is the best way to prep natural nails?
- Preparation is the foundation of any long lasting manicure. Start by pushing back your cuticles and removing any invisible skin from the nail plate using a clean, dry cuticle bit. Cleanse the nail thoroughly with isopropyl alcohol to remove all natural oils and debris. A light etch with a fine grit buffer is essential to improve adhesion. Never skip a pH bonder or a high quality base coat, as these steps create the necessary chemical anchor for your gel or lacquer to bond without lifting during the spooky season.
Mastering trendy Halloween nails is all about blending high-quality ingredients with creative flair. Whether you choose the sophisticated sheen of velvet polish or the edgy, sharp look of 3D chrome, your manicure is the ultimate accessory for the season. Remember, the durability of your design rests on your preparation—using the right base, curing at the correct intensity, and finishing with a high-shine, long-wear top coat. Visit Nailosmetic for all your professional-grade essentials and prepare to make your spooky set the talk of every Halloween gathering.