Fall Pumpkin Nail Designs

Fall pumpkin nail designs are the definitive aesthetic trend for autumn 2024, blending rich terracotta tones with intricate harvest-themed nail art to create the ultimate seasonal statement. To achieve the perfect manicure that lasts, visiting [Nailosmetic](https://nailosmetic.com/) is your first step toward professional-grade cuticle care and long-lasting color application. Why is everyone suddenly pivoting from classic nudes to vibrant, pumpkin-inspired manicures? It’s not just about the color; it’s about the exact saturation of ‘burnt orange’ and ‘spiced cider’ pigments that transform basic nail art into a viral sensation. Whether you’re looking for minimalist pumpkin accents or bold, 3D textured gourds, the secret lies in the base coat preparation and the precision of your detailing tools. In this guide, we reveal the professional techniques that make these designs look expensive, durable, and seasonally perfect for every professional or casual setting.
Why are pumpkin nail designs the top autumn beauty trend?
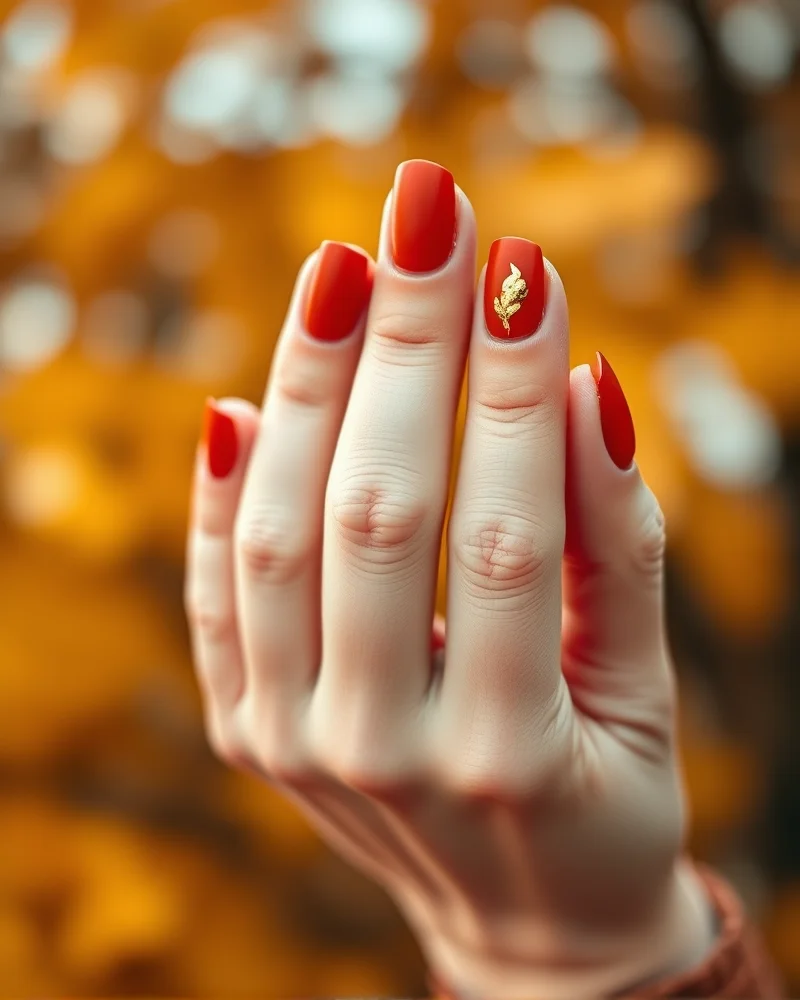
When the temperature drops and the air turns crisp, there is an undeniable shift in the collective aesthetic consciousness that draws us toward the warm, comforting hues of autumn. Pumpkin nail designs sit at the very heart of this seasonal transition because they bridge the gap between summer vibrancy and winter depth. From a color theory perspective, pumpkin orange is a sophisticated hybrid of high energy red and joyful yellow. It possesses enough saturation to make a bold statement while remaining grounded in earthy, toasted undertones that harmonize perfectly with the shifting pigments of fall foliage. This specific shade of orange functions as a warm neutral in the context of autumn fashion, making it an incredibly versatile choice for both professional environments and festive gatherings.
The psychology behind this trend is rooted in the human need for sensory comfort during the autumnal transition. As nature sheds its greenery, we instinctively seek warmth to combat the psychological impact of shorter days and cooler nights. Wearing pumpkin shades on your nails acts as a subtle form of color therapy, providing a visual anchor that celebrates the abundance of the harvest season. It signals a move toward intentional, cozy living. At Nailosmetic, our experts approach these seasonal color palettes by prioritizing tonal balance and skin tone compatibility. We believe that the perfect pumpkin manicure should not be a flat, single tone. Instead, we elevate the design by layering multidimensional finishes.
Our professional approach involves a strategic mix of textures and depth. Here is how we curate the perfect seasonal look for our clients:
- Base Layering: We start with a foundation of deep, burnt orange or terracotta to provide a rich base that prevents the color from appearing too neon or jarring.
- Texture Contrast: Incorporating matte top coats over pumpkin nail art creates a velvet effect that mimics the rustic feel of a harvest pumpkin patch.
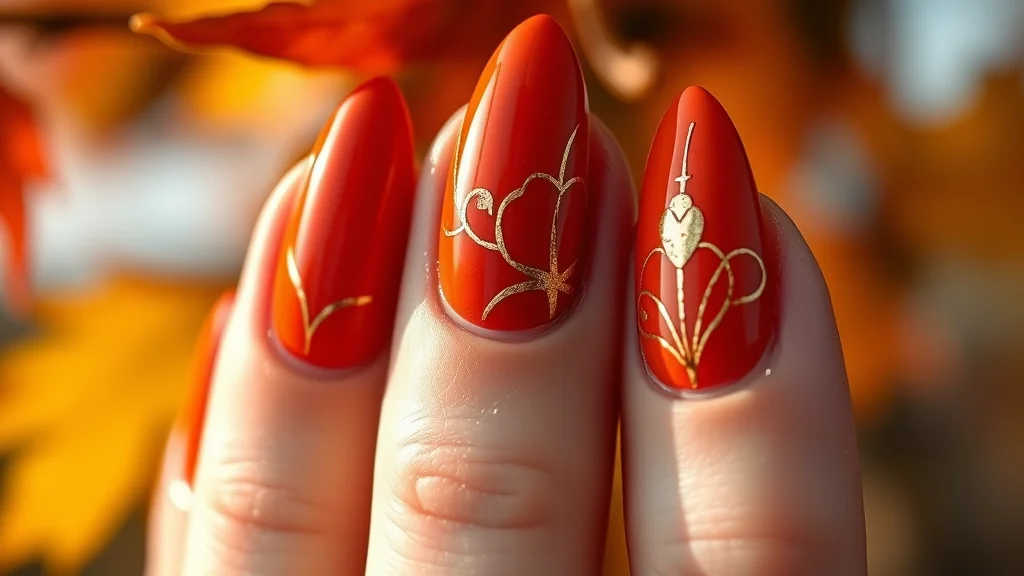
- Metallic Accents: Adding fine gold or copper detailing provides a necessary brightness that mimics the low, golden sunlight of October afternoons.
- Negative Space: Utilizing minimalist negative space techniques allows the natural nail to breathe, ensuring the orange pigment remains sophisticated rather than overwhelming.
By blending these expert techniques with high quality professional gel polishes, Nailosmetic ensures that your fall nail designs are not just trendy, but technically superior and deeply aligned with the spirit of the season.
What are the best pumpkin orange nail polish shades for your skin tone?
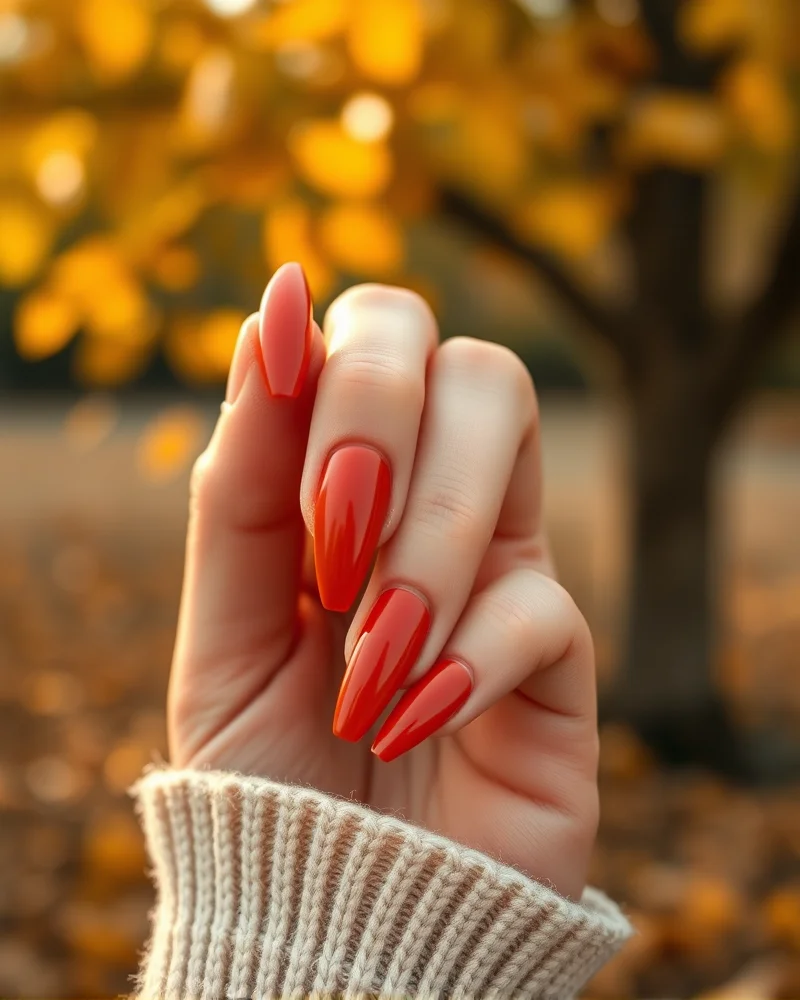
Finding the perfect pumpkin orange nail polish is not merely about picking the brightest hue in the bottle. It is about understanding the delicate dance between pigment and skin undertone. When you choose a shade that harmonizes with your natural skin chemistry, the color appears to glow, making your fall manicure feel intentional and high-end. If you choose incorrectly, the shade can wash out your complexion or create an unnatural contrast that detracts from your overall aesthetic.
To navigate the spectrum of pumpkin-inspired nail lacquers, we must categorize them by how they interact with warm, cool, and neutral skin tones. Warm skin tones generally possess golden or yellow undertones and look radiant when paired with earthy, fire-inspired pigments. Cool skin tones, characterized by blue or pink undertones, often require shades with a touch more depth or redness to avoid clashing. Neutral skin tones are the lucky winners, as they can usually pull off the entire spectrum, though they tend to look most expensive in muted or spicy, mid-tone shades.
| Skin Undertone | Best Pumpkin Shade Match | Why It Works |
|---|---|---|
| Warm Undertone | Deep Copper and Golden Rust | These shades mirror the golden warmth in your skin, preventing the manicure from looking muddy or dull. |
| Cool Undertone | Blue-Based Burnt Orange | The subtle blue base helps balance the orange, ensuring the color does not clash with the pinkish hue of your skin. |
| Neutral Undertone | Muted Terracotta and Pumpkin Spice | Because you have a balance of both warm and cool, these sophisticated, balanced shades provide the perfect seasonal pop. |
For those with a warmer complexion, lean into metallic copper finishes or shades described as burnt orange. These colors amplify the natural radiance of your hands. If you have cool undertones, you might find that neon oranges look harsh, so instead, opt for a sophisticated, deep rust that borders on brick red. This provides that quintessential fall vibe without overwhelming your skin. If you are ever unsure of your undertone, look at the veins in your wrist. If they appear green, you are warm. If they appear blue or purple, you are cool. If you cannot quite tell, you are likely neutral, which gives you the freedom to experiment with everything from spicy clementine oranges to dark, moody pumpkin hues.
How do you achieve the perfect 3D pumpkin nail texture?
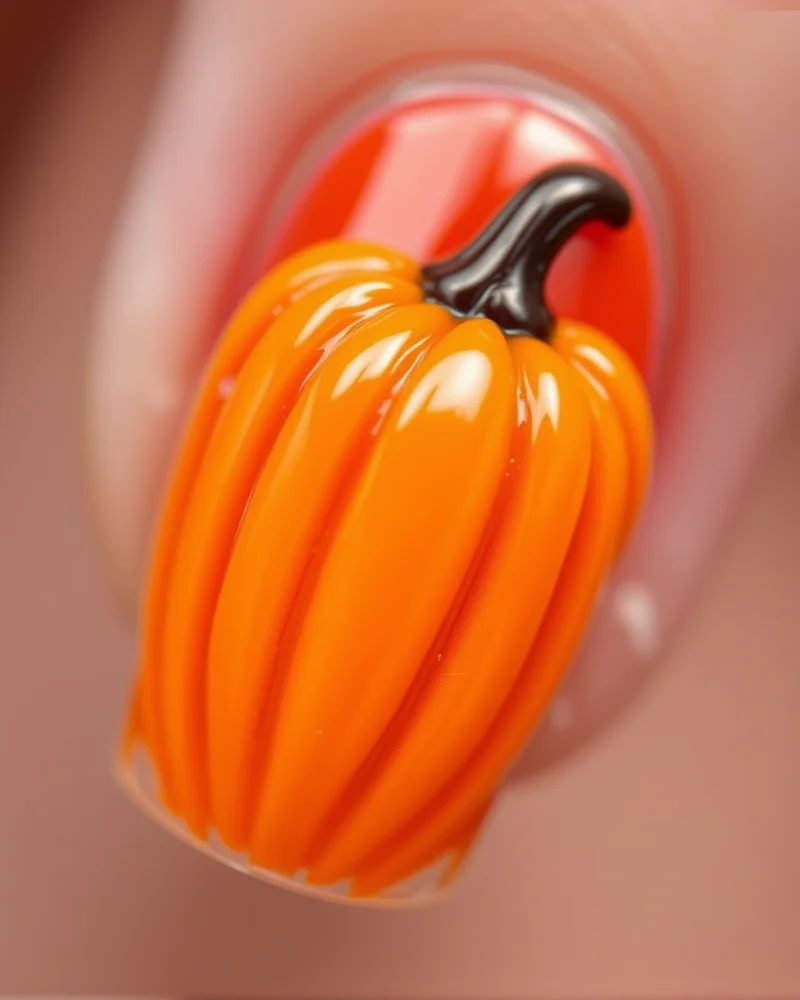
Creating the perfect 3D pumpkin is all about balancing dimension with durability. If you want your embossed nail art to survive the entire autumn season without snagging or lifting, you must master the chemistry behind your medium. Whether you are a professional nail technician or an avid DIY enthusiast, the secret lies in the specific consistency of your sculpting materials and your curing technique.
- Mastering Sculpting Gel for High Relief: Thick viscosity sculpting gel or 3D art gel is the gold standard for beginners and pros alike because it does not self level. To create the iconic ribbed look of a pumpkin, place a bead of non sticky sculpting gel in the center of the nail. Use a silicone tip shaper to gently pull the gel toward the edges, carving out deep grooves. Because this gel does not move, you can spend time perfecting the silhouette before flashing curing it under an LED lamp for ten seconds. This ensures the shape stays crisp.
- The Precision of Acrylic Sculpting: For those who prefer acrylic, the key is the liquid to powder ratio. You need a slightly drier bead than what you would use for a standard overlay. Place your bead and wait for it to lose its gloss, indicating it is ready to be textured. Use a metal dotting tool to press vertical lines into the bead, effectively segmenting the pumpkin into its characteristic lobes. Since acrylic air dries, this method allows for a very deliberate, embossed finish that feels incredibly tactile.
- Strategic Top Coat Application: A heavy duty, high shine top coat is the final piece of the puzzle. When working with 3D art, never flood the nail with a thick layer of top coat, as this will swallow the texture you worked so hard to create. Instead, use a thin detail brush to outline the pumpkin, ensuring you reach into the deep grooves without pooling. If you are struggling with technique, consider reviewing our nail art designs ultimate guide to refine your foundation skills.
- Pro Tip for Depth: Before applying your final top coat, use a tiny amount of brown or deep orange eyeshadow pigment in the crevices of your pumpkin. This creates a shadow effect, making the 3D element appear much more realistic and visually complex. Finally, ensure your top coat is fully cured to prevent the soft silicone or gel from collecting lint or dust during daily activities.
Minimalist vs. Maximalist: Which pumpkin nail style is right for you?
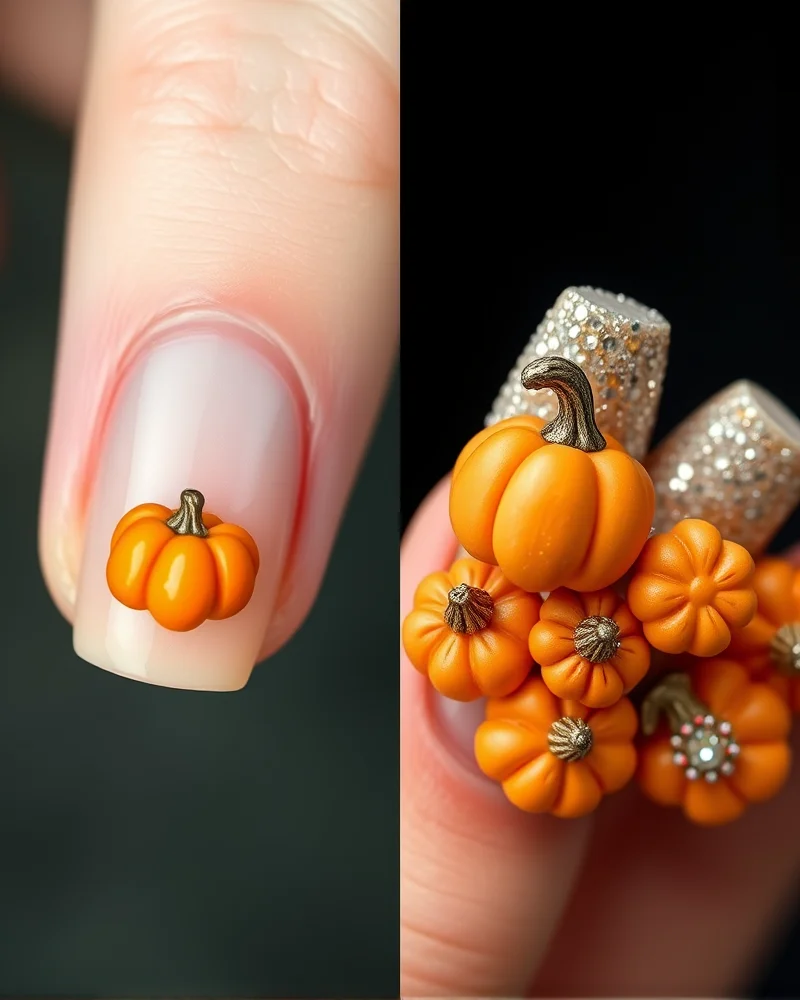
When autumn arrives, the debate between understated elegance and festive celebration reaches your fingertips. Deciding between a minimalist approach and a maximalist pumpkin aesthetic is essentially a choice between subtle sophistication and seasonal storytelling. For the devotee of quiet luxury, the minimalist pumpkin aesthetic focuses on intentionality and restraint. Think of a sheer milky base coat paired with a singular, tiny hand-painted pumpkin motif on the ring finger. This style relies on high-quality gel polish formulas and impeccable cuticle work to elevate the look. You might opt for a matte finish to soften the appearance or a chrome dust overlay to provide a modern, metallic sheen that catches the light without screaming for attention. It is the perfect choice for professional settings or individuals who prefer their nail art to complement their wardrobe rather than compete with it.
Conversely, the maximalist approach leans into the whimsical spirit of the harvest season with unabashed enthusiasm. If you identify with this style, you are likely looking for textured 3D nail art, glitter-infused acrylics, and complex compositions that feature patches of gourds, golden autumn leaves, and intricate vine detailing. Maximalist designs often utilize a variety of finishes, blending velvet matte textures with high-gloss top coats to create depth. This style is not just about the pumpkin; it is about creating a tiny, vibrant landscape on every nail bed.
To help you decide which direction suits your current vibe, consider the following breakdown:
- Choose minimalist pumpkin designs if you appreciate a clean, polished look, prefer neutral color palettes such as cream or taupe as your foundation, and want a manicure that transitions seamlessly from office meetings to weekend social events.
- Choose maximalist pumpkin designs if you view your nails as a form of self-expression, enjoy experimenting with sculpted 3D elements or charms, and love coordinating your manicure with bold autumn fashion trends like plaid scarves or leather jackets.
Ultimately, both styles celebrate the spirit of fall, but they serve different aesthetic goals. If you are torn, consider a hybrid approach. Start with a neutral pumpkin spice base and apply a single maximalist feature nail on each hand, keeping the rest of the fingers clean and minimalist. This provides a balanced look that marries the best of both worlds, ensuring your nail art feels fresh, intentional, and perfectly curated for the season.
What tools do you need for DIY pumpkin nail art?
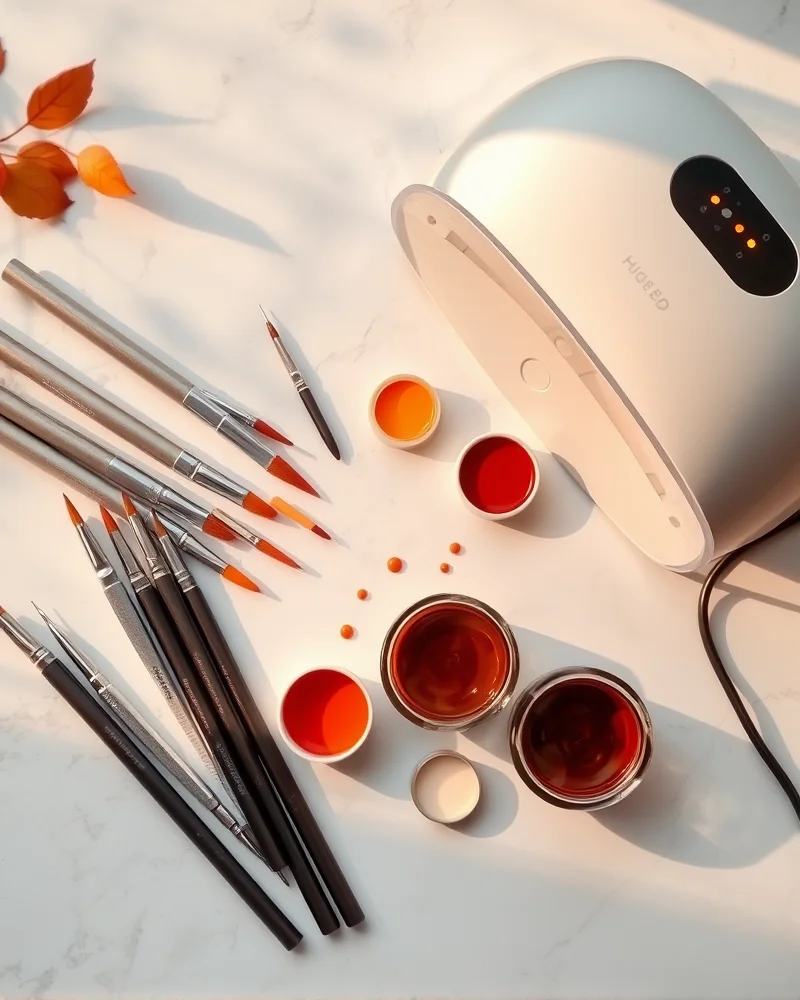
Creating professional grade pumpkin nail art at home is entirely achievable provided you have the right arsenal of tools in your kit. While you might be tempted to use standard polish brushes, the intricate nature of autumn motifs requires specialized equipment to ensure clean lines and high definition. Investing in these essential implements will not only elevate your aesthetic but also speed up your application process significantly.
- High Pigment Gel Liners: Unlike traditional nail polish, gel liners offer superior opacity and a non leveling consistency. This allows you to paint pumpkin stems, vines, and ridges without the color bleeding into the surrounding nail bed. Look for a kit that includes a deep espresso for outlining and a vibrant burnt orange for the base fill. Because these liners do not air dry, you have total control to perfect your pumpkin shape before committing it to the lamp.
- Fine Liner Brushes: A precision liner brush is non negotiable. You should aim for a brush with long, synthetic bristles that taper to a needle point. These are designed to navigate the curvature of the nail plate, allowing you to draw delicate tendrils and fine textural lines that give your pumpkins a realistic appearance. Always clean your brushes with a little bit of clear base gel rather than acetone to maintain the integrity of the bristles.
- Dotting Tools: These are the secret weapon for creating uniform pumpkin shapes and adding decorative accents. By using the rounded tips of varying sizes, you can create the base of the pumpkin by placing three overlapping dots and dragging the color toward the center. They are also perfect for creating tiny polka dots or autumn berry accents around your pumpkin design.
- UV or LED Curing Lamp: Because pumpkin art often involves layering multiple coats to achieve a 3D effect, an reliable UV or LED lamp is mandatory. Ensure your lamp has a minimum of 48 watts to guarantee that the high pigment gels are cured thoroughly. If your gel is not cured properly, you risk product lifting or skin irritation. Always flash cure your design for 10 seconds to lock in the shapes before doing a final full cure of 60 seconds to ensure long wear and durability.
Pro tip: Keep a lint free wipe soaked in isopropyl alcohol nearby at all times. If a vine goes astray or a pumpkin stem looks uneven, you can wipe it away immediately and reset your canvas before you ever touch the curing lamp.
Step-by-step: How to paint a perfect pumpkin on your nails?
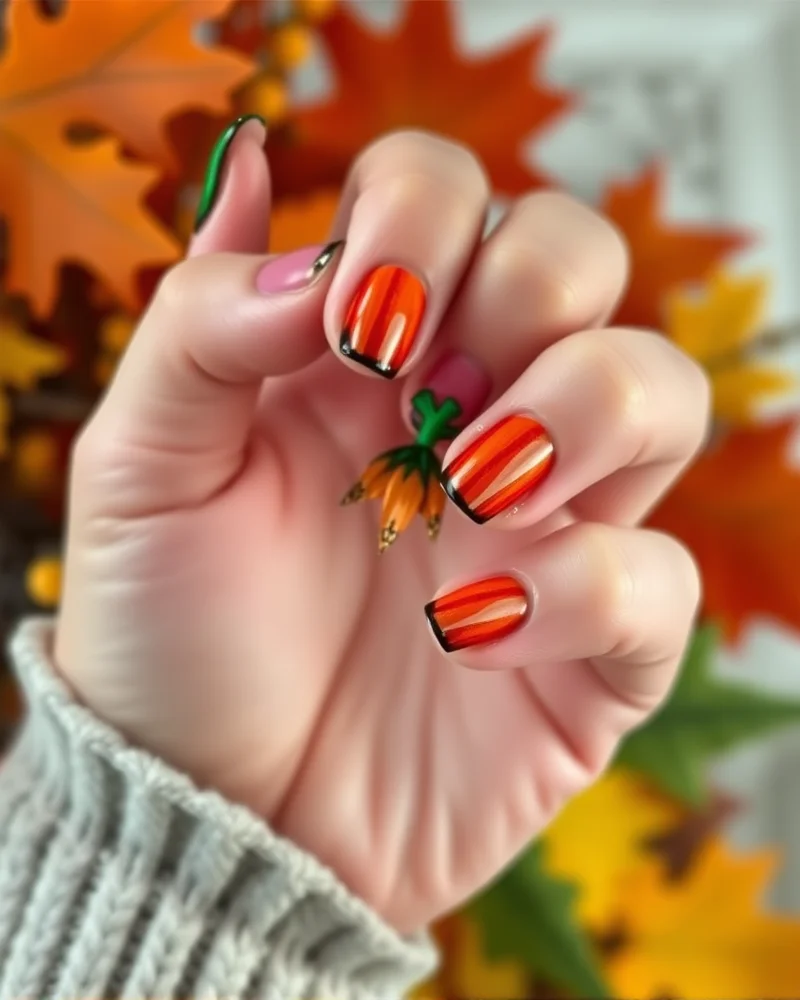
Creating a flawless pumpkin motif requires patience, a steady hand, and the right approach to layering your gel polish or lacquer. Whether you are a seasoned nail tech or a DIY enthusiast, mastering this iconic autumn aesthetic will instantly elevate your seasonal manicure. To help you master the craft, explore our comprehensive guide on trendy Halloween nails for additional inspiration before diving into this tutorial.
- The Foundation and Silhouette: Start by applying your base color, which is typically a clean nude or sheer white. Using a medium-sized dotting tool or a small round brush, place a rounded oval shape of orange polish in the center of your nail. Do not worry about perfection here. The goal is to establish the bulk of the pumpkin. Keep the edges slightly soft so they are easier to refine in the next steps.
- Defining the Ribs: Once the base is cured or dried to the touch, it is time to create the signature ridges. Using a thin liner brush dipped in a slightly darker shade of orange or a deep brown, draw subtle, curved vertical lines radiating from the center of the pumpkin shape outward. This creates depth and dimension. Think of these lines as gentle parentheses that give the fruit its characteristic segmented, plump look.
- Adding Dimension with Highlights: To make the pumpkin pop, you need to mimic how light hits a curved surface. Clean your liner brush and pick up a small amount of white or pale cream polish. Paint a thin, vertical crescent shape on one side of the pumpkin ridges. This creates a realistic, glossy highlight effect that brings the artwork to life and makes the pumpkin appear three-dimensional.
- Intricate Stem Detailing: No pumpkin is complete without a sturdy stem. Use a thin detail brush with a forest green or dark espresso shade. Start at the top center of your orange oval and pull a short, slightly jagged line upward. You can add a tiny flick to the side to represent a vine or leaf. Keeping the stem thin ensures the focus remains on the pumpkin body itself.
- Sealing with a High-Gloss Finish: To finish your masterpiece, apply a high-quality top coat. This not only protects your hard work from chipping but also levels out any texture from the layered polish. For a truly professional result, consider using a matte top coat over the entire nail, then going back over just the pumpkin with a glossy top coat to provide a stunning contrast between textures.
Can pumpkin designs work with French tip manicures?
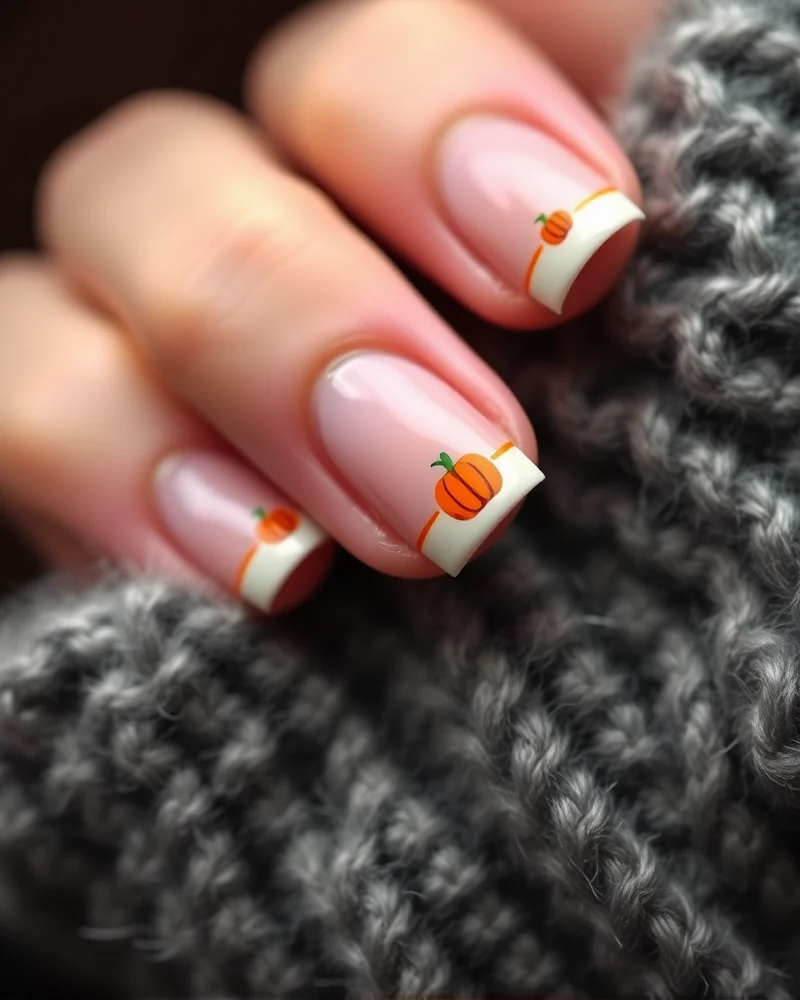
When you imagine the classic French manicure, your mind likely drifts to a crisp white tip against a soft nude base. However, fall fashion invites us to break tradition, and the Pumpkin French manicure is arguably the most sophisticated way to transition your nails into the autumn season. This modern variation is not just a trend but a complete reimagining of the iconic smile line. Instead of sticking to a traditional crescent shape, the Pumpkin French replaces the standard white polish with vibrant orange hues that mimic the warm, rustic tones of a pumpkin patch. Whether you prefer a bold burnt orange, a muted terracotta, or a shimmering copper, this design acts as a stylish anchor for your entire autumnal look.
The versatility of this style is where it truly shines. You can opt for a sleek, monochromatic orange tip for a minimalist approach, or you can lean into the seasonal spirit by incorporating pumpkin shaped micro art along the perimeter of the smile line. These tiny, hand painted pumpkins add a layer of depth and whimsy that keeps the manicure from feeling too formal. To achieve this look at home, start by perfecting your base coat to ensure a smooth canvas. Use a thin striper brush to map out the curve of the tip, then use a dotting tool or a fine liner brush to delicately place miniature pumpkins at the corners of your nails or directly along the center of the smile line.
Pro tip: If you want to elevate the aesthetic, consider adding a touch of gold leaf or metallic green foliage accents to your micro pumpkins. This small detail adds a premium finish that captures the light beautifully. If you are worried about the design looking cluttered, focus the pumpkin micro art on just one or two accent nails, leaving the others with a clean orange French tip. By balancing negative space with intricate art, you create a harmonious design that is appropriate for the office while still exuding a festive fall vibe. This is the ultimate way to celebrate the season while maintaining the elegance of a classic nail silhouette.
How to make your fall manicure last through November?
Achieving a pumpkin nail design that survives the entire autumn season requires more than just artistic talent. It demands a rigorous commitment to nail health and a sophisticated maintenance routine. To ensure your festive manicure stays chip free and vibrant from the first pumpkin spice latte of October through the final days of November, you must prioritize the structural integrity of the nail plate.
- Master the art of nail preparation: Never apply polish to a bare, oily nail surface. Start by thoroughly cleansing your natural nails with a high quality dehydrator or pure acetone to remove lingering surface oils. This creates a pristine, textured foundation that allows your base coat to adhere properly. Ignoring this step is the primary cause of premature lifting, even with professional grade products.
- Prioritize professional grade top coats: The longevity of your pumpkin art depends entirely on your finishing layer. Opt for a high gloss, professional grade top coat that offers UV protection. This prevents your autumn oranges and earthy browns from fading under sun exposure. Furthermore, ensure you cap the free edge of the nail by running the brush horizontally along the tip. This seals the layers of polish and acts as a barrier against water intrusion, which is the enemy of a long lasting manicure.
- Commit to a daily cuticle oil ritual: Hydrated nails are flexible nails. When the nail plate becomes brittle, the rigid polish on top will crack as your nails naturally flex during daily tasks. Use a jojoba based cuticle oil every single night. The small molecular structure of jojoba oil penetrates deep into the nail matrix and the surrounding skin, keeping the entire unit supple and preventing the polish from peeling at the sidewalls.
- Avoid harsh chemical exposure: When performing household chores, always wear protective gloves. Prolonged contact with harsh cleaning agents, dish soap, or scrubbing chemicals will strip the natural moisture from your nails and soften the polish polymers. By minimizing direct chemical contact, you preserve the structural integrity of your nail art for several weeks.
- Steer clear of picking and filing: Resist the urge to file your nails once the art is applied, as this breaks the seal of the top coat and invites moisture between the polish and the nail. If you notice a minor chip, gently buff the rough edge rather than picking at it, which can cause significant damage to your natural nail layers.
How to combine pumpkin art with plaid and sweater weather patterns?
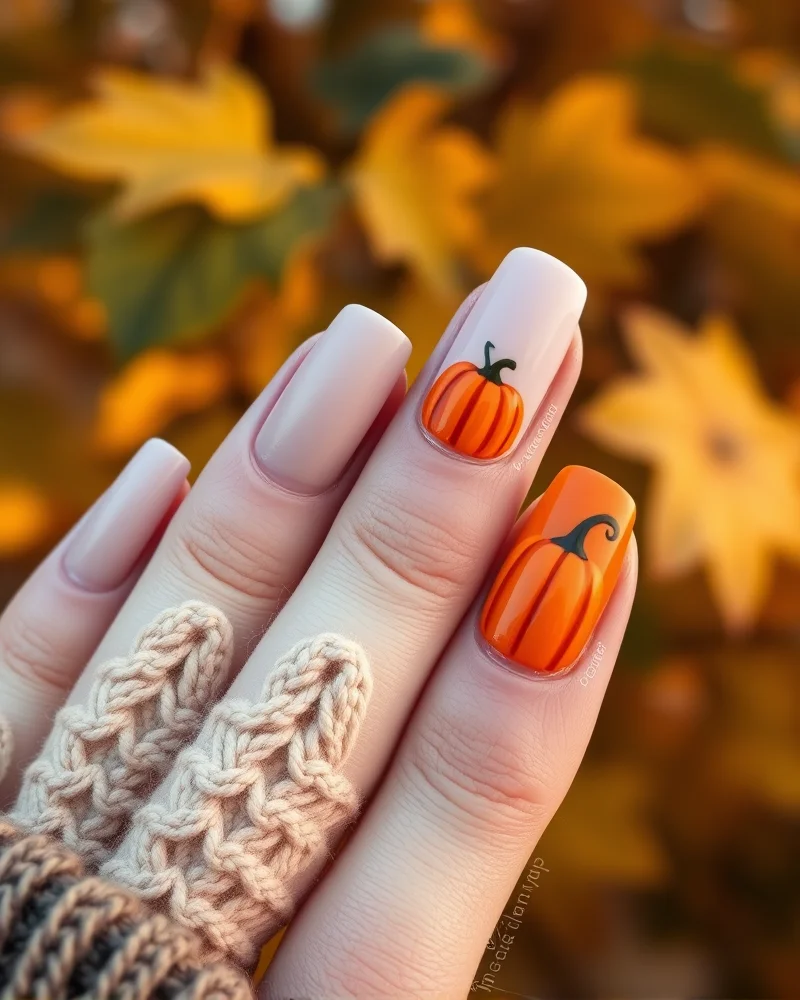
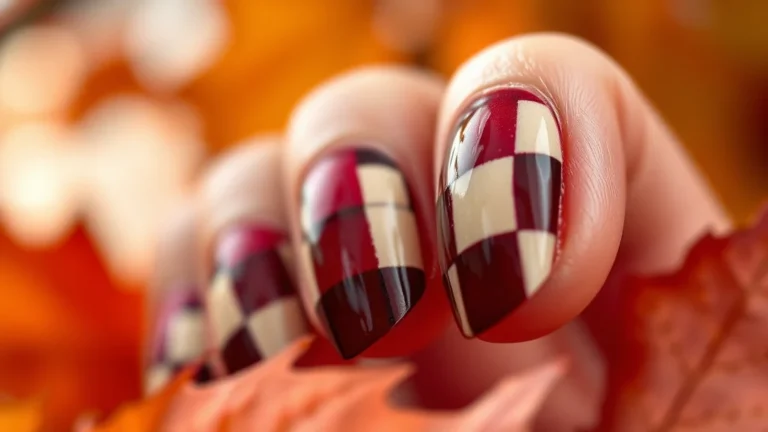
When the crisp air of autumn arrives, the marriage of pumpkin art with classic seasonal patterns like plaid and cable knit textures creates a quintessential aesthetic for your fingertips. The secret to achieving this high-end look lies in the intentional contrast between finishes. To truly capture that cozy sweater weather vibe, I recommend utilizing a matte top coat over your plaid or knit base designs, which serves to anchor the manicure in a soft, tactile dimension. When you layer a glossy, vibrant orange pumpkin over this matte backdrop, the pumpkin design appears to pop off the nail with startling clarity, mimicking the way light hits a succulent gourd in a real harvest patch.
For those aiming to master this trend, start by selecting a neutral, earthy color palette. Think terracotta, forest green, or deep cream as the foundation for your plaid lines. Using a fine-liner brush, execute your check patterns with precision before applying a high-quality matte top coat. Once that base is cured, you can paint your pumpkin art using a high-shine gel polish. This juxtaposition ensures that your manicure remains sophisticated rather than cluttered. If you need more inspiration for your next salon visit, be sure to browse our curated fall nail art gallery for seasonal styles that perfectly balance luxury and comfort.
Beyond the matte and gloss combination, consider incorporating 3D nail art techniques to enhance the sweater effect. Using a thickening gel to create embossed cables or ridges on one or two accent nails adds a layer of depth that feels remarkably authentic. When you pair this intricate knit texture with a minimalist, hand-painted pumpkin on a neighboring nail, you strike the perfect balance between artistic detail and clean, seasonal elegance. Pro-tip: for the most durable results, ensure your matte top coat is specifically formulated for long-wear performance, as matte finishes can sometimes be prone to staining if they are of a lower grade. By layering these textures, you transform your manicure into a wearable accessory that perfectly encapsulates the spirit of the harvest season while maintaining a modern, editorial edge.
Are pumpkin nails suitable for formal events?
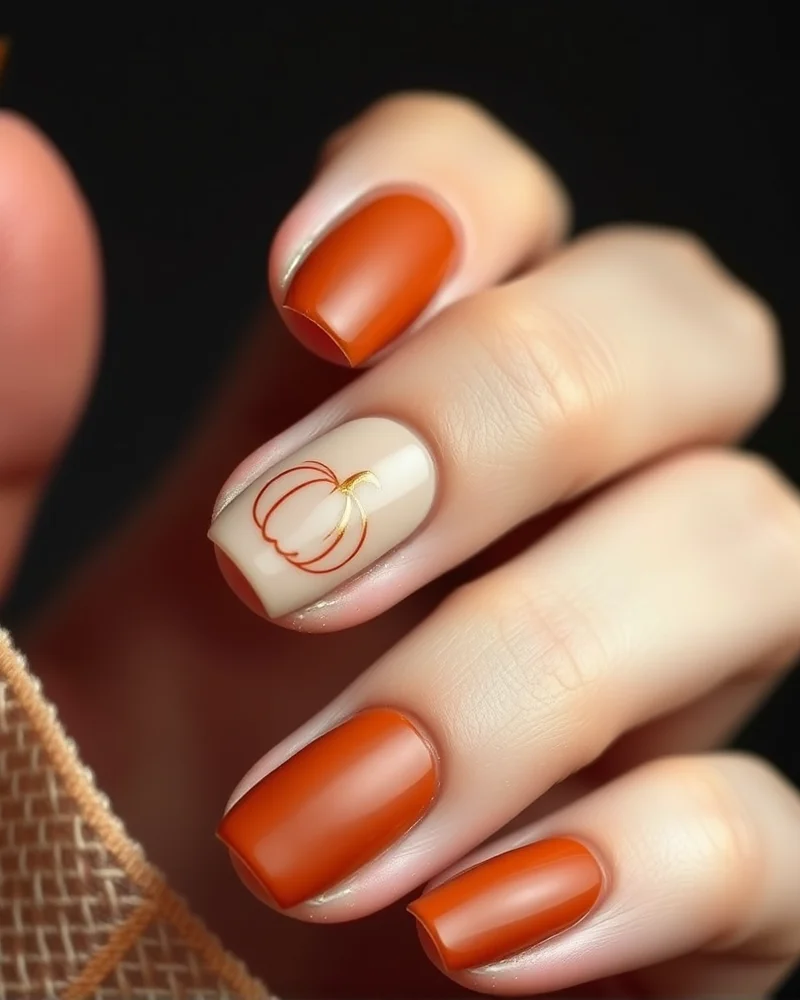
Q: Are pumpkin nails suitable for formal events?
A: Many people assume that pumpkin nail art is strictly for casual pumpkin patch visits or festive family gatherings, but this could not be further from the truth. When executed with the right technique and color palette, pumpkin designs can absolutely be appropriate for formal occasions like autumnal weddings, black tie galas, or corporate events. The key to elevating this seasonal motif lies in your choice of finish, textures, and level of detail.
If you want to maintain a professional or elegant aesthetic, it is best to shift away from bright, cartoonish orange tones. Instead, opt for a muted, sophisticated palette featuring terracotta, burnt sienna, or deep mahogany. By integrating luxury elements, you can transform a simple pumpkin icon into a high fashion statement. Consider these specific design strategies to achieve a refined look:
- Incorporate Gold Leaf: Adding flecks of gold leaf to the stem or around the base of the pumpkin creates an opulent, light reflecting effect that pairs perfectly with formal evening wear.
- Utilize Chrome Finishes: Use a metallic chrome powder in copper or bronze over a matte base to give the pumpkin a modern, sculptural quality that looks sleek rather than rustic.
- Minimalist Line Art: Skip the full color fill and instead use a thin liner brush to draw delicate, single line silhouettes of pumpkins. Placing these on a sheer nude or milky white base keeps the manicure clean and minimalist.
Pro tip: For formal events, balance is essential. Rather than painting a pumpkin on every nail, choose an accent nail for your art and keep the remaining nails in a complementary solid deep tone or a classic French tip with a twist. By keeping the design understated and focusing on high quality materials, your pumpkin themed manicure will feel curated, expensive, and perfectly suited for your next upscale engagement. This approach ensures that your nails reflect the beauty of the season without sacrificing the sophistication required for formal environments.
What is the science behind long-lasting seasonal nail care?
When the crisp autumn air arrives, it brings more than just changing leaves and pumpkin spice lattes. The transition from summer heat to cooler, drier temperatures significantly alters the chemical environment of your nail plate, which directly impacts your gel manicure. As humidity levels drop, your natural nails lose essential moisture and become more prone to brittleness and micro-cracking. This structural shift can compromise the bond between the keratin layers of your nail and your gel base coat. When your nail plate becomes dehydrated, it tends to flex and contract differently than the cured gel overlay, often resulting in premature lifting, edge peeling, or unsightly chipping at the stress points.
To mitigate these seasonal challenges, you must adjust your prep routine. The cooling weather causes oils to harden on the nail surface, making it difficult to achieve a pristine canvas. Before applying your pumpkin-themed art, it is vital to perform a deep cleanse with high-purity isopropyl alcohol or a dedicated nail dehydrator. This step is non-negotiable because it eliminates residual natural oils that become more viscous in the cold. Furthermore, consider incorporating the following strategies to ensure your seasonal manicure maintains its integrity throughout the fall months:
- Use a pH balancing bond: A high-quality acid-free primer acts as a double-sided adhesive, bridging the gap between your natural nail surface and the gel base to prevent lifting in dry conditions.
- Cap the free edge: Ensure you wrap the tip of your nail with every layer of polish, including the base, color, and top coat, to create a sealed perimeter that prevents moisture and debris from compromising the seal.
- Commit to cuticle hydration: Even if your nails are dehydrated, your skin needs moisture. Apply a vitamin E-rich cuticle oil twice daily to keep the surrounding tissue supple and prevent the skin from pulling away from the nail plate, which often initiates the lifting process.
- Avoid extreme temperature shocks: Rapidly moving from a warm indoor setting to freezing outdoor temperatures causes the gel to expand and contract at a rate that differs from the nail plate. Wearing gloves when outdoors is a professional tip that helps stabilize the temperature of your manicure, effectively extending its lifespan by several days.
By understanding the intersection of chemistry and climate, you can ensure your intricate pumpkin nail designs remain flawless regardless of the fluctuating autumnal weather. Investing this extra time in the foundation of your manicure ensures that the artistry remains the focal point rather than the wear and tear.
Where to find the latest inspiration for fall nail art?
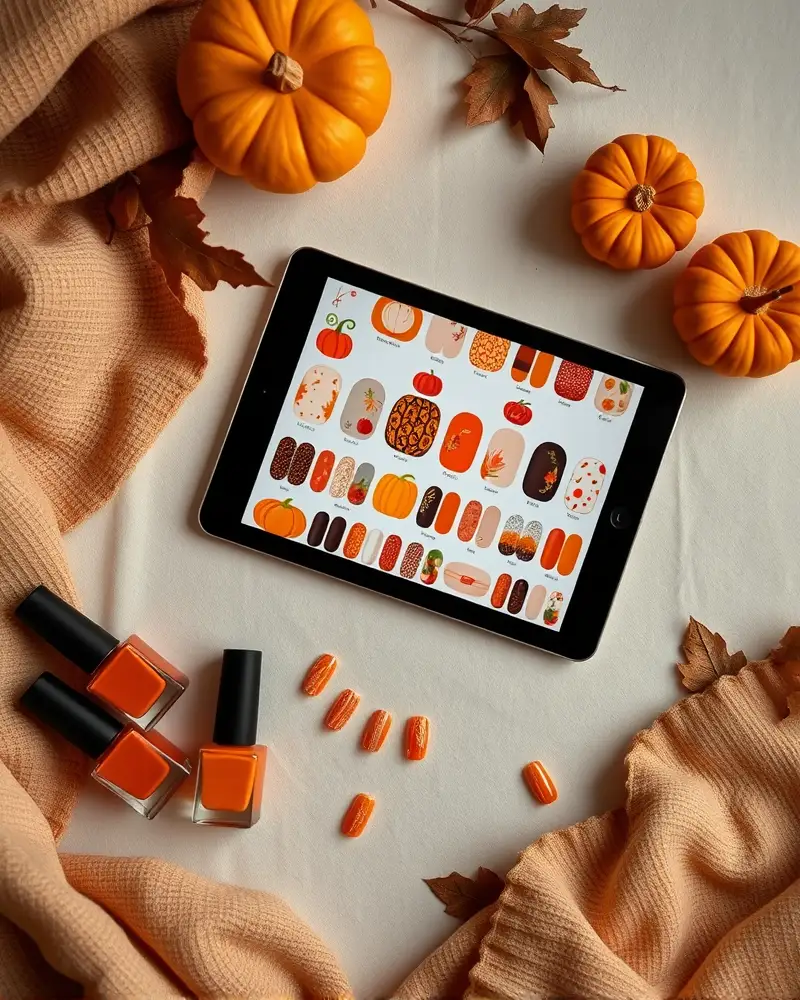
Staying ahead of the curve in the world of professional nail artistry requires a curated approach to digital consumption. If you are looking to elevate your fall pumpkin nail designs, the first step is knowing exactly where to look for high caliber inspiration. Social media platforms like Pinterest remain the gold standard for visual discovery. By following specialized boards dedicated to seasonal nail aesthetics, you can cultivate a feed that showcases intricate pumpkin art, metallic accents, and matte autumn finishes. However, do not stop at standard scrolling. We highly recommend engaging with dedicated hashtags such as fallnailinspo or pumpkinmanicure to uncover the hidden gems created by independent nail technicians. Instagram serves as a living portfolio for world class artists, and active engagement within the comments section often provides direct access to product recommendations and application techniques that are not available elsewhere.
Beyond social media, professional online communities and digital nail art magazines offer a more academic look at seasonal trends. Participating in forums or subscribing to newsletters from leading polish brands will keep you informed about new color collections, seasonal pigments, and the latest long wear top coats. These resources often feature expert interviews that break down the technical aspects of creating professional pumpkin art, from fine liner brush control to the careful application of 3D charms. Constant learning is the hallmark of a true nail enthusiast, so we encourage you to seek out tutorials that focus on foundational skills rather than just final aesthetic outcomes. Whether you are observing a step by step reel on professional nail plate preparation or studying high resolution macro photography of hand painted seasonal motifs, the goal is to bridge the gap between simple imitation and genuine artistic growth. By consistently sourcing your inspiration from professional portfolios rather than generic stock photography, you ensure that your fall nail style remains both trendsetting and technically sophisticated. Engaging with this community not only refines your personal taste but also empowers you to adapt complex runway trends into wearable, high quality nail art that celebrates the warmth and charm of the autumn season.
Pumpkin nail designs are more than a fleeting seasonal trend; they are a celebration of artistry that bridges the gap between cozy aesthetics and high-fashion grooming. By mastering the techniques outlined in this guide—from color matching your skin tone to utilizing the right sculpting tools—you ensure your nails remain the highlight of your autumn look. Remember, the longevity of your design starts with healthy nail beds and professional-grade products. Whether you choose a subtle pumpkin accent or an elaborate 3D masterpiece, embrace the warmth and creativity this season demands. For more professional tips and high-quality supplies, continue your journey at Nailosmetic.