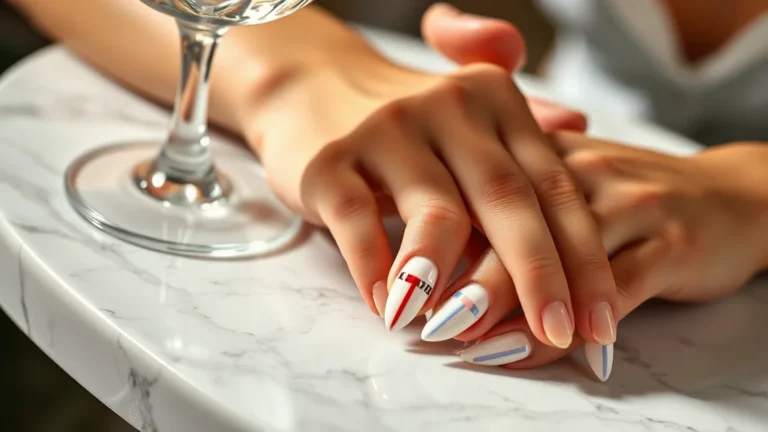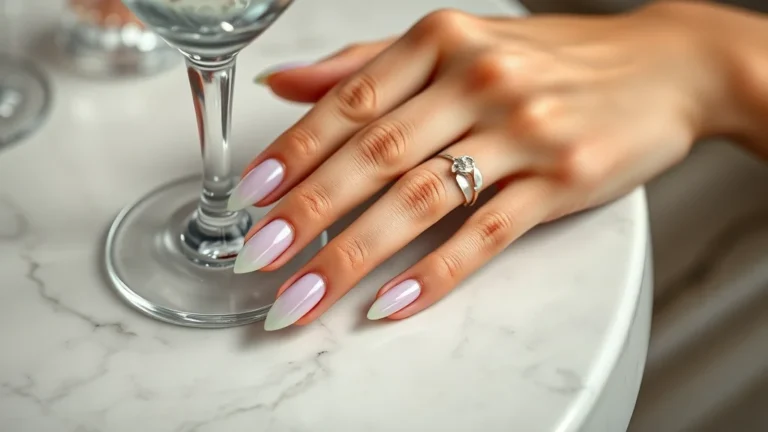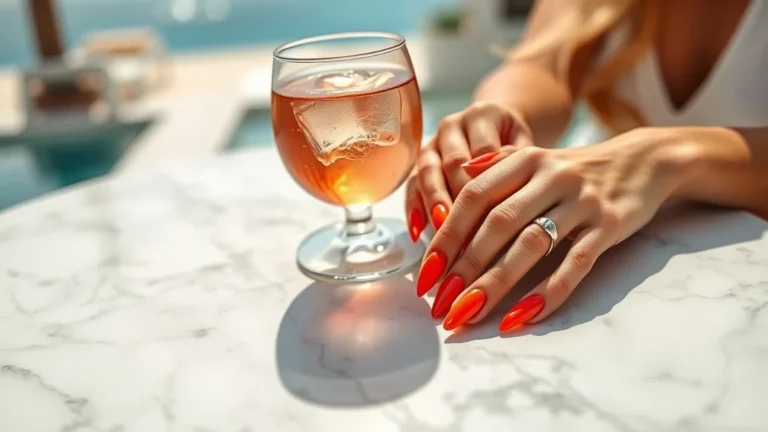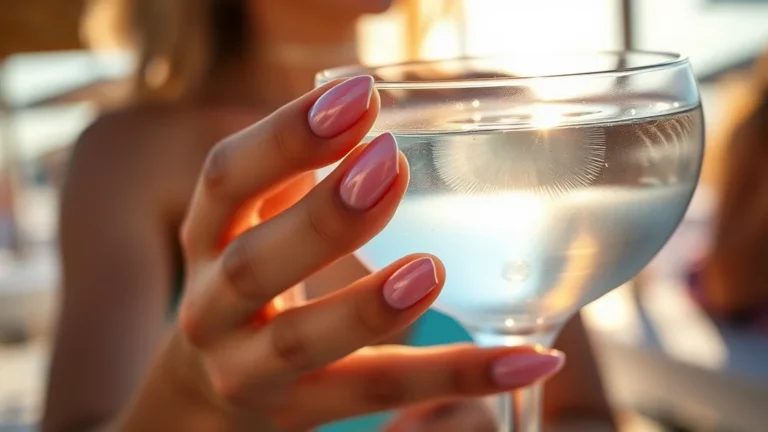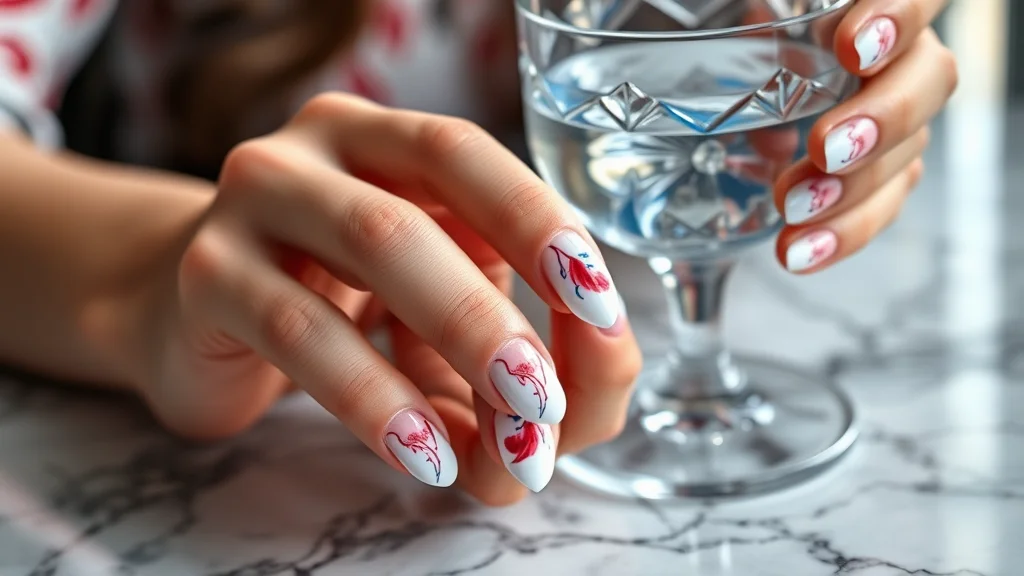
7 Viral 4th of July Nails Blooming Gel Designs You Need to Try

As the heat of mid-summer approaches, there is no better way to celebrate Independence Day than by elevating your manicure with the dreamy, ethereal look of blooming gel. Unlike traditional flat nail art, blooming gel offers a unique, fluid aesthetic that mimics watercolor paintings, allowing colors to bleed and spread into soft, organic shapes. This year, the trend is moving away from stark, blocky patterns toward these diffused, artistic gradients that feel sophisticated and modern. Whether you are heading to a backyard barbecue or a luxury fireworks display, these nails provide the perfect balance of festive spirit and high-fashion elegance.
If you are ready to experiment with your aesthetic, mastering the technique behind these sprawling designs is essential. Before diving into specific holiday styles, ensure you understand the fundamentals of nail anatomy and product application to achieve professional results at home. For a deep dive into the industry standards and creative inspiration, check out our ultimate guide to nail art designs, which breaks down everything you need to know about preparing your canvas for the perfect blooming gel application.
How to Master the Patriotic Marble Effect?
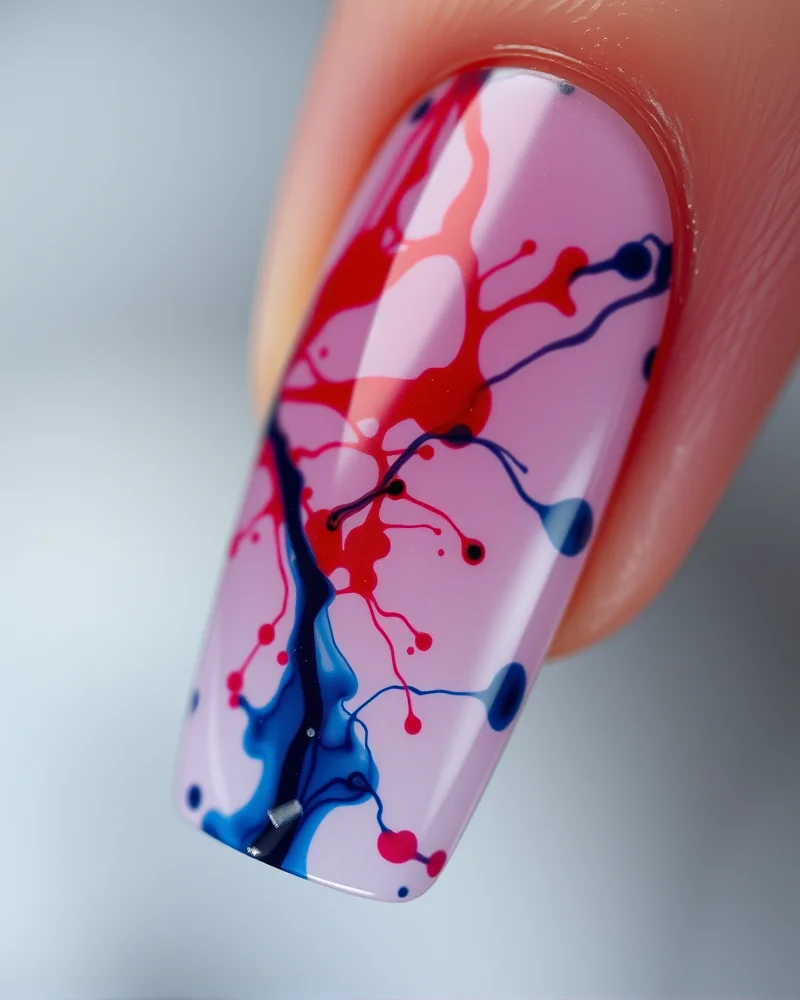
The marble effect is arguably the most versatile way to incorporate blooming gel into your holiday set. By applying a base layer of clear blooming gel and dropping concentrated red and blue pigment into it, you allow the chemistry of the product to create natural, unpredictable swirls that look like liquid silk. As noted by experts at Vogue, the key to a professional finish is not over-mixing; you must let the gel do the heavy lifting. This look works exceptionally well on longer nail lengths, such as coffin or stiletto shapes, providing ample surface area for the colors to spread and interact, creating a truly one-of-a-kind patriotic masterpiece.
Watercolor Red, White, and Blue Blooms
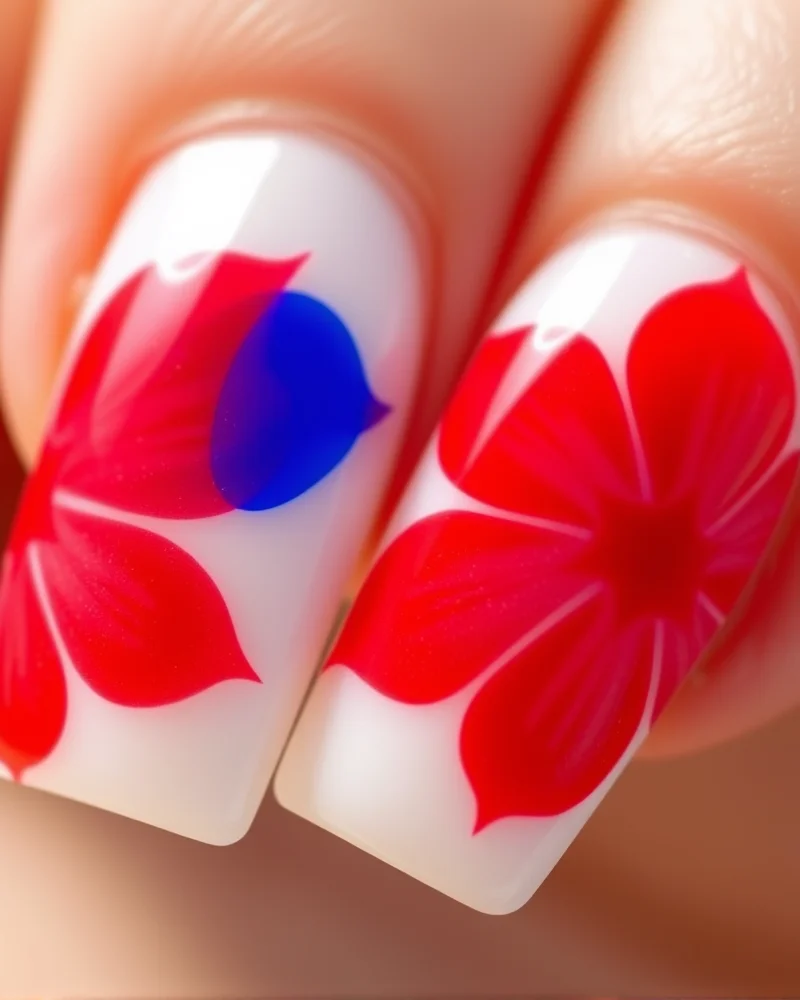
If you are looking for a softer approach to the holiday, the watercolor bloom is the perfect choice. Instead of harsh stripes, this style uses blooming gel to soften the edges of your chosen colors, making them look like soft ink bleeds on parchment. You can easily pair this design with elements from our 4th of July simple nails collection to keep things manageable yet festive. The beauty of this technique is that it looks elegant on shorter, square nails as well as long ones. For more inspiration on the best seasonal shades to use for this specific look, explore our curated list of July nail colors that complement the blooming gel effect perfectly.
Are ‘Firework’ Starbursts Possible with Blooming Gel?
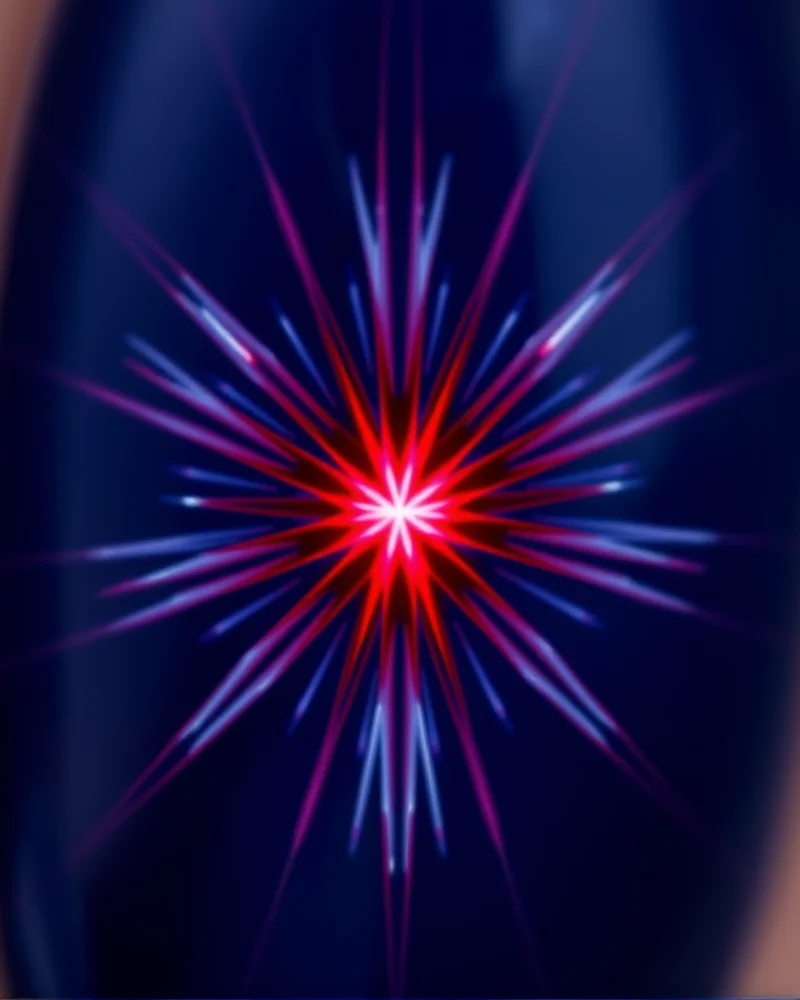
Creating a starburst or ‘firework’ effect with blooming gel is an advanced but rewarding technique. By using a detail liner brush, you can pull the pigmented drops from the center of the bloom outward before you cure, creating a sunburst effect that mimics a firework exploding in the night sky. According to beauty editors at Allure, the viscosity of your chosen blooming gel brand makes a significant difference in how much control you have during this pulling process. A thicker gel will hold the ‘spikes’ longer, giving you that crisp firework aesthetic against a dark, moody blue background for maximum contrast.
The Abstract Minimalist Bloom
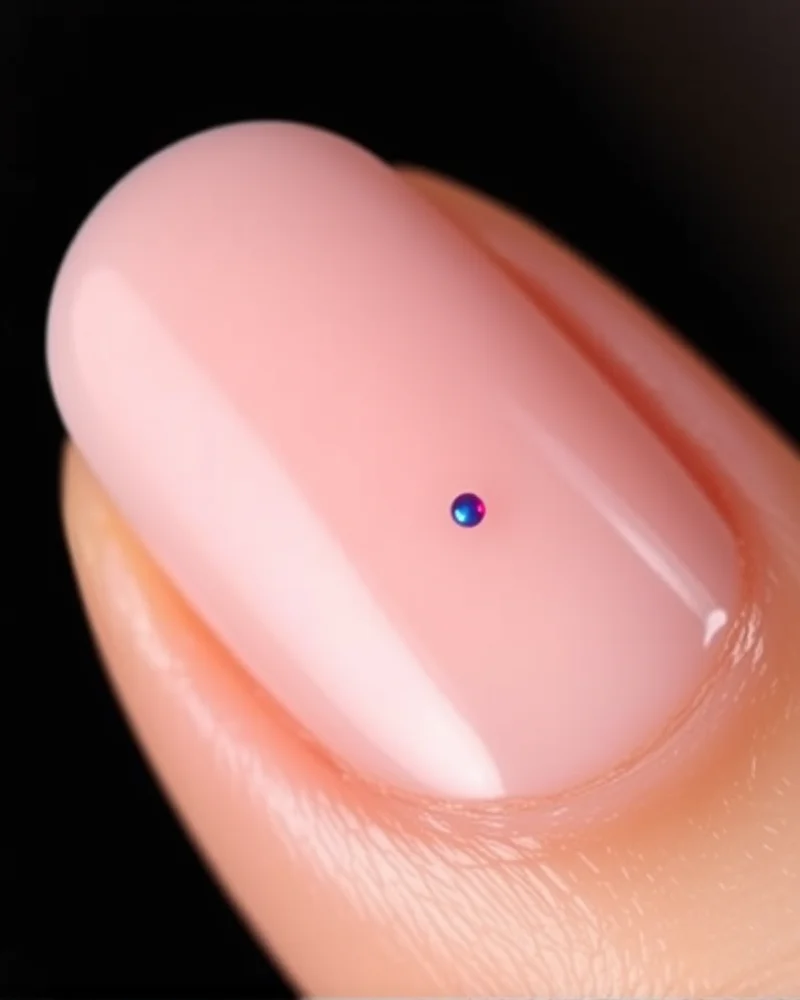
For those who prefer a ‘clean girl’ aesthetic even during the holidays, the abstract minimalist bloom is a lifesaver. This style focuses on simplicity, using only one or two drops of red and blue pigment on a nude or milky white base. The blooming gel allows the pigment to expand into a soft, cloud-like shape without covering the entire nail. It is subtle enough for the office but festive enough for the holiday. It’s an understated way to join the trend without committing to full-coverage nail art, proving that luxury is often found in the most minimal applications.
Can I Combine Chrome with Blooming Gel?
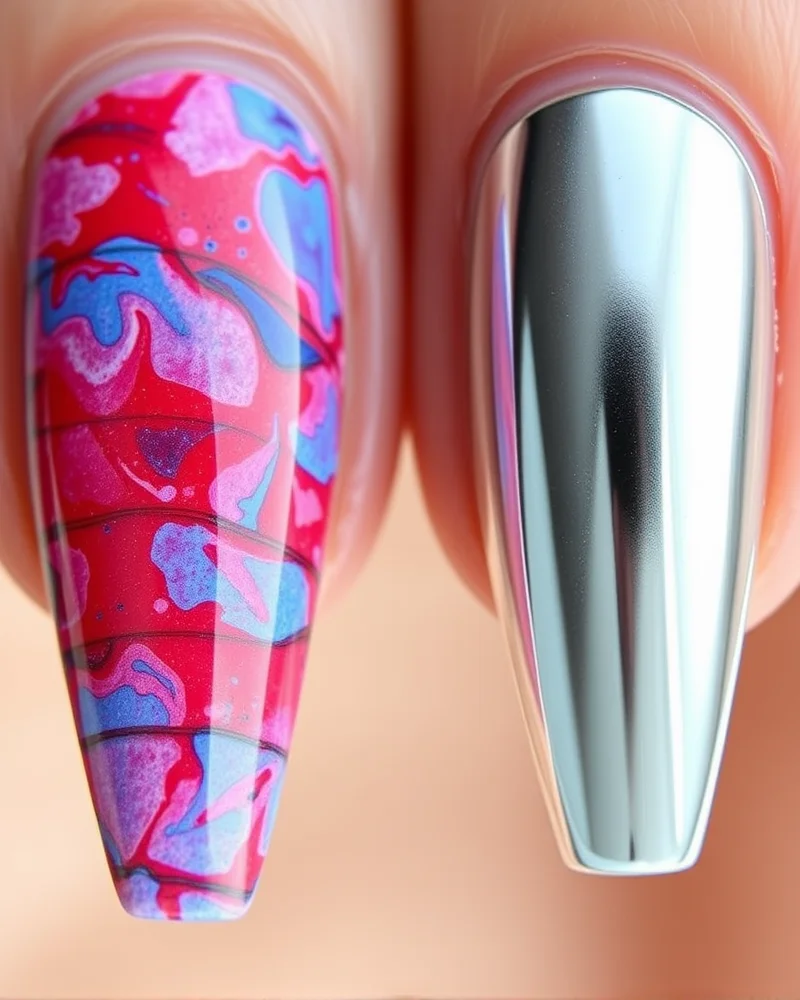
Combining textures is the hallmark of a high-end manicure. By integrating chrome powder alongside your blooming gel designs, you create a multi-dimensional look that captures the light. Imagine a set where three nails feature the soft, diffused marble of blooming gel, while the remaining two feature a high-shine silver or gold chrome. As discussed in recent articles by Byrdie, the mix of matte/soft blooming effects and metallic chrome creates a luxury visual contrast that is perfect for summer events. Ensure you apply the chrome powder before the final topcoat to seal that mirror-like finish over your blooming base.
Ombre Blooming Gradient
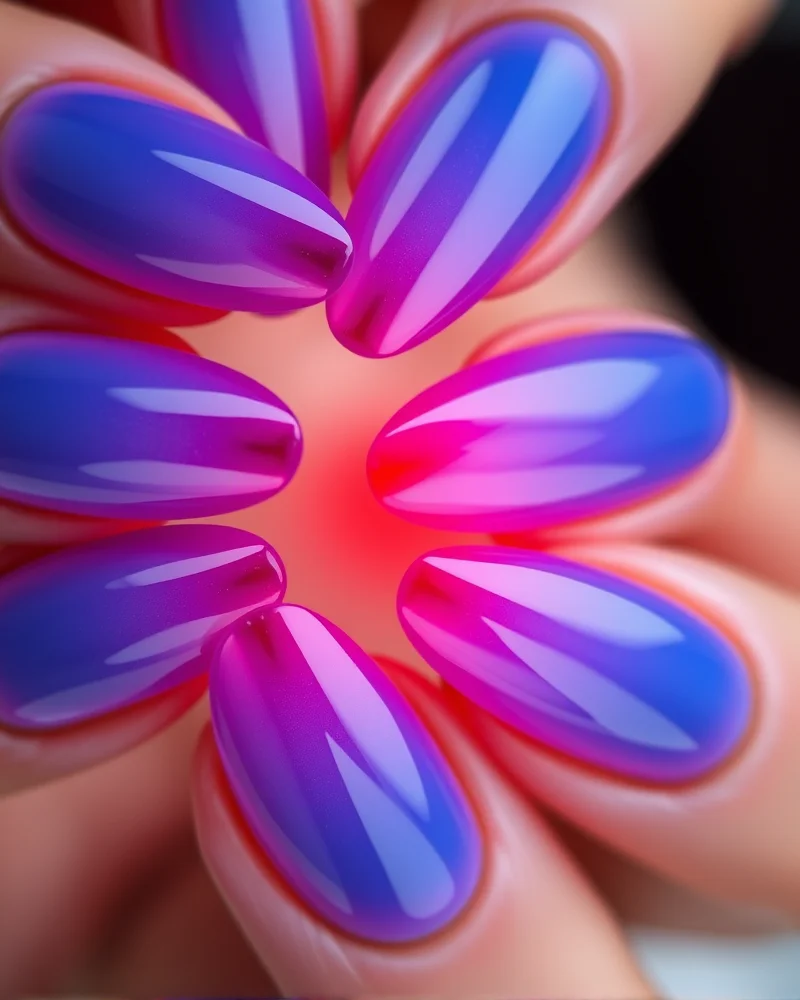
The ombre blooming gradient takes the traditional sponge-based ombre to the next level. By placing red drops at the tip and blue at the cuticle, the blooming gel naturally migrates and meets in the middle to create a soft, purplish transition that looks perfectly blended. This technique removes the need for tedious sponge dabbing and prevents the air bubbles that often plague traditional ombre attempts. The result is a glossy, seamless flow of color that mimics the beautiful hues of a summer sunset. It is an advanced technique that rewards the user with a truly salon-quality finish that looks expensive and well-executed.
Is French Tip Blooming Possible?
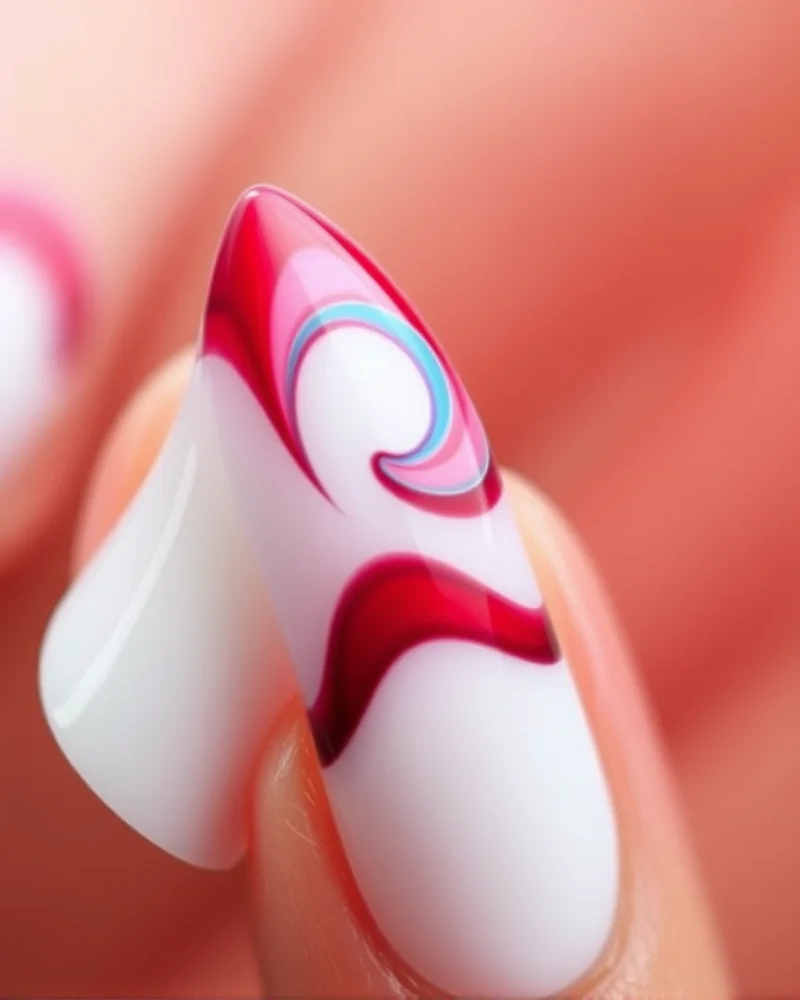
Reinverting the classic French manicure is always in style, but adding a blooming gel twist makes it fresh for July. Instead of a solid line, use a thin brush to apply a strip of blooming gel across the tip of the nail, then apply your red and blue pigment directly into that strip. Because the gel forces the color to spread, your ‘tip’ will take on an organic, wavy look that feels much more modern than a standard straight line. This style is incredibly popular this season, and mastering the width of your blooming strip will help you control how much of the nail remains clear versus colorful.
Final Thoughts
Incorporating blooming gel into your 4th of July nail routine is the ultimate way to stand out this summer. By embracing the organic, fluid movement of these watercolor-inspired designs, you create a look that is both festive and undeniably chic. Whether you opt for a dramatic starburst or a subtle minimalist bloom, the versatility of this product allows for endless creativity. We hope this guide has inspired you to experiment with your next manicure. Don’t forget to share your favorite creations with us and keep visiting Nailosmetic for the latest trends, expert tips, and seasonal inspiration to keep your nails looking impeccable all year round.
Frequently Asked Questions
Blooming gel is a clear, self-leveling base coat designed to make pigments spread or ‘bloom’ upon application. To use it, you apply a thin layer of the gel without curing it, then drop your colored gel polish into it and wait for the color to expand into your desired shape before curing.
You do not necessarily need special polish, but highly pigmented gel liners or thin gel polishes work best for the blooming effect. Thicker, high-viscosity gels may not spread as quickly, while overly runny gels might bleed too much.
When applied with a proper base and topcoat, blooming gel designs last just as long as a standard gel manicure, typically two to three weeks. The longevity depends on your preparation of the nail plate and sealing the design with a high-quality topcoat.
Yes, you can easily achieve these looks at home if you have a UV/LED lamp and the necessary gel supplies. Start with simple marble designs to get a feel for how the gel moves before trying more complex patterns like starbursts.
If your blooming gel is spreading too much, you are likely applying the product layer too thick or waiting too long to cure it. Try applying a thinner layer of the blooming base and curing it immediately once you achieve the desired pattern.