7 Lip Liner Tutorial Secrets for the Perfect Pout

Achieving that elusive, perfectly defined pout is often the missing piece in a high-end makeup look, yet so many people struggle with uneven edges or a flat, one-dimensional appearance. A high-quality lip liner tutorial is not just about tracing lines; it is about architectural artistry—understanding the anatomy of your lips, the interplay of shadow and light, and the importance of product texture. As a beauty editor at Nailosmetic, I have seen countless makeup artists transform faces simply by shifting how they define the cupid’s bow and corners, proving that the right application can add volume, definition, and a professional polish that lasts all day long.
Beyond the technique itself, mastering your base is vital to ensure your lipstick stays in place for hours. If you find your hair gets in the way of your makeup application, you might want to look at our guide for a perfect wash and go curly hair routine to ensure your look is effortless from head to toe. Today, we are breaking down the essential steps to master your lip liner, whether you are aiming for the coveted ‘clean girl’ aesthetic or a bold, dramatic transformation for an evening out.
How do you choose the right shade for your lip liner?
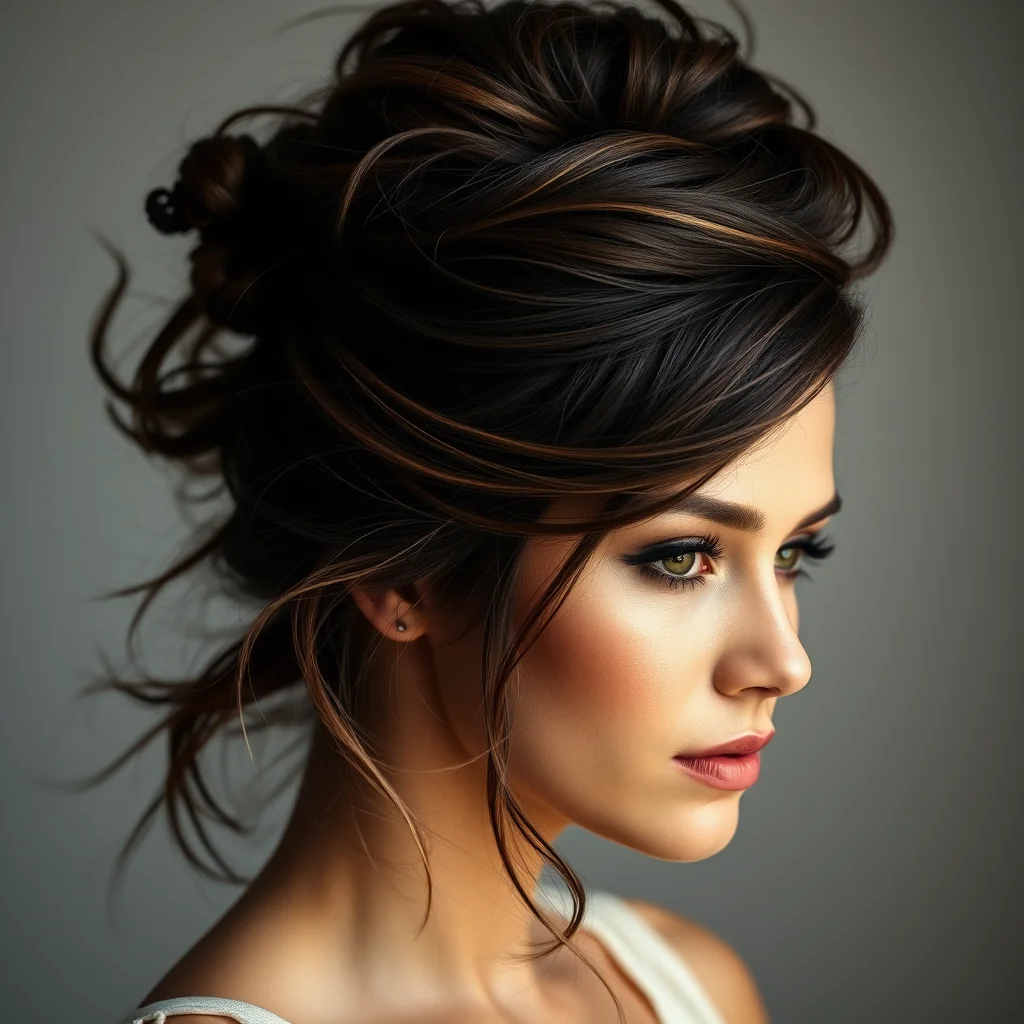
Selecting the perfect shade is the foundation of any successful lip liner tutorial. According to Allure, the most versatile liner is one that matches the natural undertone of your lips, allowing for a seamless transition between the skin and the pigment. If you are going for a nude look, look for a shade slightly deeper than your natural lip color to create depth, whereas for bold colors, you want a liner that perfectly matches your lipstick to prevent bleeding. Always test the liner on your hand to see how it oxidizes, and keep in mind that texture matters as much as color; creamy formulas glide on without tugging, which is essential for delicate lip skin.
The Overlining Technique for Instant Volume
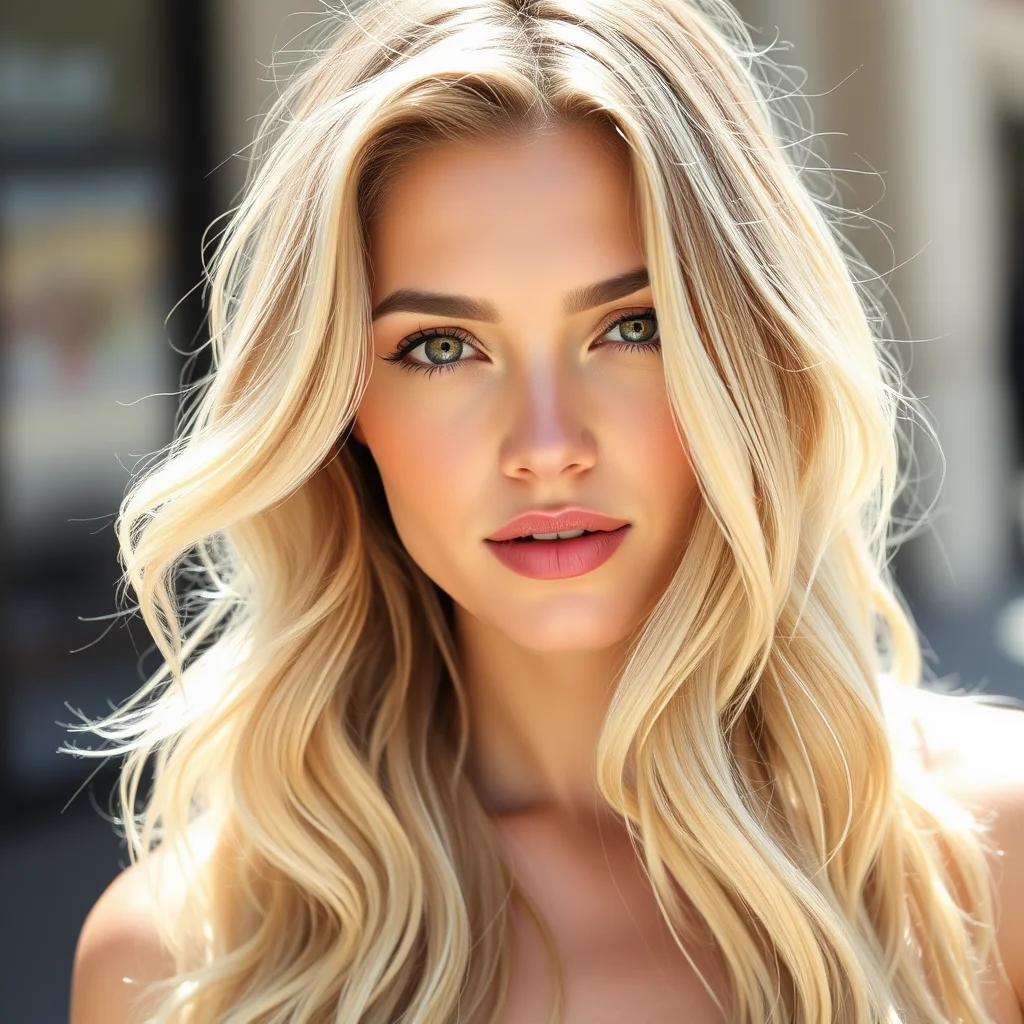
Overlining is perhaps the most requested skill in any lip liner tutorial, but it must be done with restraint to avoid looking unnatural. To achieve a realistic boost in volume, apply the liner just outside your natural vermilion border—the ridge where your lip color meets your skin. Avoid trying to alter the shape of your cupid’s bow too drastically; instead, focus on the center of the bottom lip and the peaks of the upper lip. If you need some inspiration for your next event, check out our prom makeup tutorial hacks to pair with your new lip look. Remember, confidence is key to making the extra millimeters look intentional.
Should you line the entire lip or just the edges?
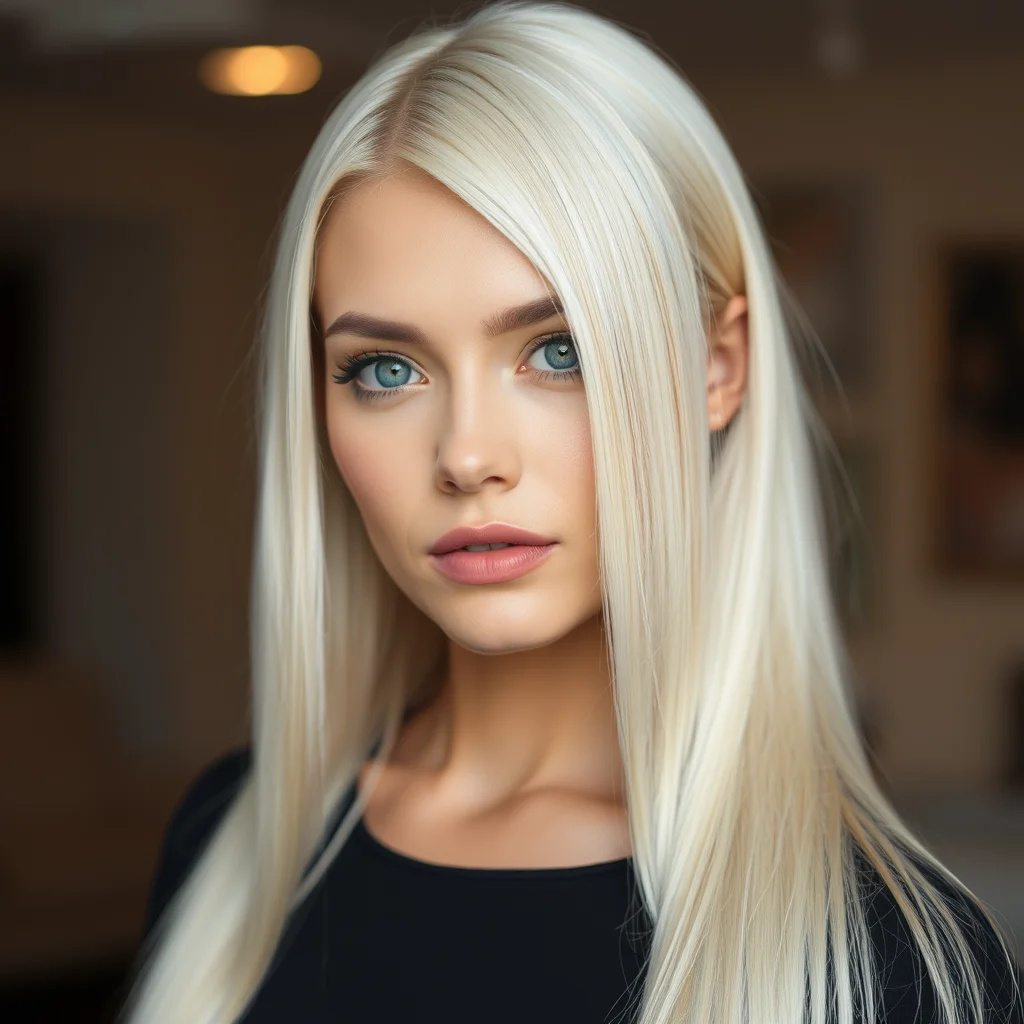
A common debate in the beauty industry is whether to line just the perimeter or the entire lip area. Experts at Byrdie suggest that filling in the entire lip with liner creates a long-lasting base that prevents the dreaded ‘ring of color’ as your lipstick fades throughout the day. By creating a matte canvas with your liner, you essentially ‘grip’ the lipstick, making the look much more durable during meals or long social events. This method is particularly effective when working with matte liquid lipsticks, which can sometimes settle into fine lines if they don’t have a reliable, matching base underneath them to help the pigment adhere properly.
Creating the Perfect Cupid’s Bow
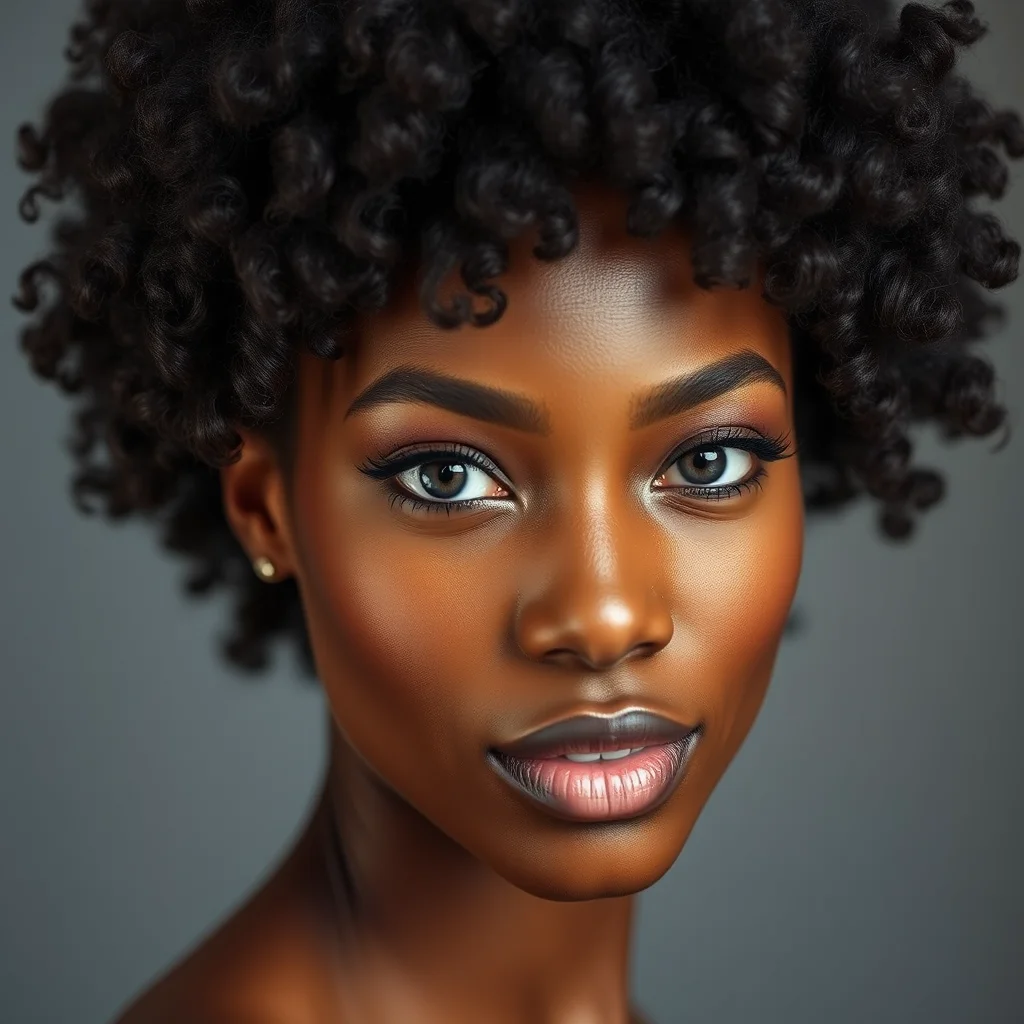
The cupid’s bow defines the character of your entire makeup look. To get it right, start by drawing a small ‘X’ on the peaks of your upper lip; this acts as a guide to keep your lines symmetrical. Once the ‘X’ is in place, connect the lines down toward the corners of your mouth. If you want a more romantic, softened look, use a clean lip brush to gently blur the outer edges of the liner. This subtle blending helps avoid a harsh, ’90s-style’ line, moving your look toward the soft glam makeup secrets that remain popular on runways today for their natural, elevated appeal.
How to blend liner for a gradient effect?

Gradient lips, often called ‘bitten’ or ‘blurred’ lips, are a staple in K-beauty and offer a softer alternative to sharp, crisp lines. To master this in your lip liner tutorial, apply your liner slightly darker than your lipstick, then use a small, dense fluffy brush to buff the edges of the liner inward toward the center of your mouth. Leave the center of the lips slightly lighter, or add a dab of gloss for dimension. This technique is fantastic for creating the illusion of a smaller, more pouty mouth. As noted by Vogue, the blurred lip look is the ultimate way to maintain a polished, effortless vibe.
Precision Tips for Mature Skin
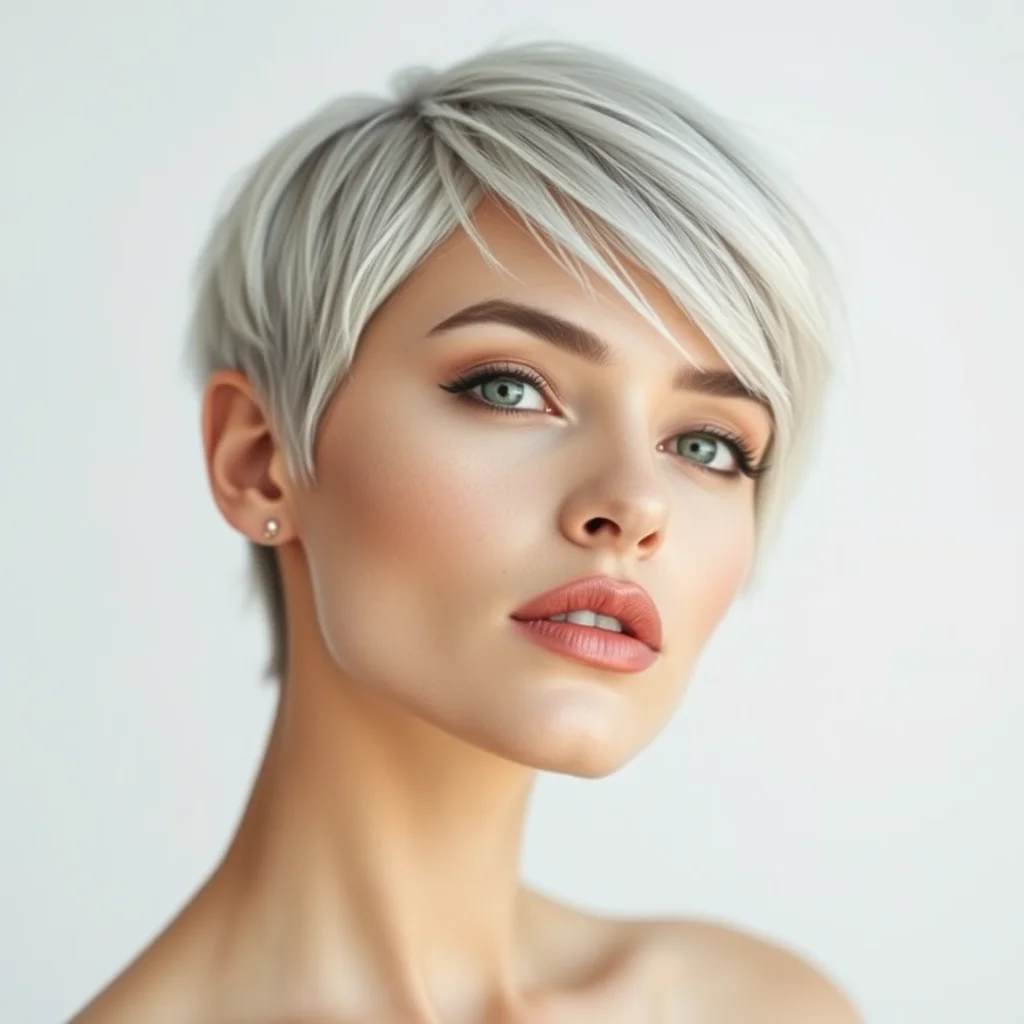
As we age, the skin around the lip border may lose some elasticity, making it harder for standard lipstick to stay put. The key for mature skin is using a ‘wax-based’ or ‘long-wear’ liner that creates a physical barrier, preventing feathering. Before applying, use a tiny amount of concealer on the outer edges to clean up the line and prevent color from migrating. This professional-grade trick is what separates an amateur look from a salon-quality result. Remember to avoid overly drying formulas; instead, look for liners that contain nourishing ingredients like jojoba oil or vitamin E to ensure the skin stays supple and comfortable all day.
Maintaining Your Look All Day
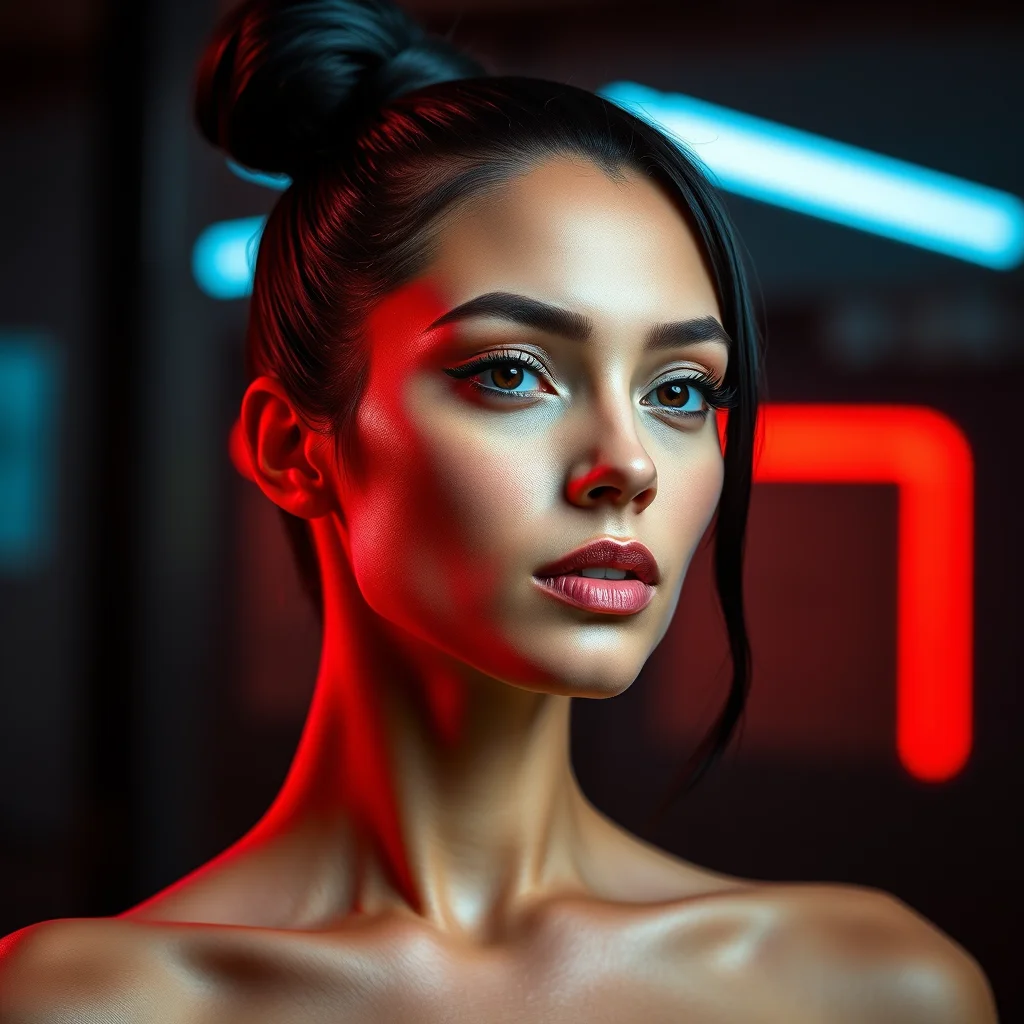
The final stage of your lip liner tutorial is all about longevity. Once you have applied your liner and lipstick, take a single-ply tissue, lay it over your lips, and lightly dust with translucent powder through the tissue. This ‘sets’ the lip makeup without changing the finish or color. Carry a small lip brush and your liner in your bag for touch-ups, but with a solid base, you will find you need far fewer throughout the day. By treating your lip look with the same care and professional steps you would use for a complex hairstyle, you ensure a consistent, head-turning result every single time you apply your makeup.
Final Thoughts
Mastering the perfect pout is a transformative beauty ritual that balances technical skill with personal expression. By following this comprehensive lip liner tutorial, you are moving beyond simple application into the realm of professional contouring and artistry. Remember that experimentation is part of the fun—don’t be afraid to mix shades or adjust your techniques to suit your unique face shape. We hope these tips help you feel more confident in your beauty routine. Share your favorite lip liner hacks in the comments below, and let us know which look you will be trying next!
Frequently Asked Questions
To make lips look bigger, trace just outside your natural lip line using a liner that matches your lipstick. Focus the overlining on the center of the lower lip and the peaks of the cupid’s bow, blending slightly for a natural finish.
Lip liner can be the same shade or slightly darker than your lipstick to create a subtle contour effect. Using a liner that is much darker than your lipstick is a specific aesthetic choice often used for 90s-inspired looks.
To prevent feathering, ensure your lips are well-moisturized and prepped. Using a wax-based liner or a clear invisible lip liner pencil around the outside of your mouth creates a barrier that keeps the pigment contained.
Yes, you can use lip liner all over your lips for a long-lasting, matte finish. Because liners are highly pigmented and often drier than lipstick, be sure to apply a thin layer of balm underneath if you have dry lips.
The best way to sharpen a lip liner is to place it in the freezer for about 10-15 minutes before sharpening. This hardens the wax core, allowing you to get a sharp, precise point without the product breaking or crumbling.