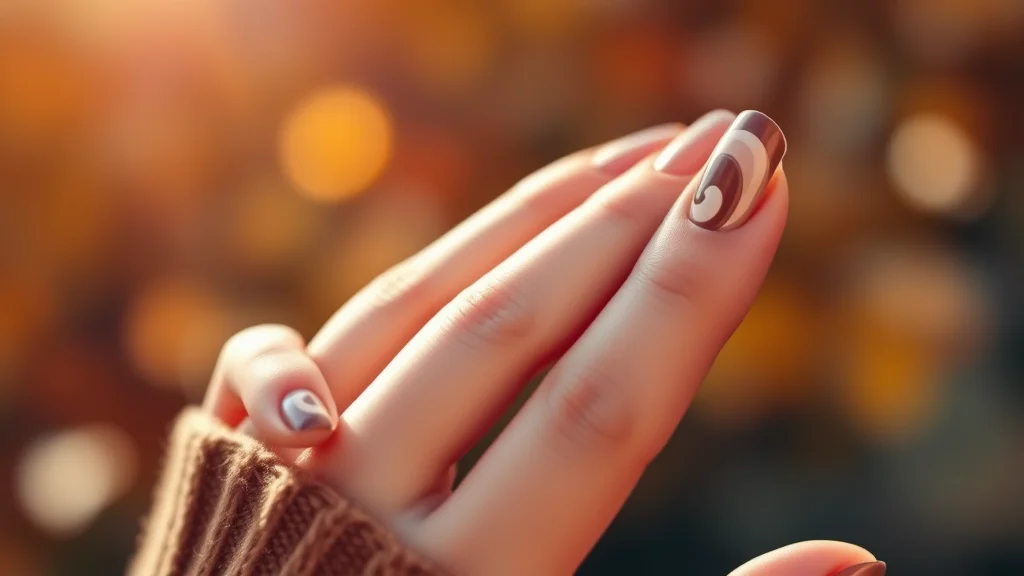
neutral fall swirl nails

Neutral fall swirl nails are the definitive manicure trend of the season, blending earthy minimalism with fluid, abstract artistry. In my experience testing these looks at Nailosmetic, I’ve found that the perfect swirl isn’t just about color—it’s about the precision of the line work. While many flock to bold reds, the transition to muted beiges, coffees, and soft taupes offers a sophisticated versatility that pairs with any autumn wardrobe. If you are struggling to get crisp, clean lines that don’t look ‘blobby,’ you are likely using the wrong brush consistency. At Nailosmetic, we prioritize clean, high-performance tools that elevate your home manicure to salon quality. Before diving into the technical breakdown, explore our collection at https://nailosmetic.com/ to find the essentials.
Why Are Neutral Fall Swirl Nails Taking Over?
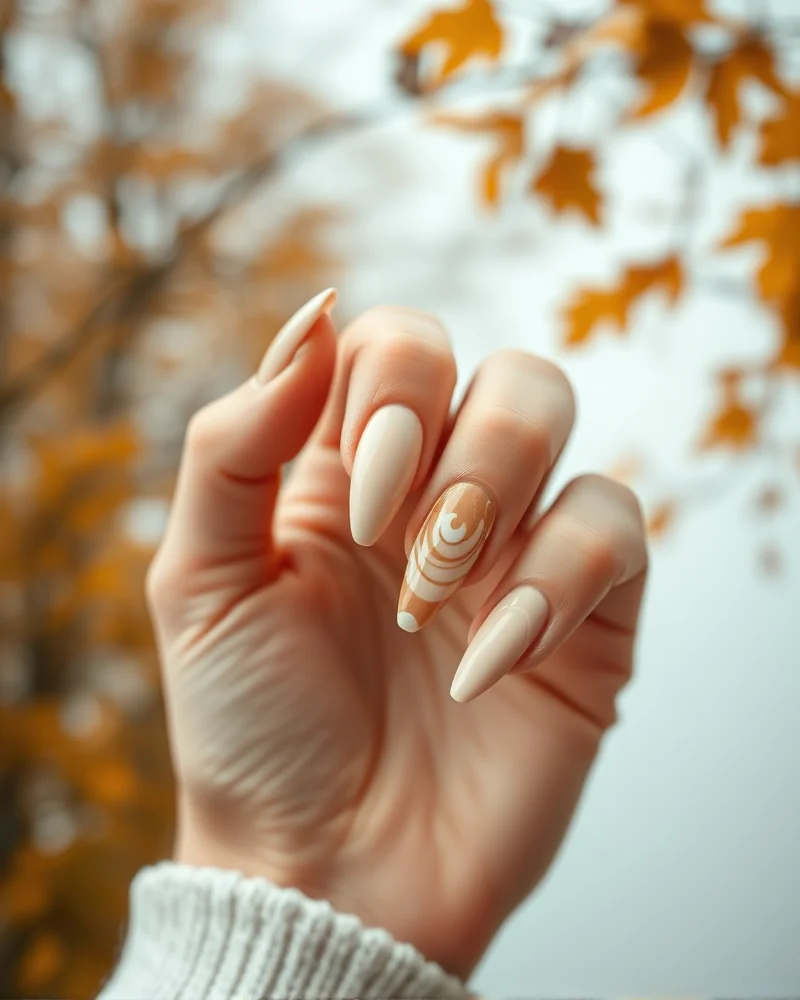
The sudden dominance of neutral fall swirl nails stems from a broader cultural shift toward intentional minimalism. In an era where digital noise is constant, the quiet luxury movement serves as a visual antidote by prioritizing subtle sophistication over aggressive color palettes. These fluid, organic lines capture the transition of the seasons, mirroring the natural movement of falling leaves and shifting temperatures through a restrained lens of beige, taupe, cream, and soft mocha tones. By choosing muted hues, the wearer signals a grounded, composed aesthetic that remains professional yet artistic, perfectly bridging the gap between minimalist workwear and the cozy textures associated with autumn fashion.
Psychologically, these designs offer a sense of calm and consistency. Bright colors often demand high-energy maintenance, but earth-toned swirls provide a versatile backdrop that harmonizes with any wardrobe transition. The fluid nature of the design prevents the manicure from appearing stagnant or overly rigid. It creates a dynamic visual interest that is complex enough to be engaging, yet soft enough to never feel overwhelming. This balance is the hallmark of modern, high-end styling, where the sophistication lies in what is omitted rather than what is added. Furthermore, these designs are incredibly forgiving as they grow out, making them a practical choice for those who value efficiency alongside elegance.
Achieving this look relies heavily on the quality of your natural nail bed. No amount of artistic swirl work can compensate for dehydrated or damaged skin surrounding the nail plate. To ensure your canvas is prepared for a long-lasting manicure, it is essential to prioritize the health of your skin and moisture barrier. You can find expert guidance on maintaining the integrity of your nails and surrounding skin by visiting the American Academy of Dermatology for professional tips on cuticle health and care. When the foundation is healthy, the application of gel or lacquer becomes smoother, allowing the delicate swirls to sit flush against the nail surface without lifting or premature wear. By investing in proper hydration and maintenance, you transform a simple seasonal trend into a premium, self-care ritual that reflects true quiet luxury.
What Are the Exact Polish Shades for the Perfect Fall Look?
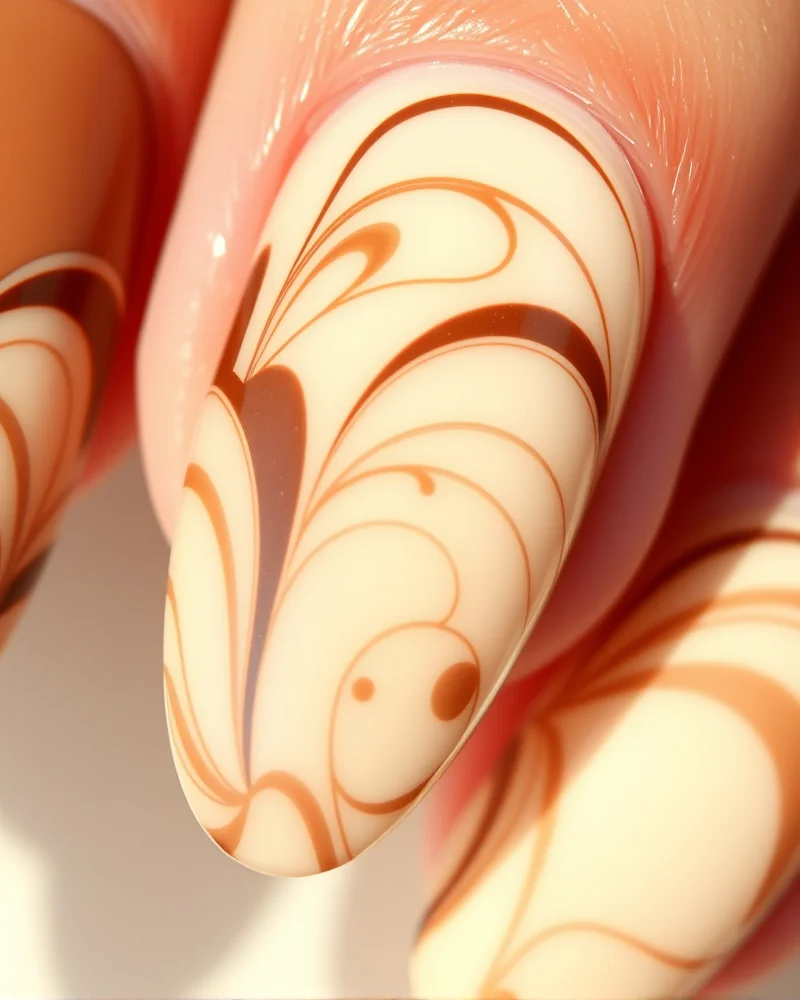 Achieving the sophisticated aesthetic of neutral fall swirl nails requires a curated approach to your color theory. The goal is to balance depth and softness to mimic the shifting landscape of autumn while maintaining a clean, minimalist edge. To master this look, you must select shades that complement your skin undertones, moving beyond simple beige into more complex, multi-dimensional hues.
- Creamy Nudes: Look for shades that lean toward vanilla, oat milk, or buttery sands. These act as your essential base coat, providing a clean canvas that allows the darker swirl patterns to pop without appearing stark. Seek out formulas with high pigmentation to ensure a smooth, streak-free foundation.
- Deep Espressos: These dark chocolate and blackened coffee tones provide the necessary contrast for your art. When selecting an espresso, ensure the tone is rich and saturated. This shade acts as the anchor of your nail art, grounding the swirling lines and preventing the overall look from appearing washed out.
- Taupe Grays: These cool, earthy tones represent the transition toward winter. They bridge the gap between light and dark, adding an industrial, modern flair to your manicure. A perfect taupe should have a hint of mushroom or slate, providing a sophisticated, muted elegance that pairs exceptionally well with gold or copper accents.
- Warm Chestnuts: Introduce a subtle touch of warmth to your palette with reddish brown and mahogany shades. These colors evoke the feeling of autumn leaves and aged leather. By incorporating these into your swirl designs, you introduce a layer of warmth that prevents your neutral palette from feeling too clinical or cold.
Which Tools Actually Create Crisp Swirls?
Achieving the fluid elegance of neutral fall swirl nails requires more than just a steady hand. The secret to those butter-smooth, crisp lines lies primarily in your choice of liner brush. When browsing professional nail supplies, you will frequently encounter the choice between a 7mm and an 11mm brush. For intricate designs like organic waves or tight, concentric loops, the 7mm liner brush is your greatest asset. Its shorter length provides superior control, as the bristles have less room to wobble or drag, allowing you to deposit gel polish with surgical precision. Conversely, the 11mm liner is ideal for executing longer, sweeping arches that traverse the entire nail bed in a single stroke. If you are struggling with stuttering lines, the flexibility of the longer bristle might be the culprit, whereas a shorter brush offers the rigidity needed for clean, sharp edges.
Material composition is equally vital. Always opt for high quality synthetic kolinsky brushes. Synthetic fibers are engineered to hold their shape better against the chemical composition of gel polishes, preventing the stray hairs that ruin a crisp aesthetic. You can find more inspiration on mastering these precise applications in our nail art designs ultimate guide to elevate your salon-grade techniques. Maintaining your brushes is also essential for longevity and performance. After each session, wipe your brush clean with a lint-free wipe soaked in a gentle cleanser or clear base coat to ensure the bristles remain supple and free from pigment build up, a practice strongly recommended by industry experts at aad.org to maintain overall nail health.
For those new to the world of nail artistry, dotting tools offer a more forgiving entry point. Beginners often feel intimidated by brushes, but dotting tools are excellent for creating the start and stop points of your swirls. You can place a series of small dots in a serpentine pattern and use a fine detail brush to connect them, which creates a more uniform curvature than attempting a freehand curve. This dual-tool approach allows you to map out your design before committing to the final stroke, ensuring the balance of your manicure remains visually harmonious.
How to Paint Perfect Swirls at Home

Achieving a salon quality finish requires patience and a steady hand. Begin by applying your base coat and two thin layers of your chosen nude or cream polish, allowing each layer to dry completely. A fully cured base is vital because it creates a smooth canvas that prevents the swirling colors from bleeding into your foundation layer. Once dry, prepare your workspace by placing a small drop of your accent color onto a nail art palette or a piece of foil.
Dip your thin detail brush into the polish, ensuring only a tiny bead of pigment rests on the tip. The secret to professional looking neutral fall swirl nails lies in the floating technique. Instead of pressing the brush firmly against the nail surface, hold it at a slight angle and gently skim the bristles across the top of the base color. By floating the pigment rather than dragging it, you avoid creating divots or uneven texture in your manicure.
- Begin your first curve near the cuticle, using a light touch to trace an elegant arc toward the side wall.
- Lift your brush slightly as you reach the apex of the curve to maintain a consistent line weight.
- Return to your palette frequently to reload the brush, as a dried or tacky tip will result in jagged edges.
- Connect your second wave by starting from the opposite corner, allowing the two lines to intertwine organically without touching.
- If you make a mistake, use a clean brush dipped in a tiny amount of acetone to carefully lift the excess polish before it sets.
- Maintain a light hand pressure to ensure the curves remain delicate and fluid throughout the process.
- Once your design is complete, allow the art to air dry for at least three minutes to prevent smudging during the top coat application.
- Seal the look with a high gloss, non yellowing top coat, applying it with a single stroke to lock in the design without blurring the crisp lines.
Remember that consistent practice is key. If you find your cuticle area prone to dryness, refer to guidance from the American Academy of Dermatology regarding proper nail care habits to ensure your natural nails stay strong and hydrated under your polish. When applying the final top coat, hover the brush slightly above the surface rather than dragging it directly against the swirl, which helps preserve the integrity of your hand painted art.
How Do You Maintain Nail Health During Fall?
 As the air turns crisp and the humidity levels plummet during autumn, your nails often become the first casualty of the changing season. Reduced environmental moisture triggers a significant drop in nail plate flexibility, leaving your manicure brittle and prone to peeling. When the keratin layers lose their natural hydration, they become rigid, which leads to micro-cracks that compromise your elegant seasonal art. Because the nail plate is composed of tightly packed cells, it relies on a steady balance of moisture to remain supple. Without this, even the most expertly crafted design can chip prematurely due to the underlying nail plate’s lack of structural integrity.To combat this seasonal dryness, you must adopt a rigorous maintenance routine that prioritizes deep hydration. The cornerstone of a healthy nail regimen during the colder months is the consistent application of cuticle oil. Specifically, jojoba oil is the gold standard for nail health because its molecular structure closely mimics the natural sebum produced by your skin. This allows the oil to penetrate deeply into the nail matrix rather than simply sitting on the surface. For optimal results, you should apply your jojoba-based oil at least twice daily. Focus on massaging the product into the proximal nail fold, as this stimulates blood flow to the nail matrix where new growth begins.Beyond external application, maintaining overall nail health requires consistent protection from harsh chemicals and temperature fluctuations. According to the American Academy of Dermatology, frequent exposure to detergents and dry heat can significantly weaken the protective barrier of both your nails and surrounding skin. To protect your manicure, always wear gloves when washing dishes or handling cleaning supplies to prevent water absorption, which causes the nail to expand and contract, ultimately weakening the bond of your polish. Consider these additional habits to keep your nails resilient through the fall months:
- Integrate a vitamin E rich hand cream into your nighttime routine to lock in the benefits of your jojoba oil application.
- Avoid using your nails as tools to open packages, which exerts unnecessary pressure on the free edge and encourages splitting.
- Limit the use of acetone-based removers, opting instead for non-acetone alternatives that strip less moisture from the nail plate.
- File your nails in a single direction to prevent microscopic fraying at the tip, which can lead to larger tears as the air dries out.
What Are the Best Design Variations to Try?
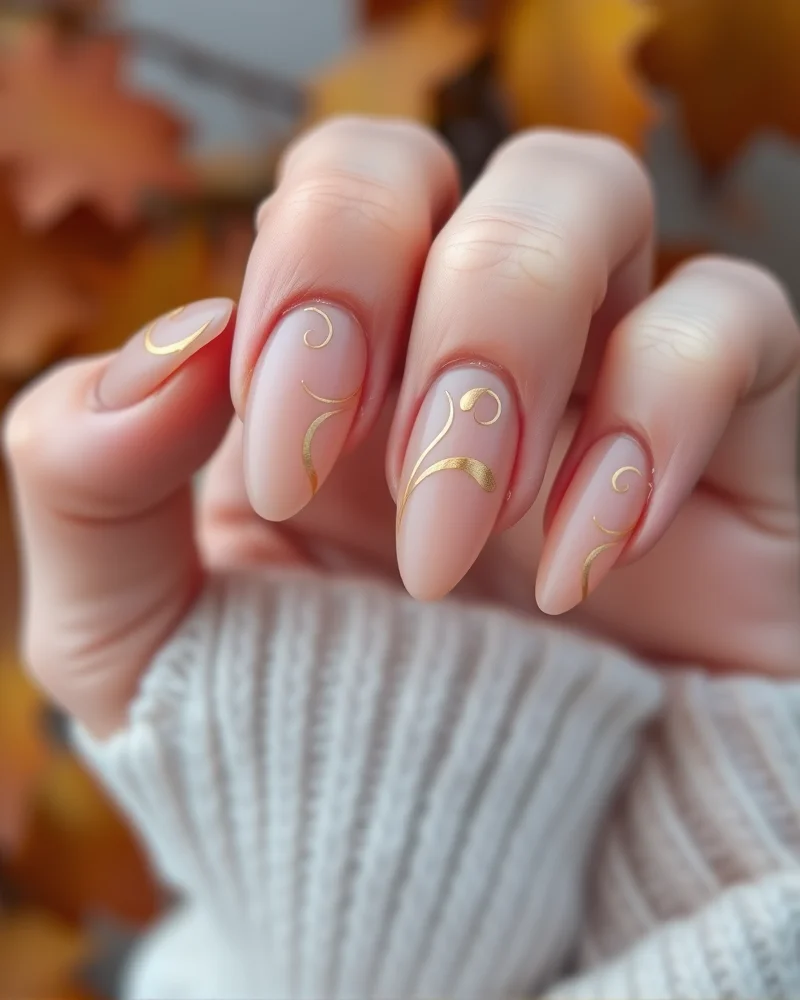
When you master the fundamental technique of fluid, organic lines, the creative possibilities for your manicure become virtually endless. The beauty of these earthy-toned designs lies in their versatility, allowing you to transition seamlessly from a casual weekend coffee run to formal settings. For those seeking inspiration, consider these professional-grade variations to elevate your look.
- The Velvet Matte Finish: Applying a high-quality matte top coat over neutral almond or cream swirls instantly transforms a glossy set into a sophisticated, tactile experience. Matte textures soften the overall aesthetic, making the design appear more muted and moody, which perfectly complements cozy autumn sweaters and wool coats.
- Chrome-Tipped Swirls: Incorporate metallic pigments or liquid chrome polish at the ends of your swirling patterns to add a modern, futuristic edge. This technique creates a striking contrast between the organic, flowing lines and the sharp, reflective quality of the metal. It is a fantastic way to introduce a hint of glamour without overwhelming the subtlety of the neutral base palette.
- Gold Leaf Accents: Elevate your artistic efforts by gently pressing tiny flakes of gold leaf along the curves of your favorite neutral fall swirl nails. This technique introduces a festive autumn aesthetic that catches the light beautifully. To ensure the integrity of your nail plate, always follow proper prep protocols as recommended by the American Academy of Dermatology regarding the safe use of chemical products.
- Textural Depth with Raised Gel: Utilize a thick builder gel or a 3D sculpting gel to create raised, embossed swirls on a flat base coat. This creates a fascinating relief effect that invites touch. This aesthetic is particularly effective for gel nail art for professional office environments where you want your manicure to remain understated yet distinctively detailed and interesting under fluorescent lighting.
- Negative Space Integration: Allow portions of your natural nail bed to peek through the design. By leaving strategic clear sections, you prevent the elaborate swirl patterns from becoming too heavy or claustrophobic, maintaining a clean, minimalist silhouette that elongates the appearance of your fingers.
By blending these textural elements, you move beyond basic flat polish and into the realm of wearable art. Always remember that the key to a professional outcome is light pressure during application and ensuring your base layers are fully cured before adding heavy top layers or embellishments.
What Tips Do Professional Nail Techs Swear By?
Achieving the flawless aesthetic of neutral fall swirl nails often comes down to the specialized techniques utilized by professional manicurists. One of the most significant insider secrets is the implementation of flash curing. When creating intricate, flowing designs, you should cure the base layer fully but only cure your swirl accents for five to ten seconds initially. This prevents the pigment from migrating or losing its crisp edges while you work on other fingers. By locking the design in place with a quick blast of light, you maintain total control over the composition before the final, comprehensive cure.
Viscosity control is another hallmark of a professional finish. Many beginners struggle with traditional lacquer, which tends to run and pool before it can be cured. Experienced nail artists swear by using thick-viscosity gel paints specifically formulated for nail art. Unlike standard gel polish, these paints are highly pigmented and offer a buttery consistency that does not self-level aggressively. This allows you to drag your liner brush across the nail plate with precision, ensuring every curve of your design stays exactly where you placed it.
Maintaining your tools is just as critical as the product selection itself. To keep your liner brushes in pristine condition, professionals always keep a small dappen dish of pure acetone nearby. After each stroke, or if you notice the bristles beginning to clump due to residual gel, wipe the brush gently against a lint-free wipe saturated with acetone. This practice ensures your bristles remain sharp and flexible, preventing the buildup that causes drag lines or uneven widths in your curves. It is also vital to keep your workspace sanitized to prevent contact dermatitis or other skin reactions, a topic detailed further by the American Academy of Dermatology.
Finally, focus on your brush angle. Professionals hold their liners almost perpendicular to the nail surface to maximize control, rather than laying the brush flat against the nail. This minimal contact point allows for thinner, more delicate lines that characterize high-end neutral autumn manicures. By combining these flash-curing methods, high-viscosity mediums, and rigorous tool maintenance, you can elevate your DIY set to match the quality of a luxury salon experience.
How Do You Fix Common Swirl Mistakes?
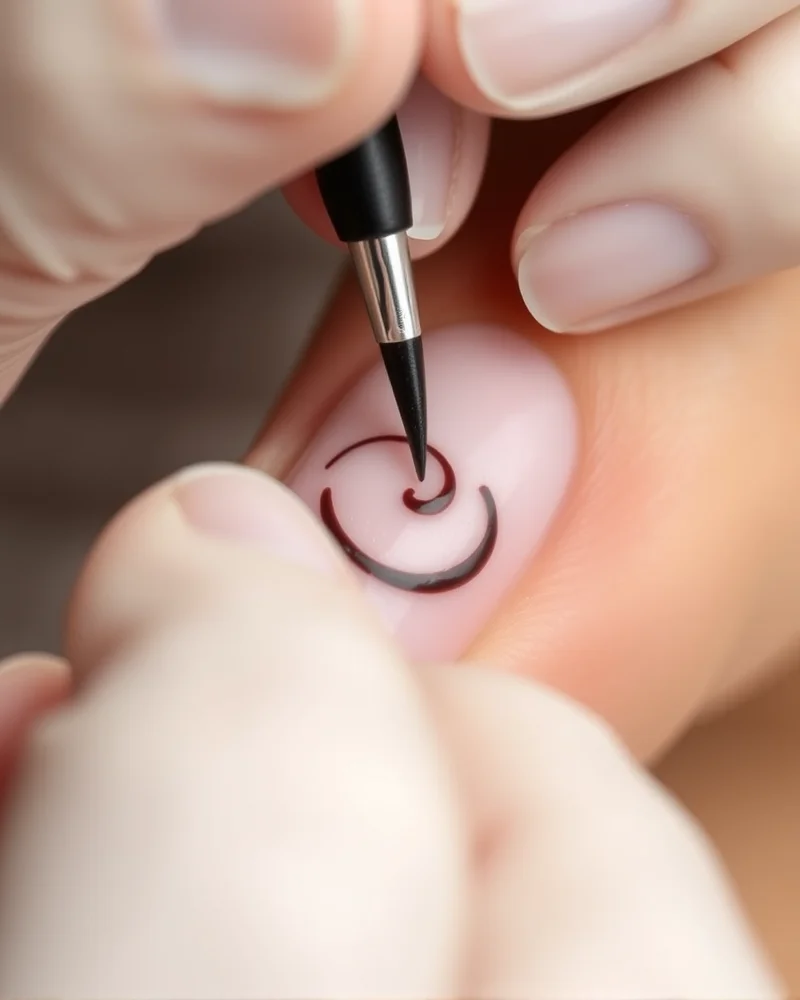
Even for seasoned manicurists, mastering the fluidity of an autumnal swirl design requires patience and a steady hand. If you find your lines looking less like elegant ribbons and more like scattered blobs, do not get discouraged. Achieving that signature high end look requires understanding the interplay between brush tension and polish viscosity. When your pigment does not distribute evenly, or your edges stray beyond the nail plate, these small adjustments can turn a frustrating session into a seamless application process.
| Common Mistake | Professional Solution |
|---|---|
| Blobby or uneven lines | Switch to a high quality striping brush with a shorter bristle length to maintain better control over the stroke. |
| Sheer or streaky color payoff | Apply two thin layers instead of one thick coat and ensure each layer is fully cured before proceeding. |
| Messy cuticles and stray polish | Immediately clean up the sidewalls using an angled synthetic brush dipped in pure acetone before curing. |
| Colors bleeding into each other | Flash cure your design for five seconds between colors to lock the pigments in their designated places. |
| Uneven surface texture | Use a self leveling top coat to smooth out any ridges created by the layering of different nail lacquers. |
To avoid damaging your natural nails while refining your technique, always ensure your workspace is well ventilated and that you follow proper chemical safety protocols found at aad.org regarding solvent exposure. If your lines feel too thick, you are likely applying too much pressure on the nail surface. Think of the brush as a feather hovering above the lacquer rather than a tool dragging through wet paint. A lighter touch allows for thinner, more delicate ribbons that embody the spirit of sophisticated neutral fall swirl nails. Furthermore, if you notice your color pooling, it is often a sign of old product. Thickening polish changes the chemistry of the swirl, making it difficult to drag cleanly across the base coat. Always keep a bottle of high quality thinner nearby to restore the ideal consistency for intricate nail art.
Visual Gallery: High-Contrast Neutral Inspirations

When exploring the aesthetic versatility of neutral fall swirl nails, the visual impact often comes down to how much surface area the design occupies. The Minimalist approach centers on negative space, utilizing clear base coats paired with delicate, buttery cream or taupe lines that trace the cuticle or the tip. This style is incredibly forgiving as it grows out, making it a favorite for those who prioritize low maintenance without sacrificing a high-end look. By leaving parts of the natural nail bed exposed, you create a breathable, sophisticated silhouette that feels intentional rather than cluttered.
For those who prefer a more assertive statement, the Full Coverage style demands attention. This method involves layering intricate, overlapping wave patterns across the entire nail plate using earthy tones like mocha, sage, and warm terracotta. The key here is high contrast; placing a deep chocolate pigment over a milky translucent base provides the depth required to make the swirls pop. If you are preparing for a formal event where you want your manicure to mirror the elegance of chic wedding guest nails, this saturated look serves as the perfect accessory. Ensure that you maintain nail health throughout the process by following guidelines from the American Academy of Dermatology to avoid brittle cuticles or irritation from gel curing processes.
Finally, the Accent style offers a balanced middle ground by dedicating just one finger per hand to the swirl art while keeping the remaining digits a solid, complementary matte or glossy shade. This design choice highlights the artistry of the lines without overwhelming the hands. Whether you select a tonal monochrome palette or experiment with muted metallic accents, the contrast between the solid-colored nails and the intricate swirl pattern creates a polished, editorial finish. This particular method is excellent for beginners who are transitioning from classic block colors to more complex abstract nail art patterns. By focusing the detail on one nail, you allow the viewer to appreciate the precision of the line work, ensuring the overall aesthetic remains grounded in professional refinement rather than chaotic trends.
Frequently Asked Questions
- Q: What are the best skin tone matches for a neutral fall swirl palette?
- Selecting the right nude or taupe base is crucial for achieving a cohesive look. If you have cool undertones, opt for base coats with blue or grey undertones like mushroom taupe or stone. Those with warm skin should gravitate toward creamy almond, caramel, or warm sand shades. When layering your swirl art, ensure the accent colors contrast against the base by at least two shades to maintain visual clarity and elegance without losing that coveted minimalist aesthetic.
- Q: How long can I expect these intricate nail designs to last?
- Longevity depends heavily on your application method and preparation. Using a high quality gel polish typically ensures your manicure lasts for two to three weeks without chipping. Proper nail bed preparation, including dehydrating the plate and applying a sticky base coat, is essential for adhesion. For advice on maintaining your overall nail health during frequent gel applications, consult the resources provided by the American Academy of Dermatology to prevent damage or weakening.
- Q: Can I achieve this salon look with standard air dry lacquer?
- Absolutely. While gel is popular for its self leveling properties, you can achieve stunning abstract patterns with traditional lacquer by working quickly. Use a thin detail brush and try to complete each swirl in one fluid motion to avoid drag marks. Because lacquer dries faster than gel, work one nail at a time. A high quality quick dry top coat is vital to blend the edges of your art, creating that smooth, seamless finish typical of professional work.
- Q: Should I use a matte or glossy finish for neutral fall swirl nails?
- Both finishes offer different vibes. A glossy top coat enhances the depth of the pigments and makes the design appear more dimensional, which is perfect for capturing light during autumn. Conversely, a matte finish provides a sophisticated, velvet effect that highlights the artistic nature of the swirls. If you cannot decide, try a matte base with a glossy accent on the swirls themselves, adding a tactile element that elevates your manicure from basic to high fashion.
The secret to mastering neutral fall swirl nails lies in the intersection of patience and the right toolkit. Whether you prefer a subtle mocha accent or a full-hand abstract masterpiece, remember that your base prep is the foundation of your success. Start with healthy cuticles, invest in professional-grade liner brushes, and don’t be afraid to experiment with negative space. By keeping your lines thin and your color palette cohesive, you can achieve a high-end salon aesthetic at home. Elevate your autumn look today with the techniques outlined in this guide and let your nails define your seasonal style.