Hoco Makeup Tutorial

The ‘hoco’ makeup look is defined by long-wearing, high-glamour finishes designed to survive the dance floor while looking flawless in photos. At [Nailosmetic](https://nailosmetic.com/), we’ve decoded the exact techniques used by professional artists to ensure your homecoming makeup remains impeccable from the first snapshot to the final song. Why are thousands of beauty enthusiasts ditching heavy layers for this specific ‘hoco-glow’ technique? It’s all about the balance of hydration and strategic setting. This guide provides the definitive blueprint for achieving a camera-ready aesthetic that resists sweat, humidity, and late-night wear. Whether you are aiming for a classic ‘clean girl’ aesthetic or a sultry, soft-glam transition, understanding the science of base adhesion and pigment longevity is the secret to staying power. Stop guessing with your products and learn how to lock in your look with the professional precision that sets our beauty community apart.
What is the secret to a long-lasting hoco makeup base?
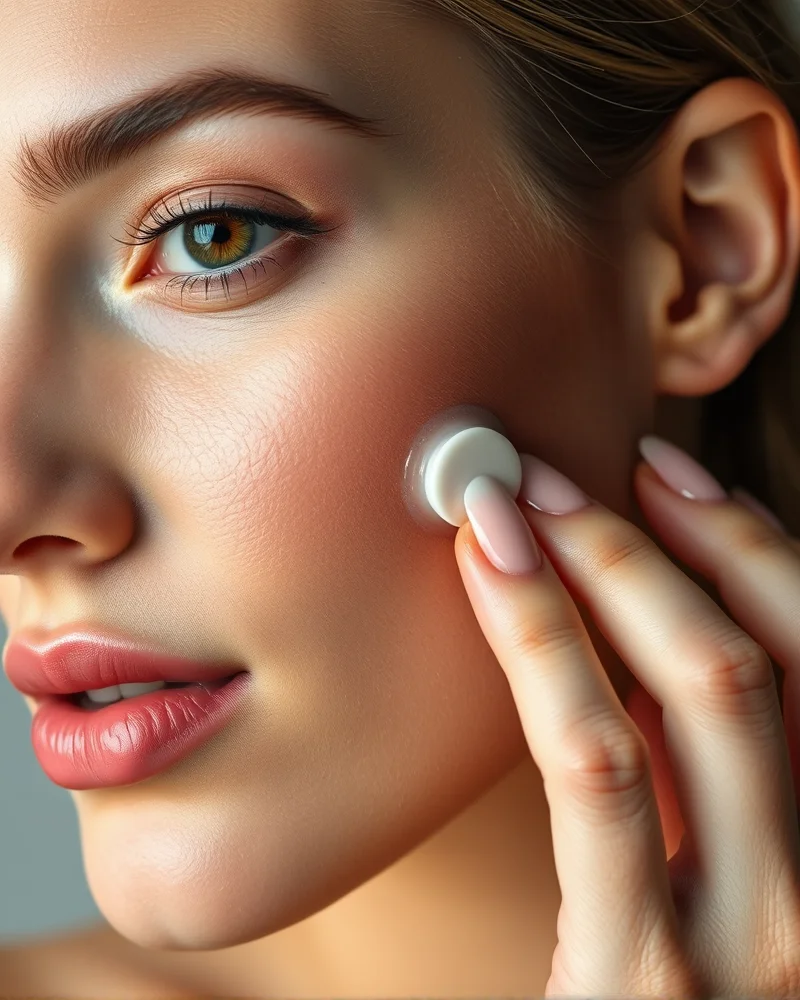 Achieving a flawless, long-lasting homecoming makeup look starts long before you touch your brushes to your face. The secret lies in the foundation of your skin prep, which acts as the canvas for your entire aesthetic. To ensure your makeup survives hours of dancing, you must begin with exfoliation exactly twenty four hours before your event. Using a gentle chemical exfoliant, such as salicylic or lactic acid, removes dead skin cells and creates a smooth texture that prevents your foundation from clinging to dry patches. Beyond surface texture, focusing on pH balancing is vital for product adherence. Utilizing a pH balanced toner restores your skin barrier, which helps your makeup sit correctly rather than oxidizing or sliding off throughout the evening.Once your skin is prepped, the most critical step is understanding chemical compatibility between your primers and foundations. This is where most makeup routines fail. You must identify whether your products are silicone based or water based. If you pair a silicone based primer with a water based foundation, the two textures will repel each other, causing your makeup to pill or separate on your skin. To check this, look at your ingredient list. If the first few ingredients end in cone, siloxane, or methicone, it is silicone based. If the first ingredient is water, it is water based. Consistency is key for a seamless bond that lasts through humidity and perspiration.Lastly, don’t rush the application process. After applying your primer, allow it to set for at least sixty seconds before layering your foundation. This waiting period allows the polymers in the primer to form a secure film on your face, acting as an anchor for your base products. For maximum longevity, consider these pro tips for your homecoming makeup kit:
- Avoid heavy oil based moisturizers immediately before makeup application as they can break down foundation binders.
- Use a damp beauty sponge to press your foundation into the skin instead of swiping, which improves longevity.
- Always finish with a setting spray that contains film forming agents to lock your hard work in place for the entire dance.
How do you choose the right foundation for homecoming photos?
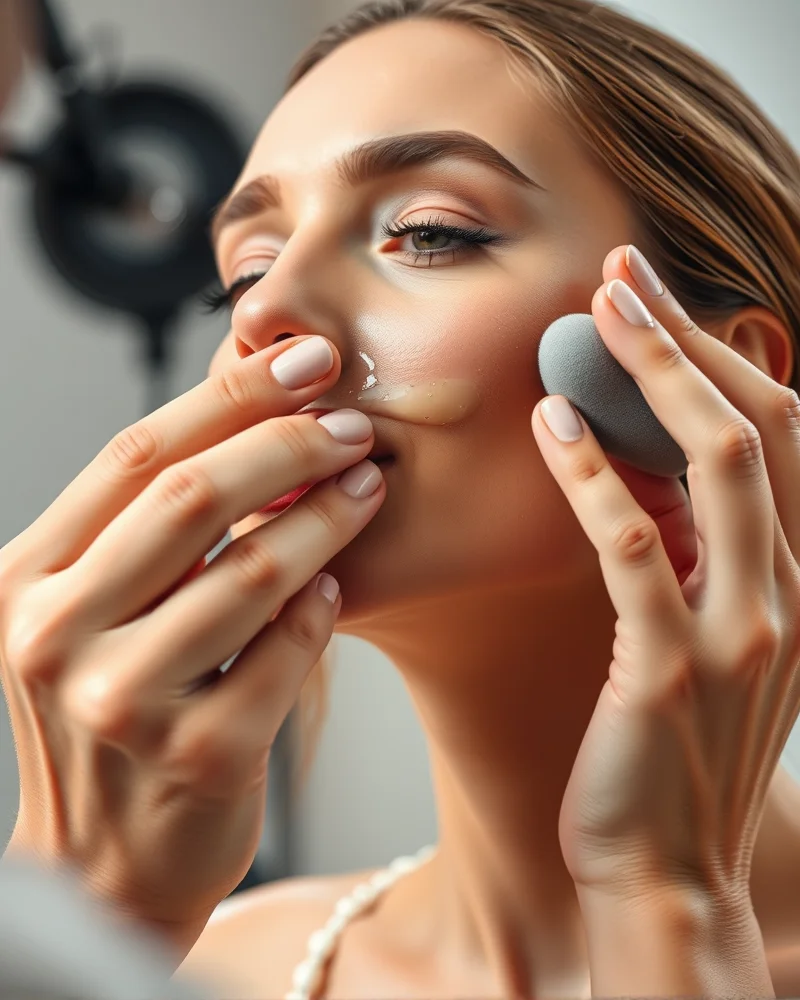
Finding the perfect foundation for homecoming is about more than just matching your skin tone. It is about engineering a complexion that survives the flash of a camera and the heat of the dance floor. When your photos are being taken under high-intensity strobe lights, the chemistry of your foundation becomes the most critical element of your makeup kit.
- The Flashback Factor: The most common mistake at homecoming is using products with high SPF or physical sunscreens like titanium dioxide and zinc oxide. These ingredients are designed to reflect UV rays, but they also reflect camera flash, resulting in a ghostly white cast. Always opt for flashback-free formulas. Look for oil-free or matte foundations that do not contain mineral sunscreen filters to ensure your face looks as natural on camera as it does in the mirror.
- Skin Matching and Undertones: Achieving an invisible finish requires identifying your specific undertone. If your veins appear blue, look for cool-toned foundations. If they look green, stick to warm or golden tones. For those who fall in between, neutral shades are your best friend. Testing your match on your jawline in natural light is essential. Never rely on the fluorescent lighting of a retail store to find your perfect hue, as it can be deceptive.
- Prioritize Non-Comedogenic Formulas: Homecoming night is long, and your makeup might be on for over eight hours. Using non-comedogenic foundation is vital to ensure your pores do not get clogged, preventing post-dance breakouts. These formulas are specifically designed to let your skin breathe, which keeps your complexion looking fresh rather than heavy or cakey as the night progresses.
- Application Technique: The Sponge vs. Brush Debate: For high-definition coverage that looks like a second skin, the tool you choose changes everything. A dense, synthetic foundation brush is ideal for full-coverage looks because it pushes product into the skin without absorbing the pigment. It provides a flawless, airbrushed finish perfect for HD photography. Conversely, using a damp beauty sponge is the secret to a seamless blend. By bouncing the sponge rather than swiping, you push the foundation into the skin to blur imperfections. For the best of both worlds, use a brush to apply your foundation initially and a damp sponge to press it in and remove any excess product. This double-layering technique creates a base that is both bulletproof and remarkably natural.
What are the best techniques for sweat-proof eye makeup?
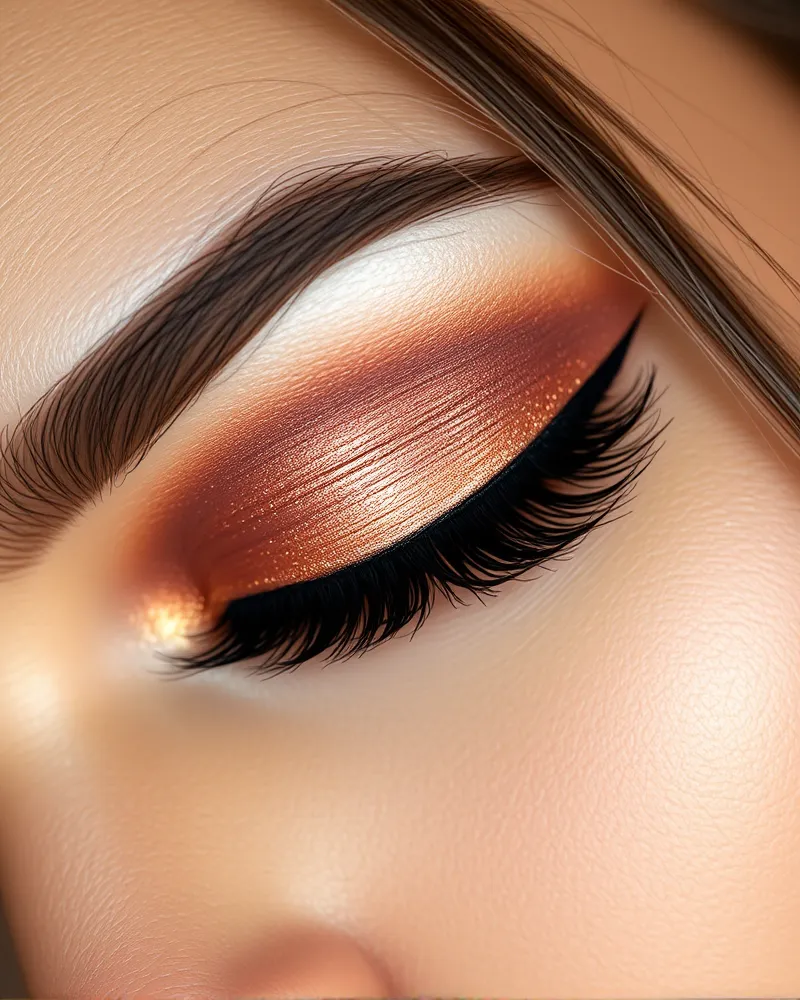
When you are dancing the night away at homecoming, the last thing you want is for your hard work to melt off. Achieving a sweat proof eye look requires a strategic approach that prioritizes longevity without sacrificing pigment payoff. The foundation of any enduring eye makeup look is a high quality eyeshadow primer. Unlike a standard concealer, a dedicated tacky primer locks pigment onto the skin and prevents the oils that cause creasing. By applying a thin, even layer across your lids and letting it set for thirty seconds, you create an impenetrable barrier that keeps colors vibrant from the first photo op until the final dance.
To ensure a creaseless application, avoid heavy formulas that settle into fine lines. Instead, use a setting powder or a skin toned eyeshadow immediately after your primer to create a smooth canvas for blending. When working with shimmer pigments or pressed glitters, utilize the sandwiching technique for maximum wear. Start by applying a cream eyeshadow base, press your shimmer on top, and then mist your eyeshadow brush with a setting spray before picking up more pigment. This triple layer method bonds the shimmer to the lid, ensuring it stays put through heat and humidity. For those looking to complete their look before heading out, check out this ultimate guide to hairstyles for women to ensure your hair stays as polished as your makeup.
Raccoon eyes are the primary enemy of any long homecoming night. To prevent smudging and transfer, swap your standard pencil liners for waterproof liquid or gel formulas. Focus on tightlining the upper lash line to define your eyes without the risk of migration. If you prefer a soft, smudged look, use a waterproof pencil to trace your lash line and immediately blend it out with a dense brush before it sets. Once the product dries, it becomes immovable. Finally, finish with a tubing mascara, which wraps each lash in water resistant polymers that will not flake or run, no matter how humid the dance floor becomes.
How to master the perfect hoco contour and highlight?
Mastering the art of contour and highlight for homecoming is fundamentally about understanding the geometry of your unique bone structure. To create a professional look that survives the dance floor, you must map your face based on the principles of shadow and light. Start your contouring by identifying the hollows of your cheeks, which is the line running from the top of your ear down toward the corner of your mouth, stopping midway to ensure a lifted appearance. Apply your chosen contour product along your hairline, under your jawline to sharpen your profile, and along the sides of your nose for subtle definition. When deciding between textures, remember that cream contour is superior for longevity and achieving a seamless blend that mimics natural skin, whereas powder contour is better for locking everything in place if you are prone to oily skin throughout the night.
The choice between cream and powder often determines how your makeup will photograph under the harsh flash of homecoming cameras. If you opt for cream products, ensure you set them with a light dusting of translucent powder to prevent sliding. For the ultimate glowing from within effect, rely on liquid illuminators rather than chunky glitter highlighters. Apply the liquid illuminator to the high points of your face including the tops of your cheekbones, the bridge of your nose, and the cupid’s bow. This technique mimics the way natural light bounces off hydrated skin, creating a sophisticated radiance that looks stunning in low light.
To refine your look, follow these professional mapping guidelines:
- Use a cool toned cream contour to mimic natural shadows under the cheekbones and jawline.
- Apply liquid illuminator before your powder products to ensure the glow appears to emerge from deep within the skin.
- Blend in an upward motion using a damp beauty sponge to keep the lifting effect intact.
- Layer a tiny amount of powder highlighter directly over the liquid base to boost durability for long homecoming nights.
- Avoid applying highlighter too close to the nose to prevent the area from appearing greasy in high definition photos.
By blending these techniques with precision, you transform your face into a canvas of balanced dimensions. The goal is to enhance your natural architecture rather than masking it, ensuring you look like the best version of yourself from every angle during your homecoming celebration.
Which lipstick formulas actually survive a homecoming dinner?
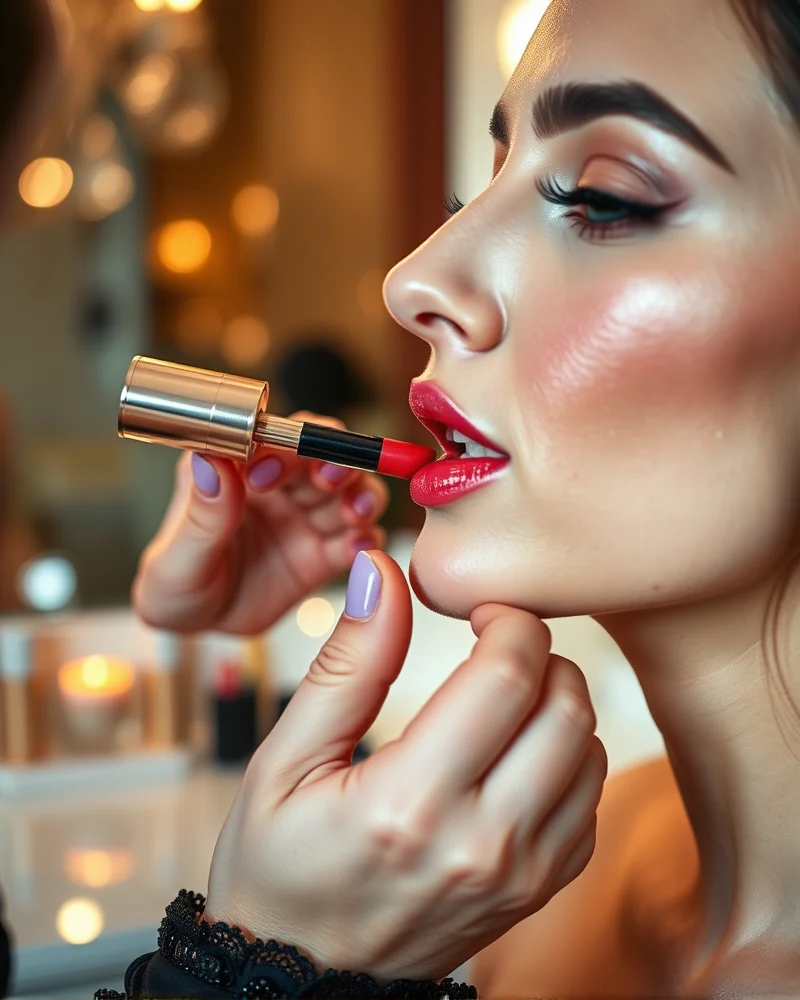
Homecoming is a marathon, not a sprint. You have photos, dancing, and inevitably, a dinner that could ruin a subpar lip product in seconds. If you want your pout to stay perfect from the appetizer to the final song, you must be strategic about your formula choice. Not all long wear products are created equal, and understanding the chemistry behind your lipstick is the secret to a stress free evening.
| Formula Type | Staying Power | Comfort Level | Best For |
|---|---|---|---|
| Liquid Lipstick | Maximum | Moderate | Full coverage and bold color that will not budge. |
| Lip Stain | High | High | A natural look that survives even oily foods. |
| Long Wear Pencil | High | Moderate | Precision lining to prevent color feathering. |
To ensure your chosen formula actually performs, you must master the canvas. Start by exfoliating your lips with a gentle sugar scrub to remove dry, dead skin cells. This creates a smooth surface that allows pigments to adhere evenly. After exfoliating, apply a lightweight lip primer or a tiny dab of concealer to neutralize your natural lip tone and give the product something to grip. Avoid heavy balms right before application, as the oil content will break down long wear polymers prematurely.
If you are worried about your lipstick failing the dinner test, conduct a transfer proof test before the big night. Apply your product and let it set for ten minutes without rubbing your lips together. Once dry, press your lips firmly against a clean white tissue or the back of your hand. If you see significant residue, your product is not truly transfer proof. To elevate your longevity, try a light dusting of translucent setting powder over a single ply tissue placed on your lips. This locks the color in place for an extra layer of defense against appetizers and drinks. Pro tip: if you opt for a bold red or dark berry, keep a lip liner in your clutch for touch ups, but focus only on the inner rim where food interaction is most frequent.
How to set your makeup for an all-night finish?
When you are dancing the night away at homecoming, your makeup acts as your armor, and the secret to keeping it intact lies in the complex science of setting. The primary goal is to minimize friction and prevent oil breakthrough, which causes pigments to migrate. This is where the choice between loose translucent powder and pressed powder becomes critical. Translucent loose powder is finely milled and typically silica based, allowing it to blur pores and absorb moisture without altering your foundation shade. Because the particles are smaller and less compressed, they are ideal for areas prone to creasing, such as under the eyes. In contrast, pressed powder contains binding agents that make it denser and more portable. While convenient for mid-event touchups, it carries a higher risk of looking cakey if applied in excess.
To ensure your base remains bulletproof, consider the technique known as baking. By applying a thick layer of loose powder over your concealer and leaving it to sit for several minutes, you allow the heat from your face to set the liquid formulas into a solid, smooth finish. Once the excess is swept away, your skin appears airbrushed and completely locked in. This is also a perfect time to style your hair, perhaps by checking out these elegant curly hoco hairstyles to complement your polished look.
Finally, the most vital step in the process is the application of a high quality setting spray. You should strictly reach for alcohol free formulas because they utilize film forming polymers instead of drying alcohols to seal your makeup. Alcohol based sprays often dehydrate the skin, which triggers your natural oil glands to overproduce, eventually melting your makeup from the inside out. Alcohol free sprays create a breathable, flexible mesh over the skin that protects against humidity and sweat. For maximum longevity, spray your face in an X and T motion after you have finished your powdering, and allow it to dry completely without touching your face. This final shield ensures that your makeup remains as vibrant at the final song as it was when you first walked through the venue doors.
What is the best way to touch up without ruining your base?
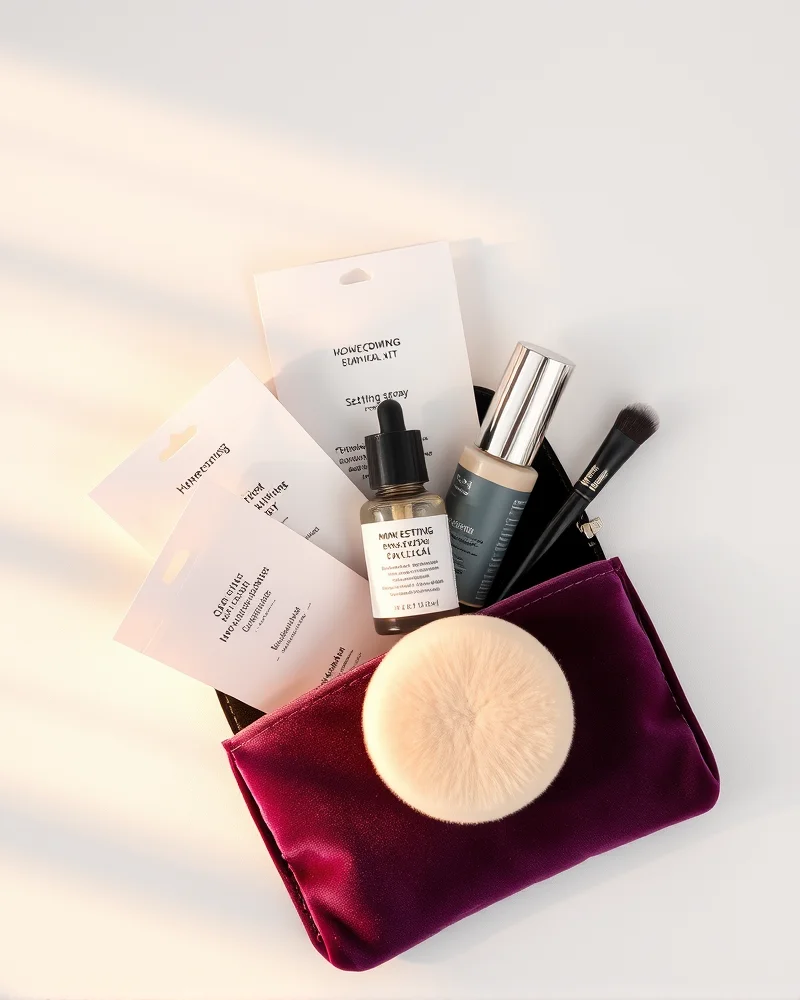
The biggest mistake most people make during homecoming is attempting to fix their base by piling on more setting powder when they notice a little shine. If you keep layering translucent powder or pressed foundation over existing makeup, you are essentially creating a textured crust. This leads to that dreaded cakey appearance where your pores look enlarged and the makeup starts to separate or settle into fine lines. Instead of reaching for a powder compact, focus on removing the excess oil first.
To maintain a flawless complexion throughout your hoco festivities, keep a curated survival kit in your clutch. By following these pro techniques, you can refresh your look in seconds without compromising the integrity of your foundation or concealer.
Your Essential Hoco Survival Kit
- Oil Blotting Papers: These are your best defense against shine. Press them gently onto your T-zone to absorb oil without lifting your foundation. Never rub the paper across your skin, as this will drag your makeup and create patchiness.
- Mini Setting Spray: After blotting, a fine mist of setting spray acts as a hydrator. It pulls the layers of your makeup back together, mimicking the finish of your skin and removing that powdery, dry look.
- Dual-Ended Cotton Swabs: Keep a few in a small baggy to clean up any eyeliner smudges or mascara flakes under the eyes.
- A Small Concealer Pot or Wand: Only use this for extreme emergencies. If a blemish peeked through, apply the tiniest dot and tap it in with a clean finger rather than a sponge to avoid disturbing the surrounding product.
- A Pressed Powder Puff with Minimal Product: If you absolutely must use powder, use a velvet puff and apply only to the areas where you have visible oil after blotting. Press it into the skin rather than sweeping it.
If your face feels dry or flat mid-evening, do not panic. The secret is to reintroduce moisture. If you are near a bathroom, take a slightly damp paper towel and gently pat it over your cheeks and forehead. This revives the makeup and gives your skin a fresh, luminous glow. Following this, if you have a travel-sized illuminating serum or a lightweight face mist, apply one pump to your fingertips and gently press it into the high points of your face. This instantly restores the radiance you had when you first walked out the door, ensuring you look picture perfect for every dance floor selfie.
How to choose a hoco look that complements your outfit?
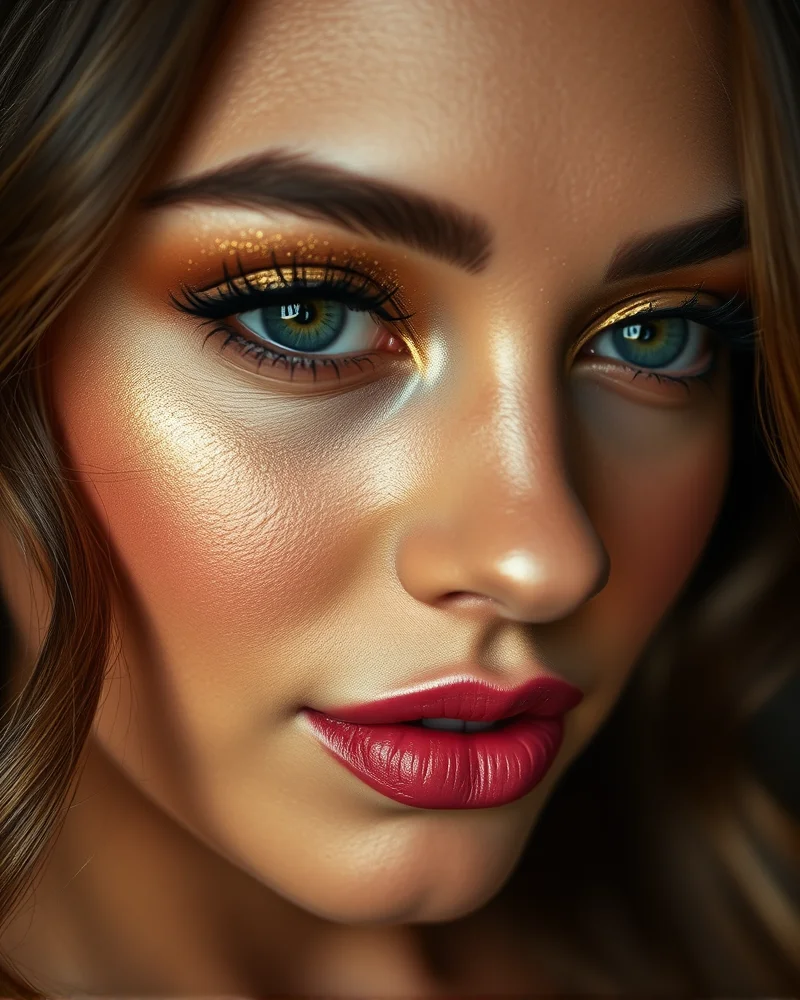
Selecting the perfect makeup look for homecoming is an exercise in color theory and stylistic harmony. The ultimate goal is to create a cohesive aesthetic where your eyeshadow palette elevates your dress rather than competing with it. When approaching your color story, consider the underlying temperature of your attire. If you have selected a gown in cool tones such as royal blue, icy silver, or emerald green, you should gravitate toward eyeshadow shades that maintain that crisp, cool intensity. Think slate greys, soft mauves, deep plums, or metallic silver pigments that catch the light. Conversely, if your ensemble features warm hues like champagne gold, fiery red, burnt orange, or sunset yellow, your makeup should follow suit with bronze, copper, warm terracotta, or gilded gold tones. These palettes create a seamless glow that ties your entire homecoming look together with professional precision.
Beyond the spectrum of color, the finish of your eyeshadow plays a critical role in the overall vibe of your makeup. Incorporating metallic or shimmer finishes is a fantastic way to add dimension to your eyelids, especially for evening events where flash photography is inevitable. Metallic pigments catch the light and add a celebratory flair that feels festive and sophisticated. However, the secret to a balanced look lies in the contrast between textures. If your dress is heavily beaded, sequined, or features a high shine satin fabric, you might want to ground the look by using matte eyeshadows in your crease. Matte shades provide depth and structure, ensuring your eyes do not look overwhelmed by the sparkle of your outfit. If your dress is a simple, matte fabric, you have much more freedom to experiment with high pigment shimmer or even a bold glitter cut crease.
Pro-tips for achieving this harmony include testing your makeup under the same lighting conditions you expect at the dance. If you are unsure about a color choice, look to the color wheel. Complementary colors, which sit directly opposite each other, create the most striking visual impact, while analogous colors, which sit next to each other, create a more subtle and harmonious effect. Always remember that the texture of your skin and the style of your homecoming dress are your best guides. By syncing your eyeshadow finish with the fabric of your gown, you ensure that your homecoming photography captures a look that is perfectly curated from head to toe.
Why is lighting so critical for homecoming makeup?
When you are preparing for homecoming, the lighting environment you will encounter is a multifaceted challenge that can make or break your look. Many students make the common mistake of applying their foundation and contour in high-intensity bathroom lighting, only to find that their makeup vanishes or appears muddy once they step into the dimly lit, moody atmosphere of the dance floor. Conversely, if your look is too heavy, the bright flashes from cameras can cause harsh back-reflections that make you appear washed out or ghost-like in your final photos. Understanding the interplay between ambient venue lighting and high-speed strobe photography is essential for achieving a balanced aesthetic.
Ambient lighting at typical school venues often utilizes warmer color temperatures or vibrant, colorful stage lights. These conditions tend to soften the sharpness of your contour and mute the vibrancy of your eyeshadow pigments. To counteract this, you must calibrate your makeup density by layering buildable formulas. Start with a medium coverage base and use a precise technique to build intensity only where needed. For inspiration on how to adapt these density levels to various color palettes, explore our curated hoco makeup inspo gallery to see how professionals balance pigment load for low-light settings. If you lean too light, your features will disappear into the background; if you go too heavy, you risk looking mask-like under the direct glare of a camera flash.
Photography flash acts as an unforgiving magnifying glass that highlights texture and reflects light off products containing high amounts of SPF or silica. To maintain a polished look that survives the paparazzi-style photos your friends will be taking all night, prioritize long-wearing matte finishes for the center of your face while keeping the perimeter blended seamlessly. Always check your look under a smartphone flash in a dark room before leaving the house. If you notice a white cast on your forehead or under-eye area, your setting powder likely contains flashback-inducing ingredients. By tempering your application density and testing your products against artificial light, you ensure that your homecoming makeup remains sharp, vibrant, and perfectly defined in every single photo.
Common hoco makeup mistakes to avoid?
- Q: Why do my eyebrows often look too harsh or blocky in homecoming photos?
A heavy handed approach to brow definition is one of the most frequent pitfalls we see during homecoming season. When you overdraw your arches with dark pomades or dense pencils, you risk creating a cartoonish effect that looks jarring under harsh venue lighting. Instead of trying to create a sharp, tattooed look, focus on hair like strokes. Use a spoolie to blend your brow product thoroughly, ensuring that the front of the brow remains lighter and softer than the tail. By maintaining a gradient effect, you create a natural, frame-worthy appearance that complements your eye makeup rather than overpowering your entire face. Always opt for a shade that matches your root color rather than the deepest tone in your hair.
- Q: How can I prevent my under-eye concealer from looking cakey or gray?
Choosing an incorrect under-eye concealer shade is a recipe for disaster in flash photography. Many people mistakenly select a shade that is too light or has the wrong undertone, which results in a dreaded flashback or an ashy, gray finish. If you have dark circles, the secret is color correction. Apply a peach or orange toned corrector before your foundation to neutralize blue or purple pigments. When choosing your concealer, stick to a shade that is only one or two steps lighter than your skin tone to avoid the reverse raccoon eye effect. Use a damp beauty sponge to press the product into the skin rather than rubbing it, as this ensures a seamless, airbrushed finish that resists creasing throughout the night.
- Q: Is there a trick to applying blush without looking like I have been running a marathon?
Over applying blush is a common error that often stems from applying makeup in poor lighting. While you want a healthy glow for your homecoming photos, packing on too much pigment can make your face look flushed and uneven. The corrective strategy here is to start with a light hand and build gradually. Apply your blush to the apples of your cheeks and blend upward toward your temples to achieve a lifted effect. If you realize you have added too much, take your foundation brush or sponge and gently sweep over the edges to soften the intensity. Always check your makeup in natural light before you head out to ensure the color is perfectly balanced with your bronzer and highlighter.
Achieving the perfect hoco makeup look is a synergy of preparation, high-performance product selection, and precise technique. By prioritizing skin health, choosing sweat-resistant formulas, and mastering the art of setting your base, you ensure that your look remains as fresh at the end of the night as it was in the mirror before you left. Remember that the best makeup serves as an extension of your confidence—use these tips to tailor your glam to your unique style and own the homecoming dance floor.