7 Viral Hacks for a Perfect Waterfall Braid Tutorial That Actually Stays

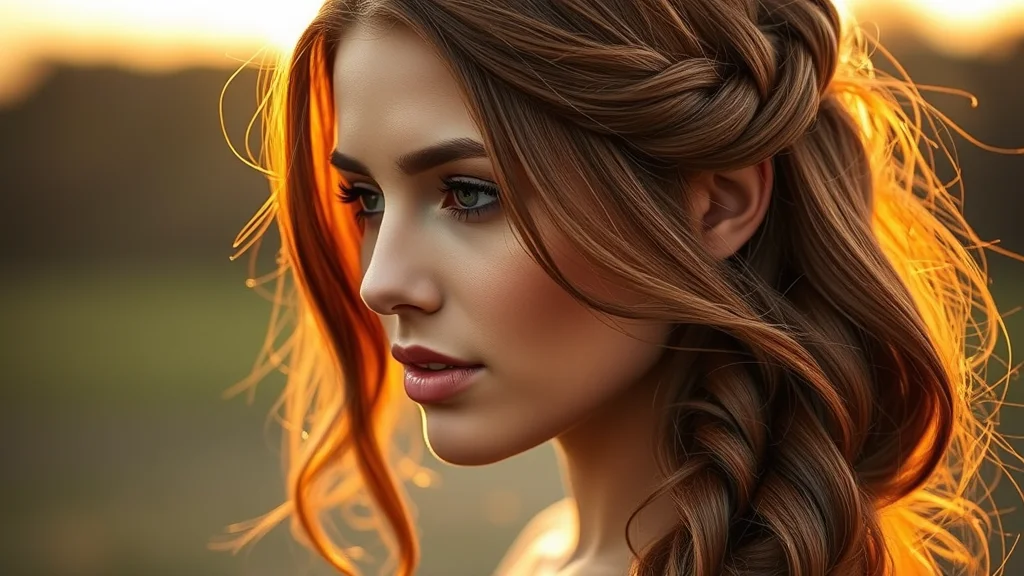
The waterfall braid is arguably the most romantic and ethereal hairstyle in the modern beauty repertoire, yet it remains one of the most misunderstood techniques among amateur hair enthusiasts. When you first witness the cascading effect of hair flowing through a braided crown, it looks like an impossible feat of physics, but in reality, it is a masterclass in controlled release. As a celebrity hairstylist, I have spent years perfecting this look on red carpets because it offers a delicate balance between structure and effortless movement. Whether you are prepping for a wedding or just want to elevate your everyday aesthetic, understanding the mechanics of the waterfall braid will instantly transform your styling toolkit.
Getting started with this look requires more than just nimble fingers; it requires an understanding of sectioning and tension. Before diving into the technical aspects, it is helpful to look at the broader context of professional styling. If you are looking for more inspiration to round out your repertoire, check out our hairstyles for women ultimate guide to see how the waterfall braid fits into the current season’s top trends. Once you master the basic drop-and-weave technique, you will find that it serves as the perfect foundation for everything from loose bohemian waves to sophisticated bridal updos.
How do you start the perfect waterfall braid?
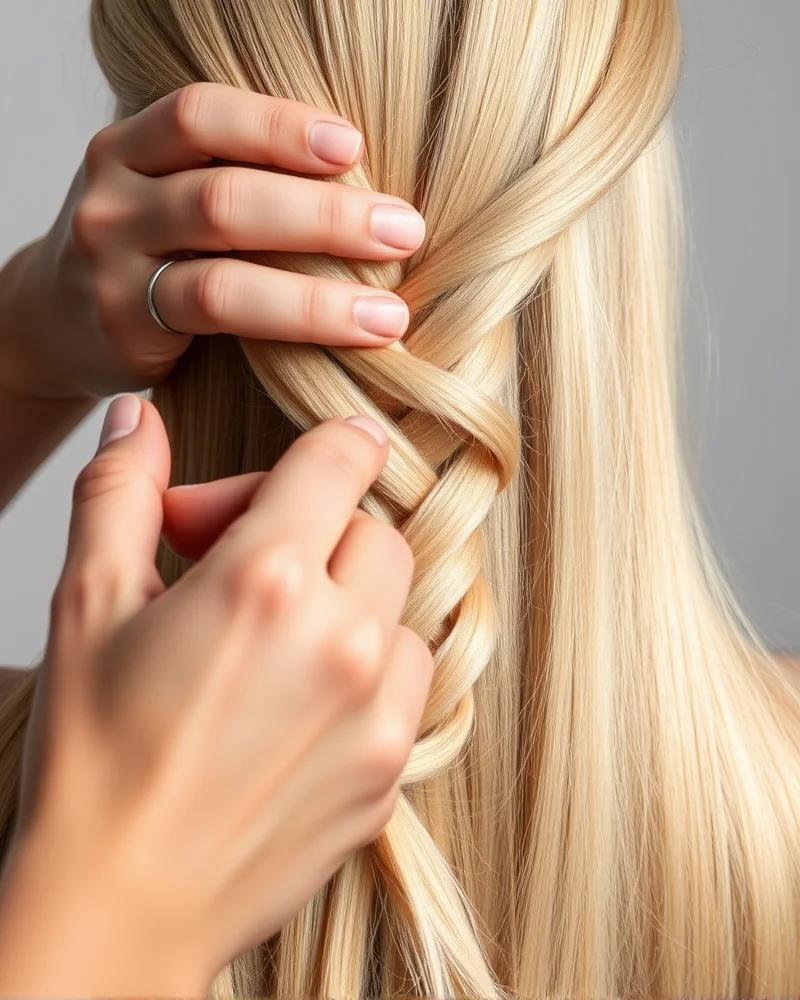
The secret to a pristine waterfall braid lies entirely in your starting point. You must begin by taking a deep, triangular section near your hairline, which is the foundational anchor for the entire style. Unlike a standard French braid, you are not pulling hair into every strand; you are consciously ‘dropping’ the bottom strand and picking up a new piece of hair from the top to maintain the braid’s trajectory along the head. According to expert tips found on Allure, keeping your tension consistent is the primary hurdle for beginners. You want to keep the braid tight against the scalp to ensure the cascading pieces fall naturally rather than bunching up, which can often look messy if the tension is unevenly distributed across the head.
The Secret ‘Drop’ Technique Explained
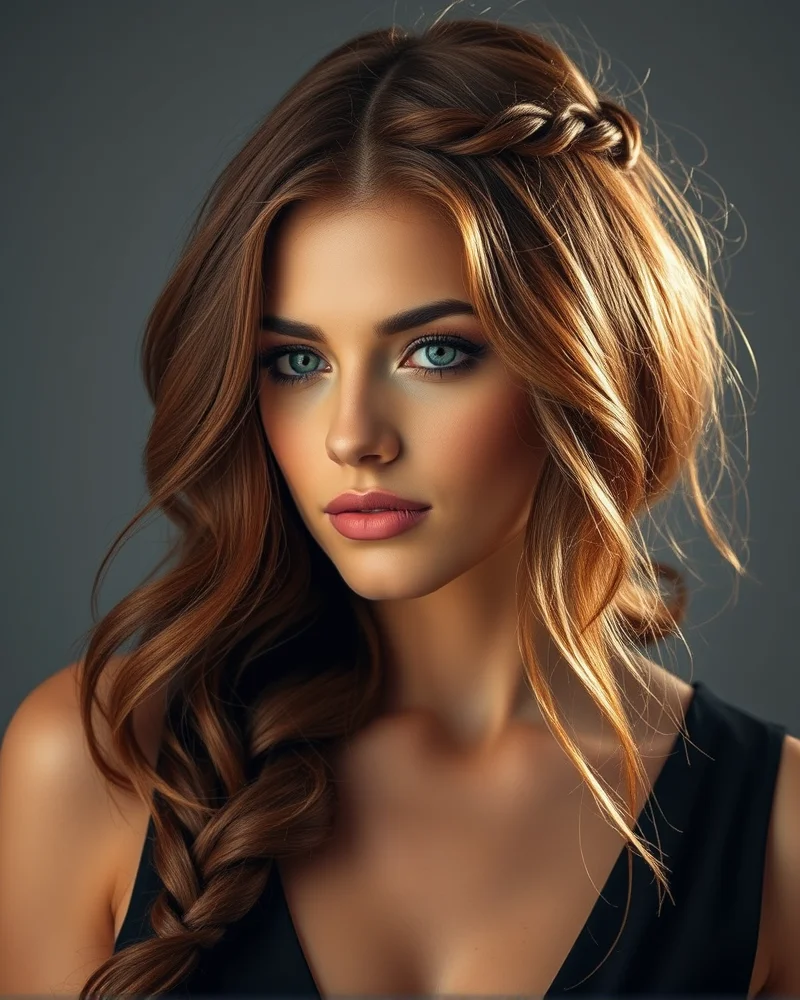
The ‘drop’ is the defining moment that separates a regular braid from a waterfall. As you cross the top strand over the middle, you naturally incorporate a new piece of hair. However, as you move to the lower strand, you must consciously let it fall and replace it with a fresh section from the head. This repetitive process is what creates the illusion of a flowing river of hair. If you are struggling with the hold, I highly recommend checking out the perfect wash and go curly hair guide, as the prep work for your hair texture—whether it is naturally curly or stick-straight—is vital to ensuring the braid doesn’t slip throughout the day. Using the right texturizing spray before you start can provide the necessary grip to keep those dropped sections looking intentional rather than disheveled.
Why is my braid falling flat?
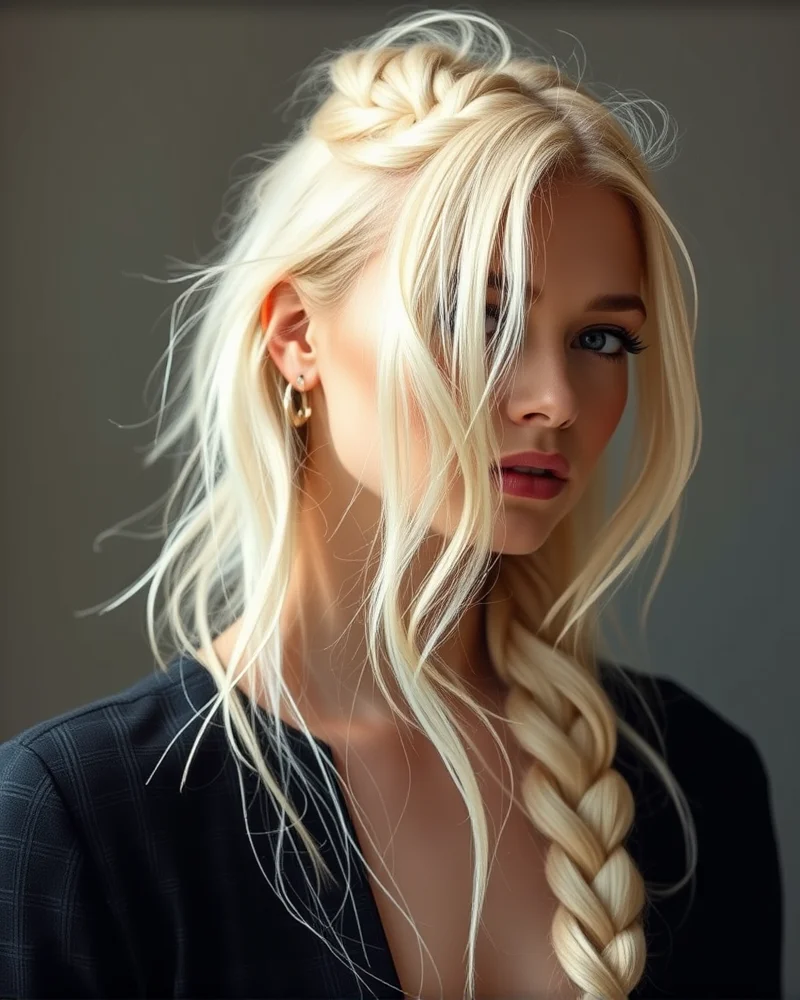
If your waterfall braid looks limp or disappears into your hair, the issue is almost certainly a lack of volume. Professionals on Byrdie often emphasize that hair prep is just as important as the braiding technique itself. I recommend using a dry shampoo or a texturizing powder at the roots and through the mid-lengths before you even touch your hair. This adds ‘grit’ to the strands, allowing them to stay in place without needing an excessive amount of hairspray. Furthermore, try to pancake your braid—a technique where you gently pull on the edges of the braided loops to expand them—after you have secured the ends. This gives the illusion of a thicker, more intricate braid that feels much more expensive than it actually is.
Boho Waves and Waterfall Fusion
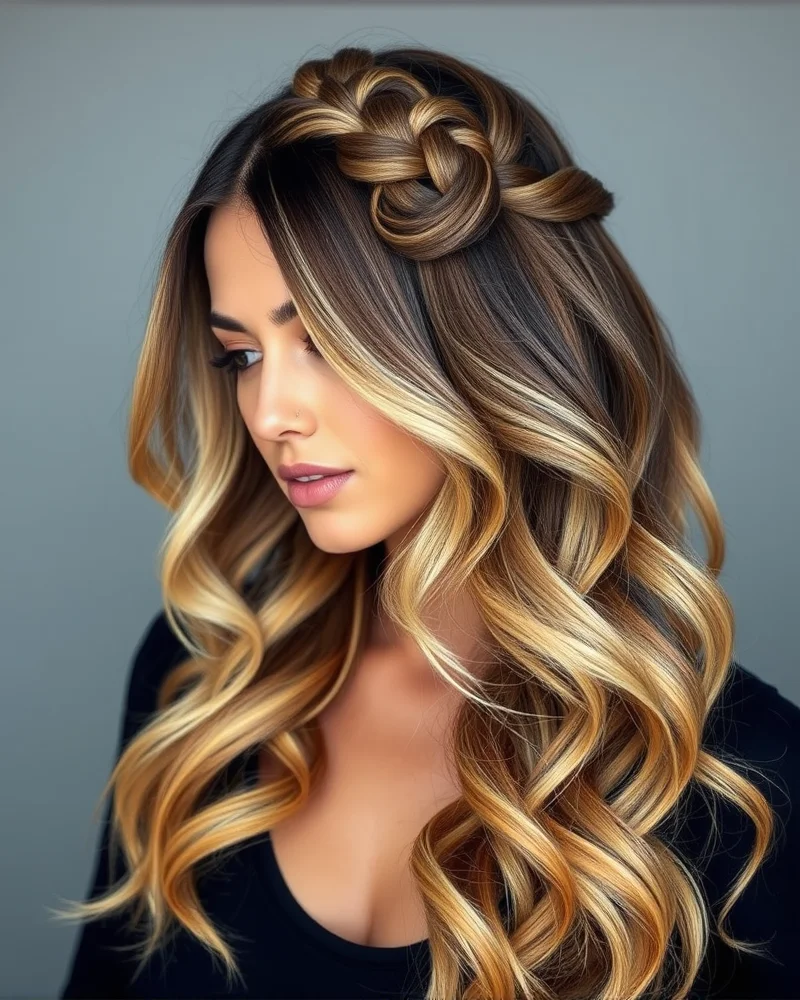
The fusion of a waterfall braid with loose, beachy waves is the ultimate summer look. To achieve this, you need to ensure the hair that is ‘dropped’ from the braid is curled beforehand. Curling the entire head into soft, relaxed waves creates a cohesive aesthetic that makes the waterfall effect look much more intentional. If you are pairing this look with a bold makeup style, such as a sharp lip look, don’t forget to refine your edges; you can find excellent tips in our lip liner tutorial secrets guide to ensure your face-framing hair and makeup are perfectly balanced. The goal here is to blend the structured braid with the organic movement of the waves for a high-low style that fits any occasion.
Can I do a waterfall braid on short hair?
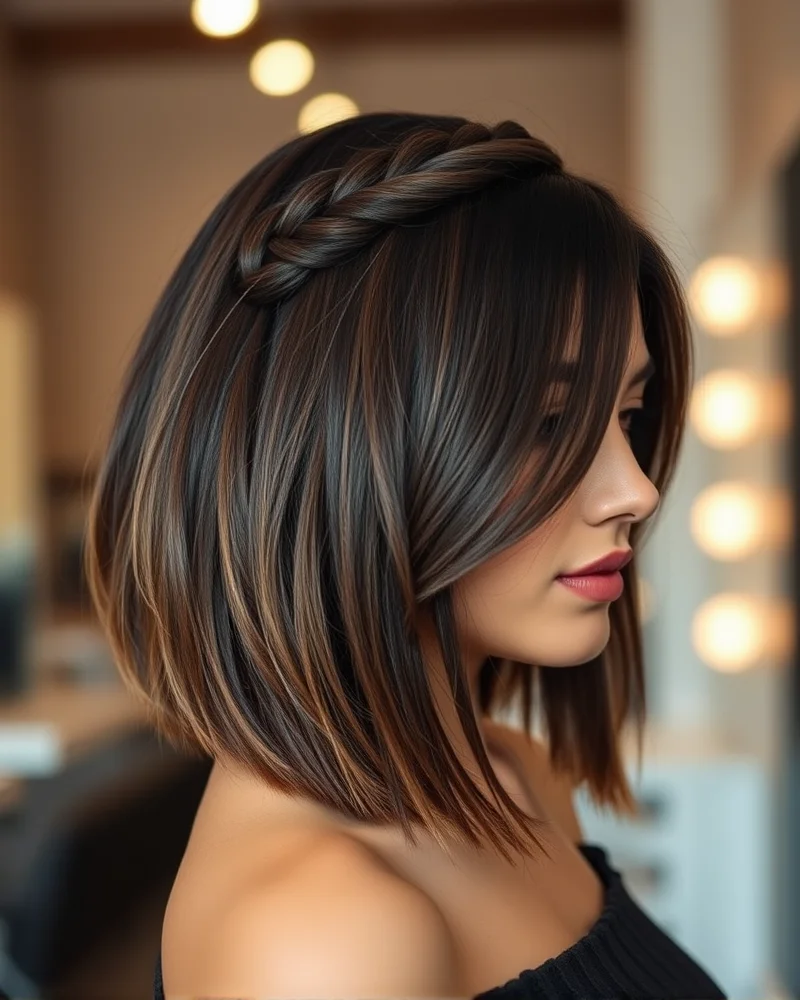
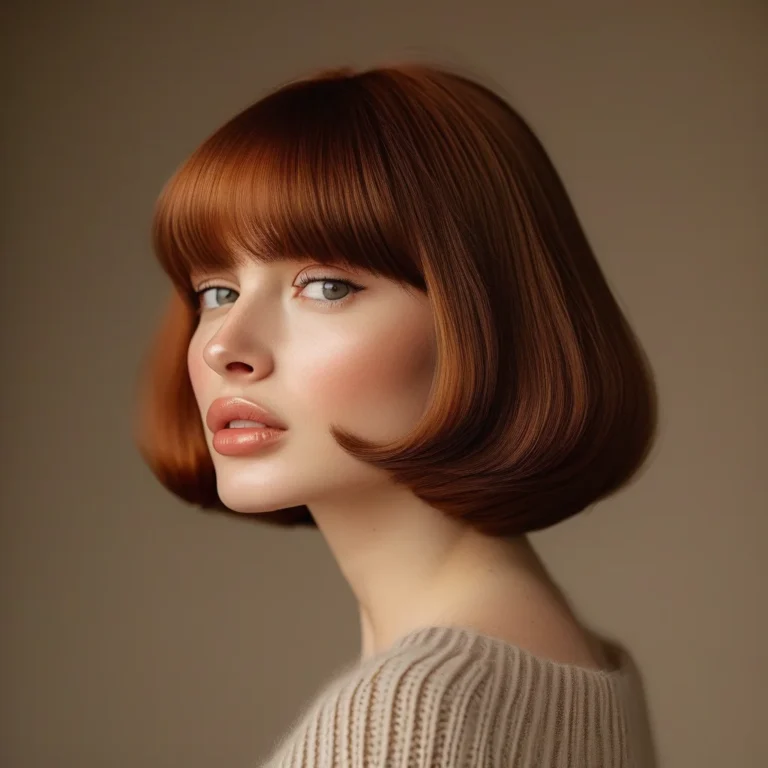
A common misconception is that you need waist-length hair to pull off a waterfall braid. In reality, this style works beautifully on lobs and even shorter bobs. The key adjustment for shorter lengths is to braid at a steeper angle and keep the ‘drops’ smaller. According to expert advice from Vogue, working with smaller sections ensures that you don’t run out of hair too quickly as you weave across the back of the head. Because shorter hair has more weight at the ends, you may need a few strategically placed bobby pins that match your hair color to ‘anchor’ the braid as you reach the back, preventing the entire thing from unraveling while you are on the go.
The Double-Layered Waterfall Crown
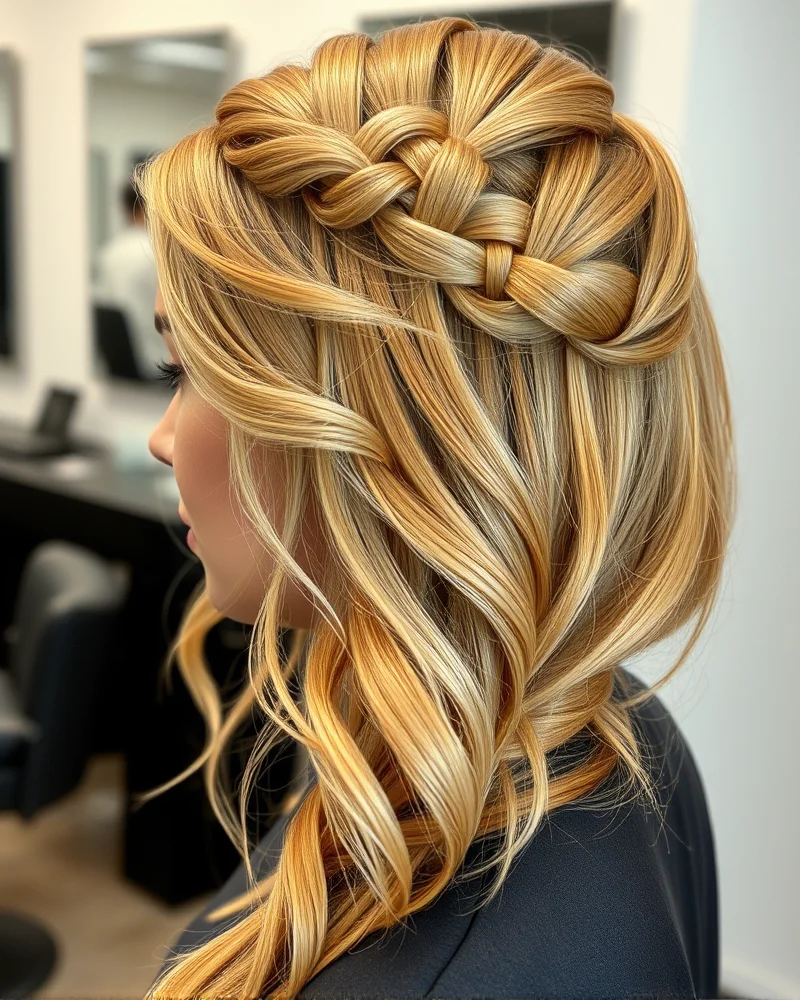
Once you have mastered the single waterfall braid, the double-layered variation is the next logical step for a more formal event. This involves creating the first row of your braid, then starting a second row directly underneath it using the hair that you previously ‘dropped.’ This creates a beautiful woven crown effect that looks like a complex piece of hair architecture. The added density makes it a perfect choice for bridesmaids or formal occasions where you need the style to hold for hours. It requires a bit more patience and practice with your tension, but the final result is undeniably elegant and professional. Use a light-hold setting spray to ensure every strand remains exactly where it was placed, maintaining that pristine finish all night.
Finishing Touches for a Red Carpet Finish
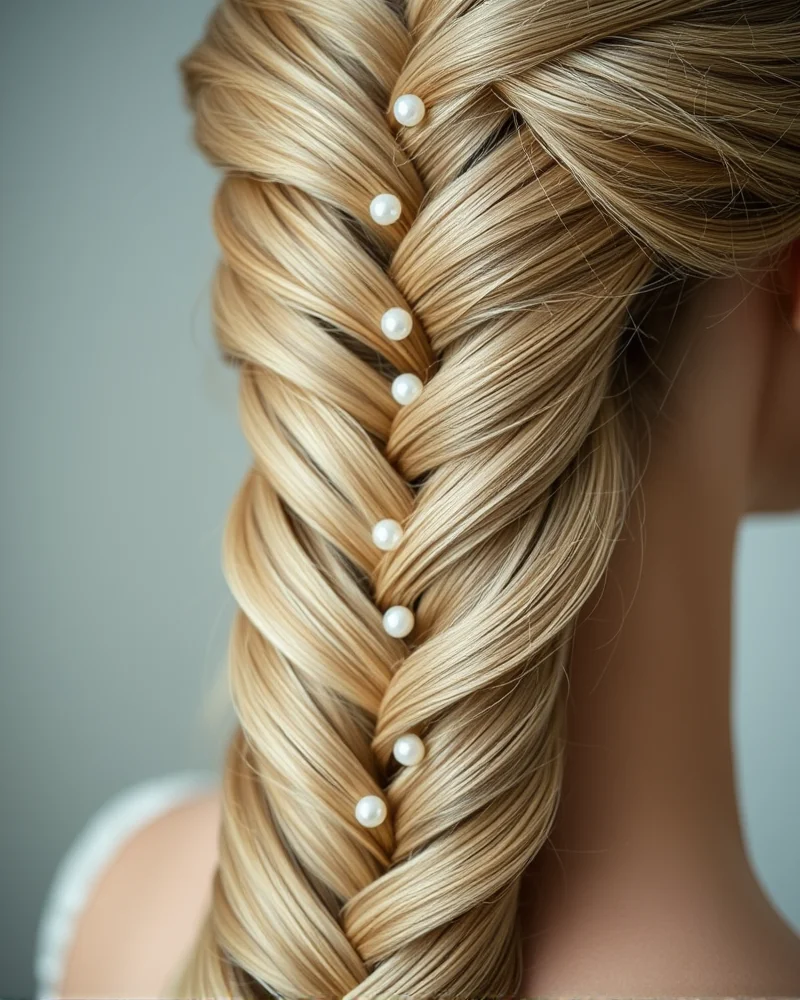
To truly elevate your waterfall braid, the final details are what matter most. Adding small accessories like pearls, gold cuffs, or even delicate floral sprigs can transform a simple everyday braid into a stunning red-carpet style. Ensure that your ends are finished with a healthy shine serum or a light hair oil to prevent any frizz from detracting from the intricate pattern of the braid. If you feel like your style is missing something, sometimes the answer is to pull a few wispy, face-framing pieces out to soften the look. This simple step creates an approachable, yet high-fashion vibe that highlights your features rather than hiding them. Treat your hair like a canvas, and don’t be afraid to experiment with accessories to express your personal style.
Final Thoughts
Mastering the waterfall braid is a rewarding journey that elevates your daily styling game to professional heights. While it may seem complex, breaking the process down into the ‘drop-and-weave’ technique makes it accessible for anyone willing to practice. Whether you are aiming for a bohemian festival look or a polished double-layered crown, the tips provided here will help you achieve a salon-quality result at home. We hope this waterfall braid tutorial has inspired you to pick up your brush and experiment with your look. Which variation are you going to try first? Leave a comment below and share your success stories, as we love hearing how our readers are leveling up their hair game!
Frequently Asked Questions
To keep your waterfall braid secure, apply a texturizing spray before you start to give the hair grip. Use small, clear elastic bands to secure the ends, and finish with a strong-hold hairspray to lock the style in place.
It can be tricky at first because of the arm positioning required to reach the back of your head. Practice in front of a mirror with your hair parted into manageable sections until your muscle memory takes over.
While the waterfall braid works on most hair lengths from lobs to long hair, it is easiest to manage with hair that is at least shoulder-length. This ensures you have enough length to wrap the sections comfortably without them slipping out.
Yes, but straight hair is often more slippery than wavy or textured hair. Using a salt spray or dry texturizing spray provides the necessary friction to ensure the braid stays tight and doesn’t unravel.
Once you reach the desired point, you can either tuck the end of the braid under your loose hair and secure it with a bobby pin or continue braiding it into a standard three-strand braid that blends into the rest of your hair.